
Easy Crochet Blossom Summer Top for a Trendy Wardrobe

One of the key highlights is the adjustability of the pattern. Whether you prefer it as a cropped top, a regular tee, or a longer tunic, you can customize the size and length to suit your personal style. With easy-to-follow instructions and minimal materials, it’s a great choice for advanced beginners or intermediate crocheters seeking a satisfying project.
This pattern’s versatility extends to its use—it can be paired with jeans, skirts, or shorts, or layered over a swimsuit for a beach-ready vibe. Additionally, the cotton yarn makes it soft, breathable, and comfortable for sunny days. Whether adding to your own collection or designing it as a gift for loved ones, this crochet piece is sure to turn heads while being a joy to crochet.
Materials Needed
- Yarn: 100% cotton yarn (brand used: Magic Needles).
For size XL, the tutor used 300g of yarn (with one extra ball left over).
If making larger sizes, purchase extra yarn. - Hook Size: 3.5mm crochet hook.
- Accessories: Scissors, a yarn needle for weaving ends, and a measuring tape.
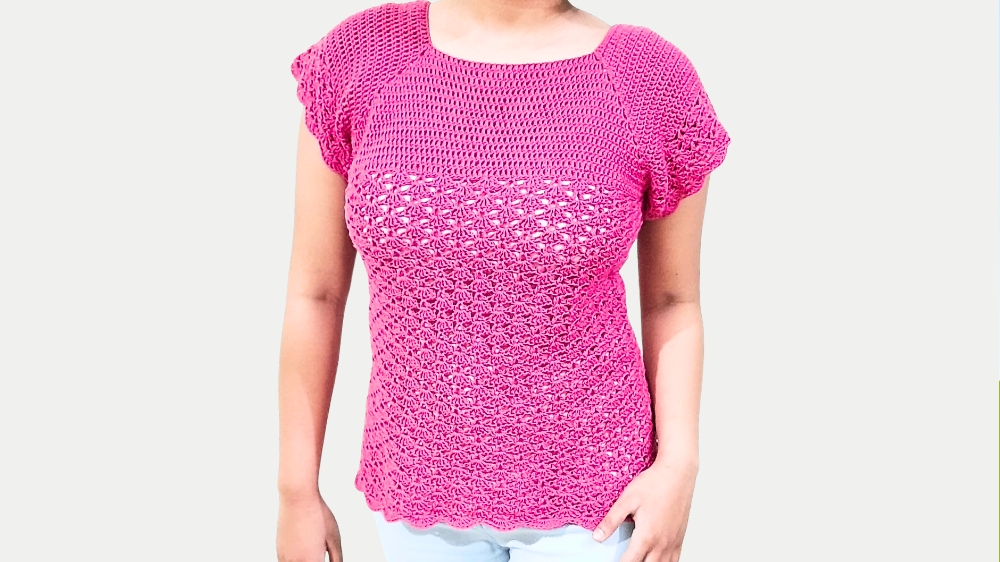
Special Features of the Blossom Summer Top
- Customizable Size: The pattern is adaptable for any size, from small to XXL. Simply adjust the chain count and measure as you go.
- Simple Stitches: The design primarily uses double crochets, chain stitches, and a combination of V-stitches and fan (shell) stitches for the lace section.
- Versatile Design: While the pattern includes sleeves and a final decorative border, you can skip or modify parts of it for your desired look.
- Easy to Scale: Adjust for armhole length, overall top length, and sleeve size to match your preferences.
- Ideal for Beginners: Though it looks intricate, the technique is straightforward, making it a fantastic project for advanced beginners or intermediate crocheters.
Step-by-Step Instructions
1. Foundation Row
- Begin with a slipknot and chain 105 (104 + 1 for turning).
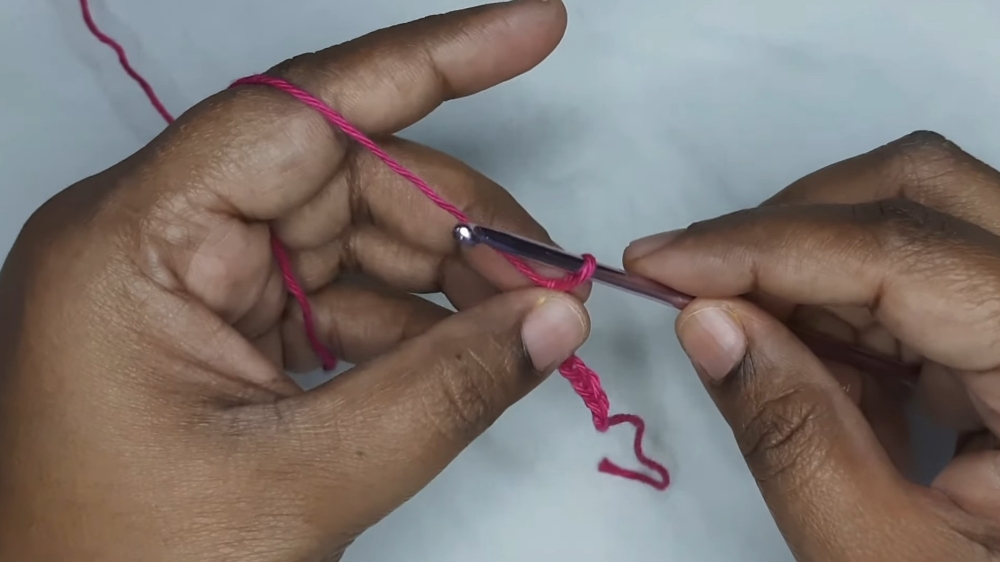
- Make a circle by slip-stitching the first chain without twisting.
- Chain 3 to start the first row.
2. Creating the Base Rectangle
- Divide chains into four parts: 30 chains for the front, 30 for the back, and 20 chains for each sleeve.
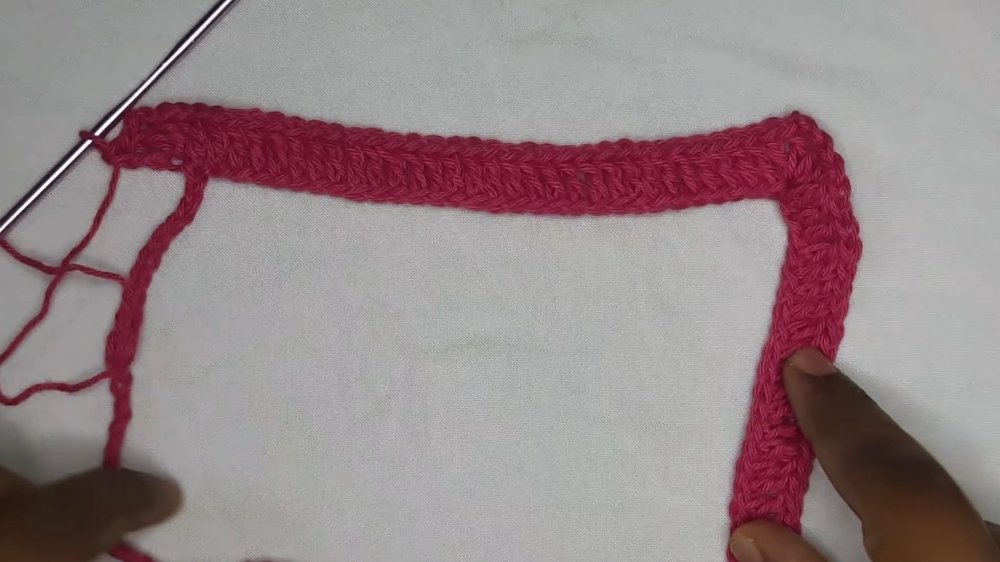
- For each corner of the rectangle, use a pattern of 2 double crochets (DC), chain 2, 2 DC.
- Work the remaining stitches as double crochets, following the corner placements.
3. Building the Yoke
- Repeat the row-alternating pattern for the yoke:
- Double crochet in each stitch in sections, with corners comprised of 2 DC, chain 2, 2 DC.
- Measure your desired armhole depth as you go (e.g., ~7 inches for size XL).
4. Joining for the Sleeves
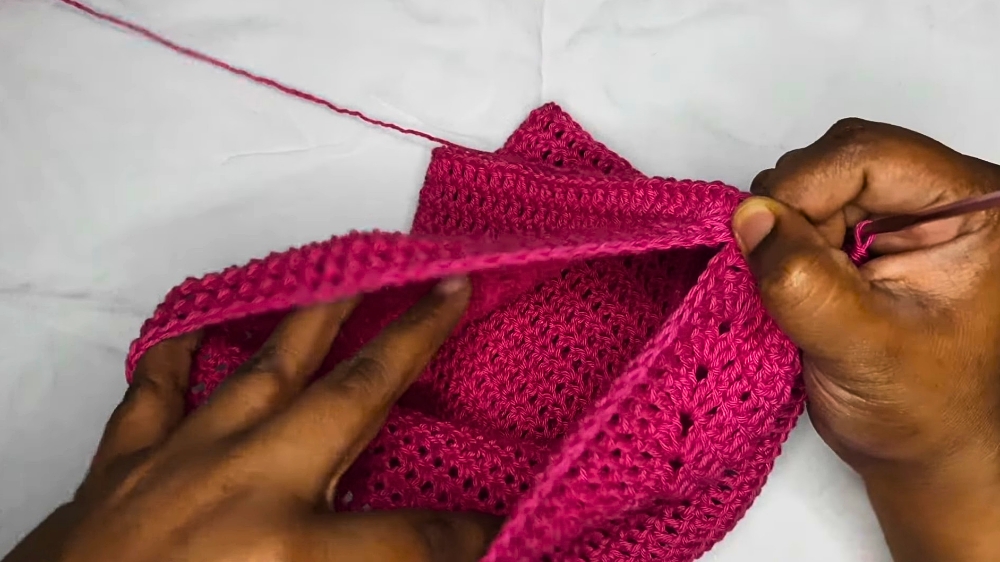
- Once the armhole depth is achieved, fold the work to create front and back panels, with openings for the sleeves.
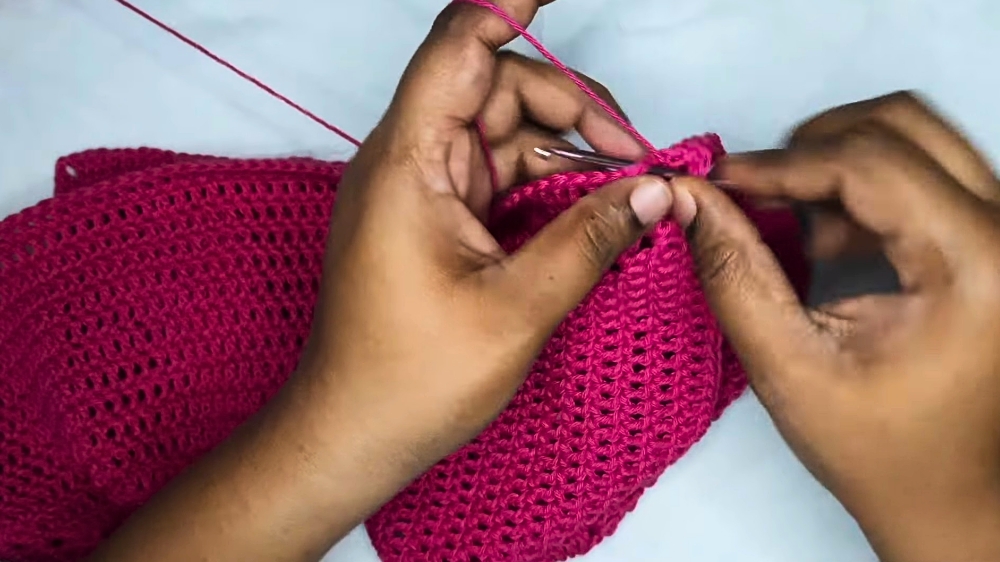
- Join the corners designated for the front and back using slip stitches.
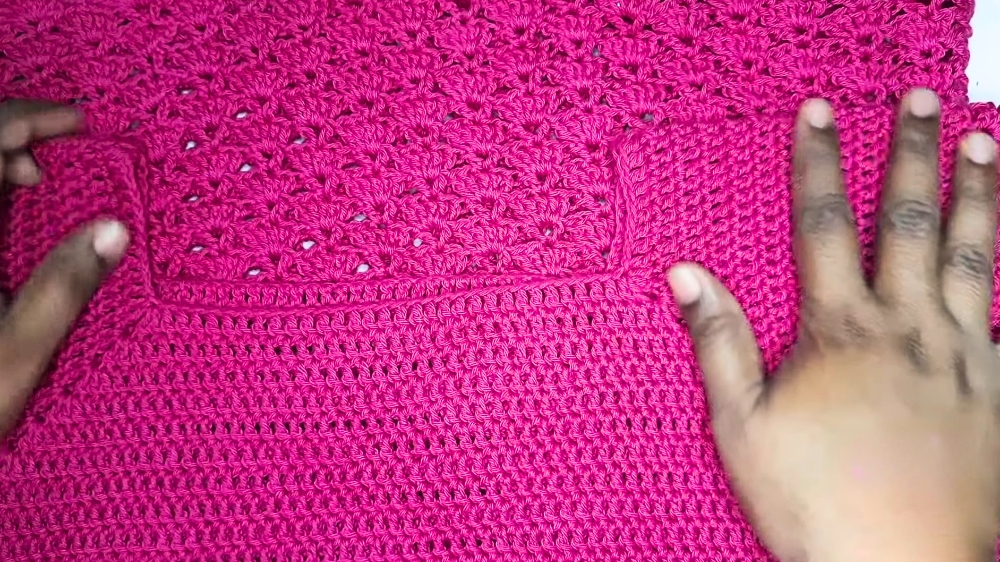
5. Starting the Lace Section
- Begin with a V-stitch: Chain 4 (counts as DC + chain 1), then DC again in the same space.
- Alternate between V-stitches and Shell (fan) stitches:
- V-stitch: DC, chain 1, DC in the same stitch.
- Fan stitch: Place 5 DCs in the same stitch.
- Repeat this pattern around and join with a slip stitch to complete each round.
6. Repeating Rounds for the Desired Length
- Alternate rows: One with the V-stitch in fan spaces and five DCs in V-stitches, and the next with fans and V-stitches reversed.
- Measure your top continuously to adjust the length (25 inches for the XL size in the tutorial).
- Try it on frequently to ensure a perfect fit.
7. Adding Sleeves (Optional)
- Join yarn to any sleeve opening.
- Repeat the same lace stitch pattern (V-stitches and fans).
- Work 5 rows for a short sleeve, or add additional rows for longer sleeves.
- Finish with a decorative shell border (9 double crochets in a V-stitch and single crochet in the middle of a fan).
Tutor’s Suggestions
- Check Fit Often: The tutor emphasizes trying on your top during the process to ensure perfect measurements and comfort.
- Plan Extra Yarn: Using cotton yarn ensures comfort, but it’s important to buy extra balls in case you decide to lengthen or adjust your top.
- Alternate Lace Pattern: Continuously alternate between V-stitches and Fans for smooth transitions and consistent texture.
- Neck Opening Adjustments: Ensure the foundation chain fits comfortably over your head. Add or remove chains as needed.
Uses of the Blossom Summer Top
- Casual Wear: Perfect for warm days paired with jeans, shorts, or skirts.
- Layering Piece: Can be worn with a camisole underneath for added coverage or on its own as beachwear.
- Custom Gifting: Handmade gifts are always special, and this top is a thoughtful, stylish choice.
Conclusion
The Crochet Blossom Summer Top is a wonderful project for both beginners and experienced crocheters. It’s easy to create, entirely customizable, and results in a beautiful, lightweight garment that’s perfect for warm weather. By following the step-by-step instructions and tips provided in this guide, you’ll enjoy the process of making a garment you can proudly wear or gift to others.
Final Tip
To ensure durability, weave in the ends firmly and evenly, especially in areas with frequent contact, like the sleeves and bottom hem. This prevents unraveling during washes. Always try the top on at each stage to make adjustments and create a perfectly tailored summer top.




Leave a Reply