
Style hair confidently with this Free Crochet Headband Pattern that's perfect for keeping hair tidy, comfort, and enhancing everyday outfits.
Handmade hair pieces are a great way to show off your style while staying warm. Using a Crochet Headband Pattern helps you make a pretty item that looks good for any time of year. This design are popular now because its look fancy and keep your hair neat. One big plus is how useful they are; you can wear one to keep your hair back while playing sports or to stay warm on a cold day.
Playful Crochet Headband Pattern That Pops With Color

The way the yarn is woven makes it look much better than things you buy in a big store. Making one is a fast and fun task that gives you a light, soft wrap for your head.
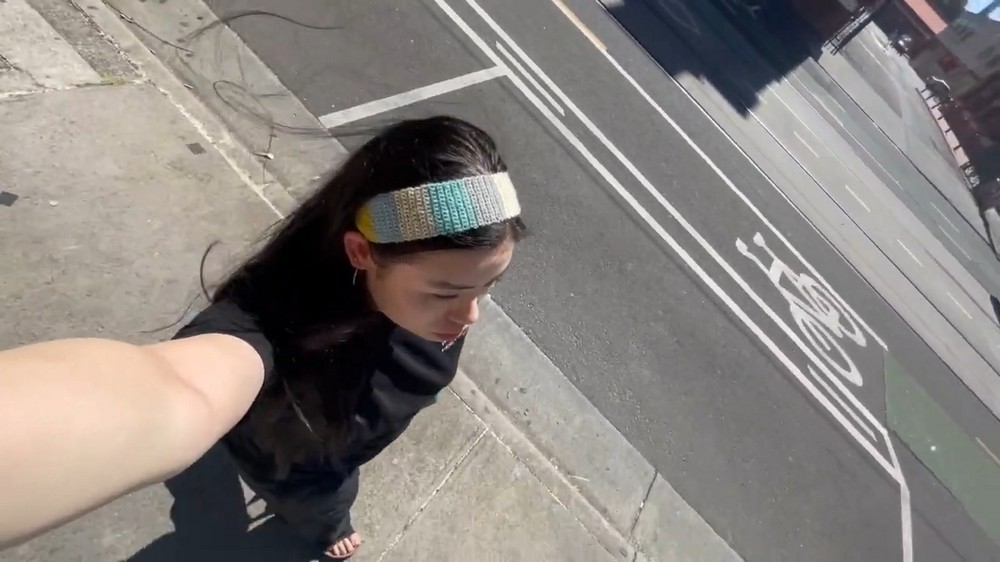
Whether you like a flower look or a simple twist, this guides help you change your look right away. Its bring a mix of old-fashioned charm and new style to your daily clothes in a very easy way.
Special Features
- Gentle, tapered design with ties at both ends
- Wider band for extra comfort
- Made with single crochet stitches
- Uses only a small amount of yarn; ideal for scraps
Level of Difficulty
Beginner
If you know how to chain and single crochet, you can make this headband!
Materials Needed
- Scrap yarn (any kind you like)
- 3mm crochet hook (or as recommended for your yarn)
- Scissors
- Yarn needle
Tutor’s Suggestions
- Work into the back bumps of your foundation chain for a tidy edge.
- Don’t worry about placing increases and decreases perfectly—just make sure you follow the pattern and your headband will look great!
- Add stitch markers to help keep track of your midpoint and shaping.
Uses
Wear this headband to keep your hair back while you read, do crafts, or go outside. It makes a great quick gift!
Step-by-Step Pattern
1. Make the First Tie
- Make a slip knot.
- Chain 41 (the last chain is the turning chain).
- Starting from the second chain, single crochet across (40 stitches).
- In the very last stitch, make two more single crochets for a total of three in that stitch. Add a turning chain.
2. Start Shaping the Band (Increasing)
- Row 1: Single crochet into the first stitch, increase (make 2 single crochets) into the second stitch. (Total: 3 stitches)
- Row 2: Single crochet into each stitch, increase in the middle stitch. (Total: 4 stitches)
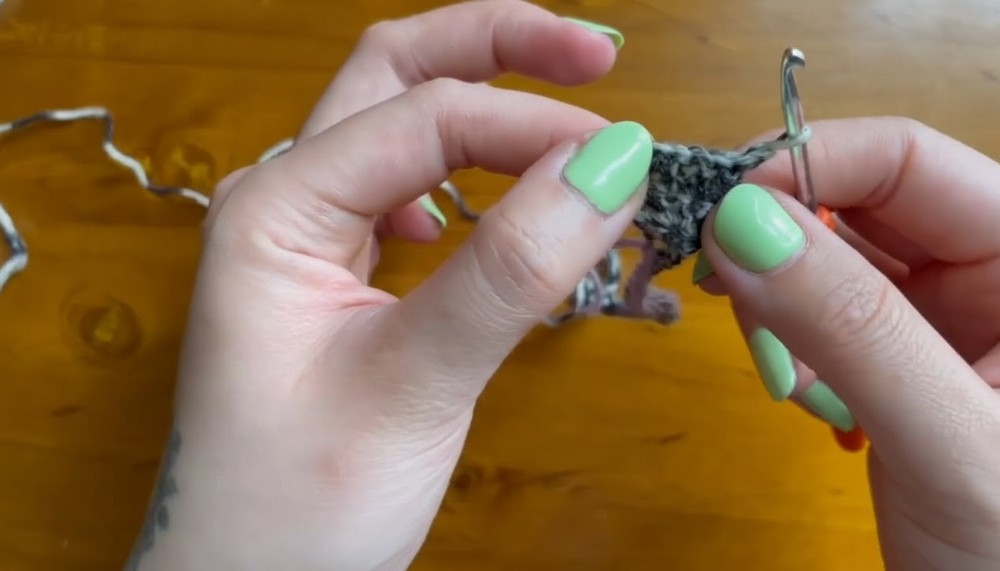
- Rows 3-4: Single crochet across (4 stitches each).
- Repeat this pattern: increase in the center every other row, then two rows with no increases, until you have 12 stitches wide (this should be at Row 18).
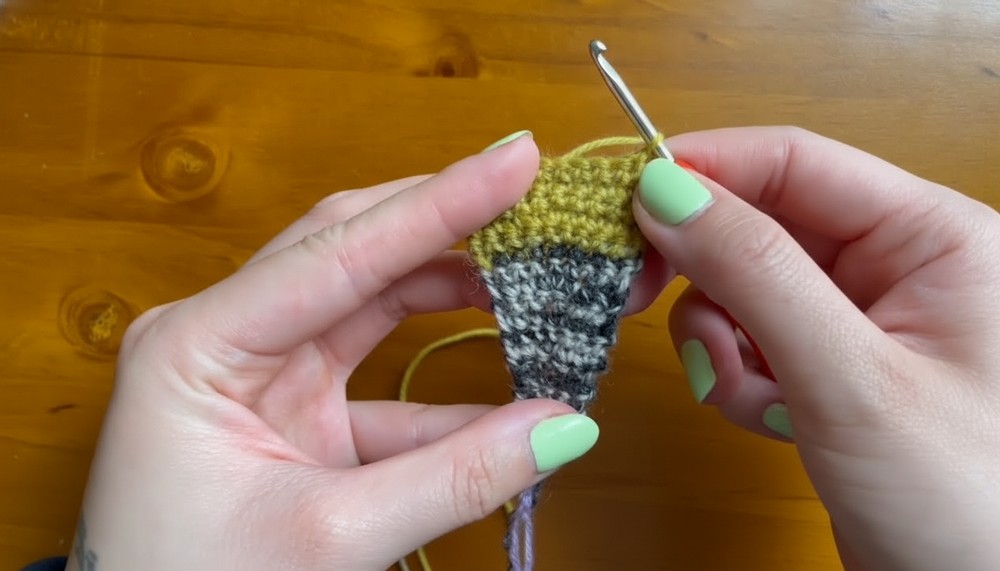
3. Make the Wide Center Section
- Add a stitch marker at the last increase row.
- Work straight (single crochet into each stitch) until your band is about 200mm (7.87 inches) long from the start OR until you reach your desired length. Use a second stitch marker to mark the midpoint.
- Your widest part should be about 60mm (2.36 inches).
4. Taper the Other Side (Decreasing)
- Start at the midpoint: in the same row where you last increased, start decreasing in the center of the row every other row (just as you increased before).
- To decrease: Pull up a loop in the next stitch, do not yarn over, then pull up another loop in the following stitch (3 loops on hook). Yarn over and pull through all three loops.
- Alternate rows with one decrease in the middle and two rows of regular single crochet (no decreases).
- Continue this until you have just one stitch left (should be at Row 104).

5. Make the Second Tie
- Chain 41 and work single crochet stitches along the chain (just like the first tie).
- Slip stitch to the base of the starting stitch to finish.
- Fasten off, weave in your yarn ends.
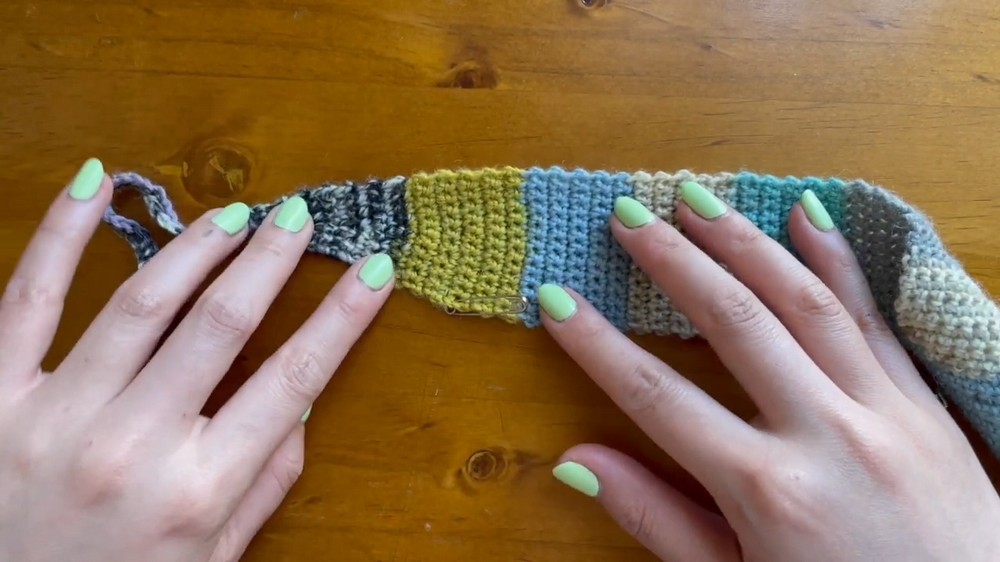
Tip
Use stitch markers to keep track of your increases and decreases for a perfectly shaped taper!
Conclusion
Your new headband is now ready! It’s comfortable, stylish, and made entirely by you. This pattern is very flexible—try using different colors, or add extra rows for a wider band. It’s a simple, relaxing project and a great way to use leftover yarn.




Leave a Reply