
Dress up your jars with this Crochet Jug Cover Pattern that adds a cozy, charming touch and makes every kitchen look cheerful and unique.
Having a pretty and useful lace lid for your cold drinks makes every outdoor meal feel much more special. This Crochet Jug Cover Pattern is a smart way to create a tiny net that sits perfectly over the top of a pitcher or glass. It works as a light shield to stop flies, bees, and dust from getting into your water or sweet tea while you sit outside.
Fun Crochet Jug Cover Pattern for All Spaces
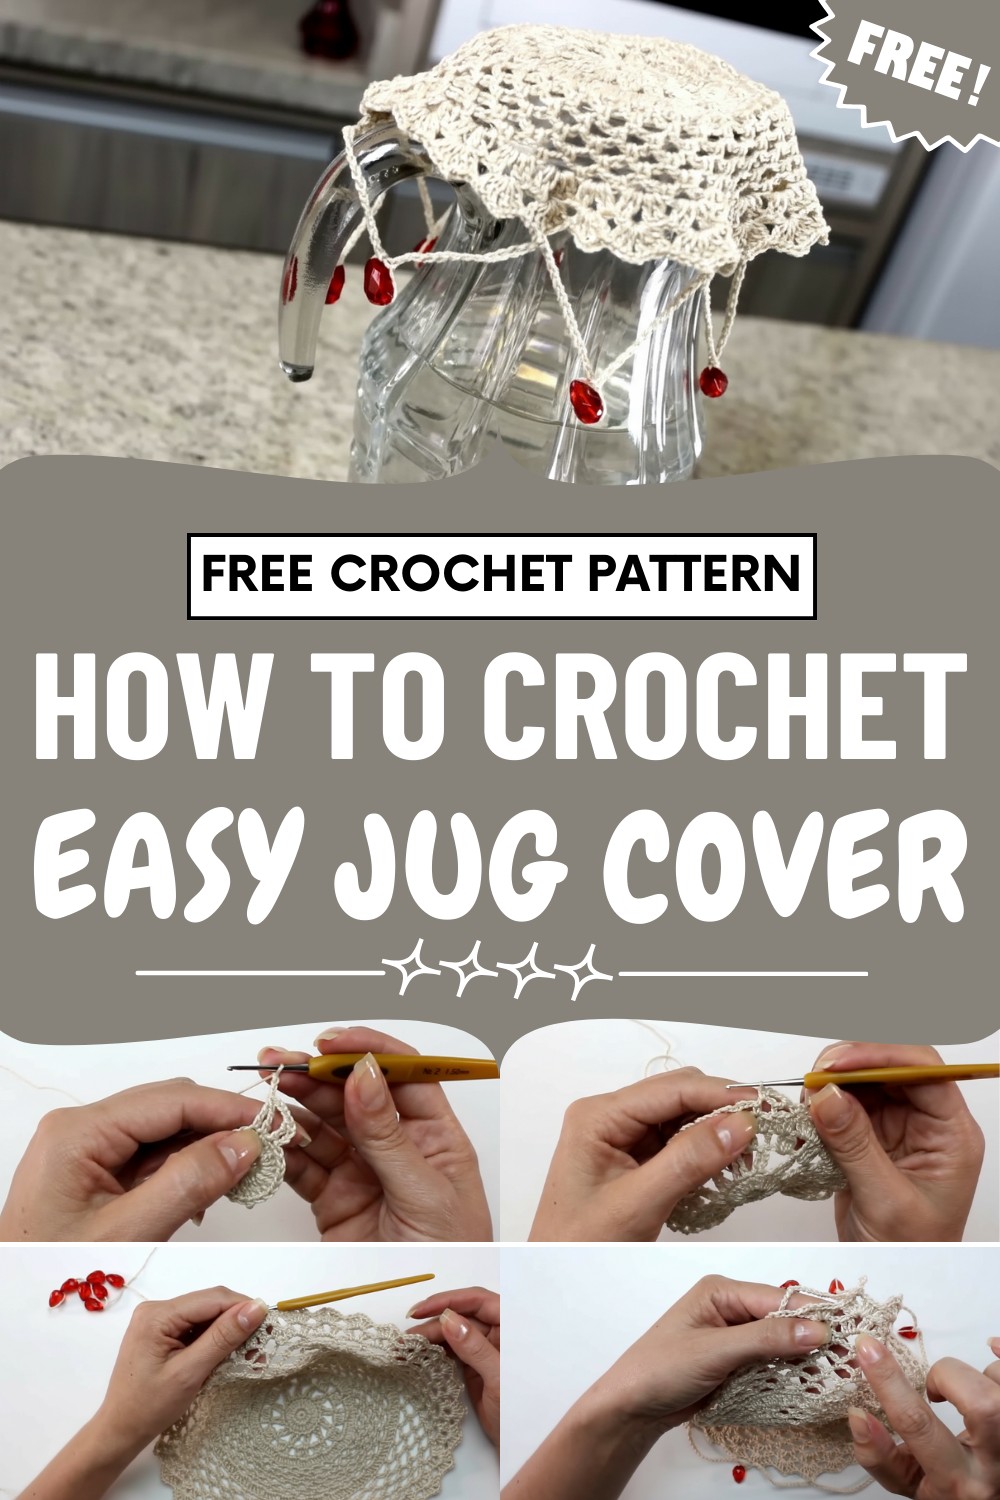
Most designs use small glass beads around the edges, which give it enough weight to stay in place even if there is a soft breeze. The final look is very delicate and fancy, turning a simple kitchen item into a beautiful piece of art.

It is a great project because it is small, fast to finish, and uses very little yarn. Since it is easy to wash and reuse, it is a kind choice for the planet. Using this lovely design makes your table look elegant and keeps your drinks fresh.
Special Features
- Decorative beaded/pearl border
- Weighted edge to help hem drape perfectly
- Fits multiple jar sizes
- Elegant V-stitch and lace mesh
- Customizable design for colors and beads
Level of Difficulty
Intermediate:
Requires basic crochet knowledge (magic ring, single crochet, double crochet, V-stitch, mesh stitch, and sewing beads).
Uses
- Decorative jar cover for storage or gifting
- Home decor for kitchen, bathroom, or living spaces
- Special occasion centerpiece (can be made in theme colors)
Materials Needed
- Cléa 5 thread (or similar thin crochet thread; one ball covers multiple projects)
- 1.5 mm crochet hook
- Small hand-sewing needle (to thread pearls/stones)
- Scissors
- Small stones, pearls, or beads (lightweight; about 7 for small, or more for larger jars)
- Sewing thread for stringing beads/pearls
- (Optional) Measuring tape for sizing
Step-by-Step Pattern
1. String Beads or Pearls
- Thread your sewing needle with a length of Cléa 5 crochet thread.
- Pre-string 7 small pearls/stones for a basic size (or more if desired, spacing them closely).
Tip: String the beads first; it's much easier than threading them onto a finished piece!
2. Crochet the Magic Ring Base
- With your 1.5mm crochet hook, make a magic ring.
- Round 1: Crochet 12 single crochets (sc) into the ring. Join with a slip stitch to close.
- Tighten the ring and make sure your base is flat.
3. Increase Rounds
- Round 2: Chain 3 (counts as double crochet), work 2 double crochets (dc) into each base stitch around (total 24). Join with slip stitch.

- Round 3: Chain 4 (counts as first double treble crochet, dtr).
- In next stitch, make another dtr, leaving the last loop on the hook;
- Repeat in the next stitch; when 3 loops on hook, yarn over and pull through all.
- You are working pairs of dtr together, separated by chain 3.
- Continue, join at the end with slip stitch.
4. Cluster Rows
- Round 4: (Begin cluster mesh)
- Chain 3, 2 ch for space.
- In the next open space, work four double crochets together (dc4tog) into the space.
- Chain 2, dc in top of previous clusters, etc.
- Repeat around and join with slip stitch.
5. Solid Double Crochet Rows
- Round 5:
- Work 2 double crochet on previous cluster, then 3 dc into each open space around.
- Repeat around, join with slip stitch.

6. Initial Mesh (Net) Rows
- Round 6:
- Mesh round: Chain 3, skip 2 stitches, single crochet in next.
- Repeat: (Ch 3, skip 2, sc in next) all the way around.
- Work a total of six mesh rounds (adjust to fit your jar’s height).
7. Finish for Small Jar (if making a small size)
- After mesh/net rounds, proceed directly to final edge/finishing after completing six rounds.
8. For Larger Jar
- Continue with additional mesh rows or follow the video for a taller net portion before edge.
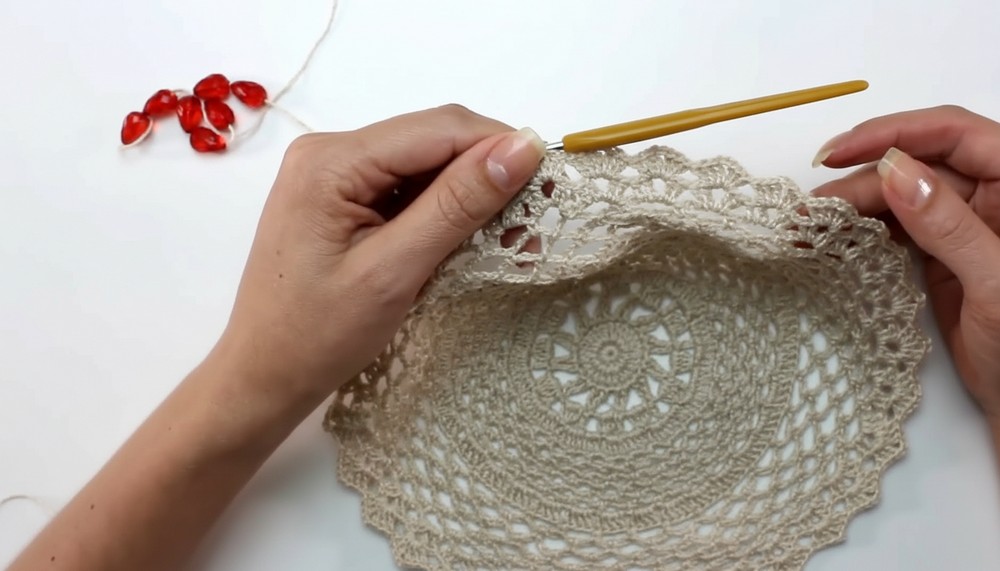
- Add V-stitch rows for a more elaborate hem:
- V-Stitch row: In each mesh space, (2 dc, ch 2, 2 dc).
- Next row: (3 dc, ch 2, 3 dc) in each mesh space for a triple V-stitch.
9. Beaded/Pearl Edge Finishing
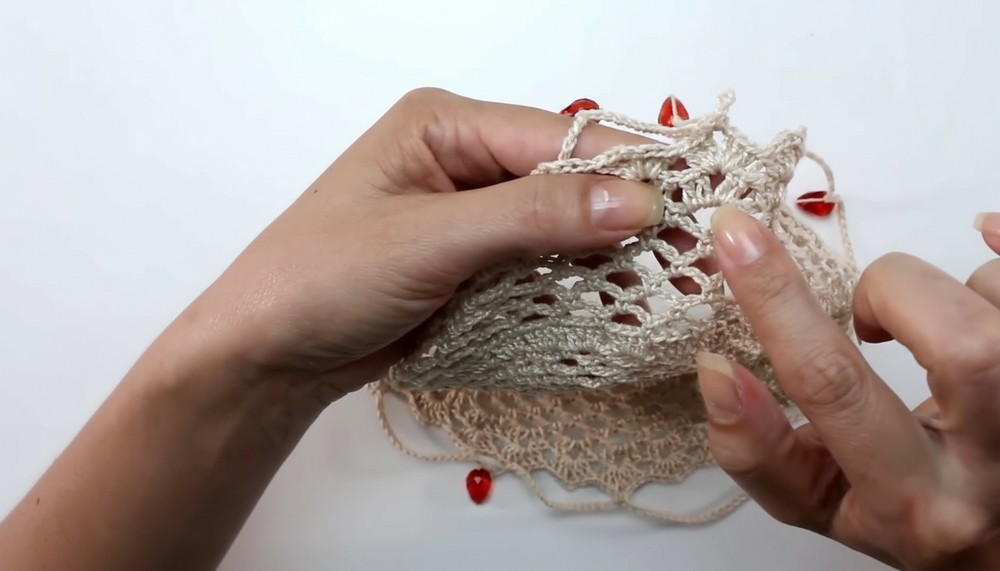
- Time to work the decorative chain loops with beads!
- For small jar: Chain 15, slide bead up to hook, chain 15 more.
For larger jar: Chain 20, add bead, chain 20. - After each chain/bead/chain, skip 4 V-stitches (or spaces) on your hem, then join with a single crochet.
- Repeat until you circle the entire edge, evenly spacing beads/pearls.
- On your last repeat, if fewer stitches remain, adjust skip as needed for symmetry.
10. Finishing
- Fasten off yarn.
- Weave in all threads with a tapestry needle.
- Adjust and smooth the cover, letting the beads hang for weight.
Tutor’s Suggestions
- String all beads/pearls before you start crocheting.
- Use lightweight beads to avoid stretching the lace.
- For easily passing beads onto thread, use a fine sewing needle.
- If using heavier beads, add reinforcement rows to the bottom edge.
Tip
When making for different jar sizes, simply adjust the number of mesh rounds for height and vary the number of chains in each beaded loop to fit the circumference. It’s very flexible!
Conclusion
You’ve created an elegant, beaded crochet jar cover that beautifully dresses up plain jars with charm and style. Perfect for gifting and upcycling—everyone will love this unique touch to a simple household item.


Leave a Reply