
Soak up sunny days with this free crochet bikini top pattern that designed to spark creativity and add playful charm to your summer outfits.
Turn heads at the beach or poolside with a beautifully handmade swimsuit piece that combines both elegance and comfort. A crochet bikini top pattern allows you to create unique, customized swimwear bursting with personality and charm. Delight in the airy, breathable nature of crochet cotton or blends that keep you cool while offering a secure and comfortable fit.
Vintage Crochet Bikini Top Pattern Perfect for Sun Seekers
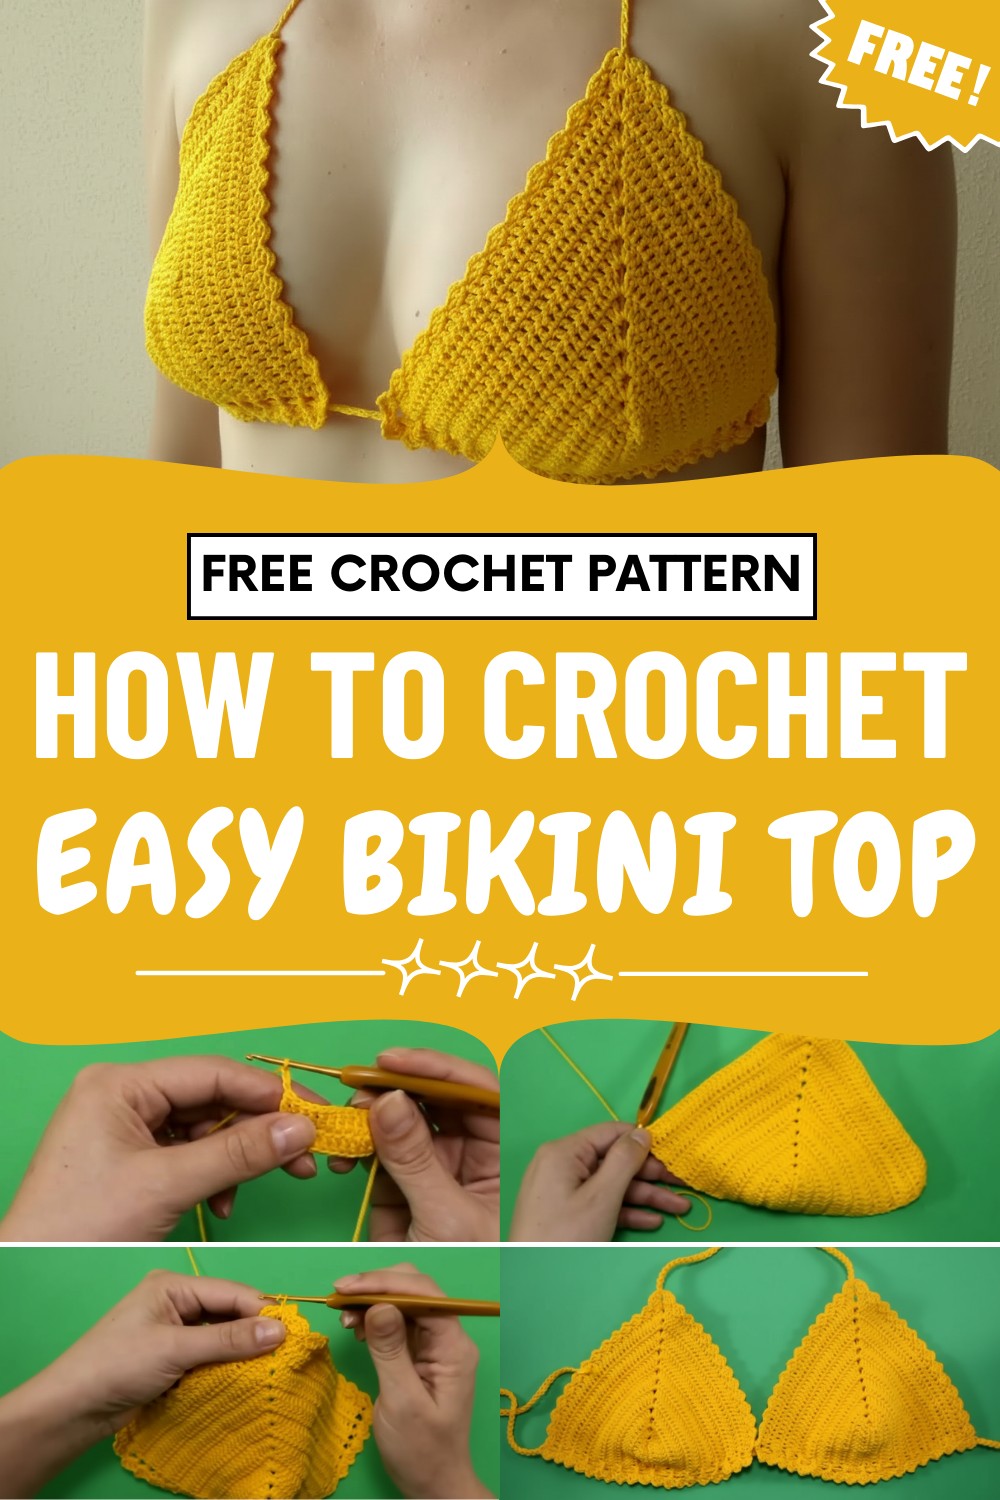
With endless options for color, detail, and texture, each finished top brings a touch of bohemian chic to any summer wardrobe. Perfect for layering under sheer tops or pairing with high-waisted shorts, this top transition effortlessly from shore to street style.
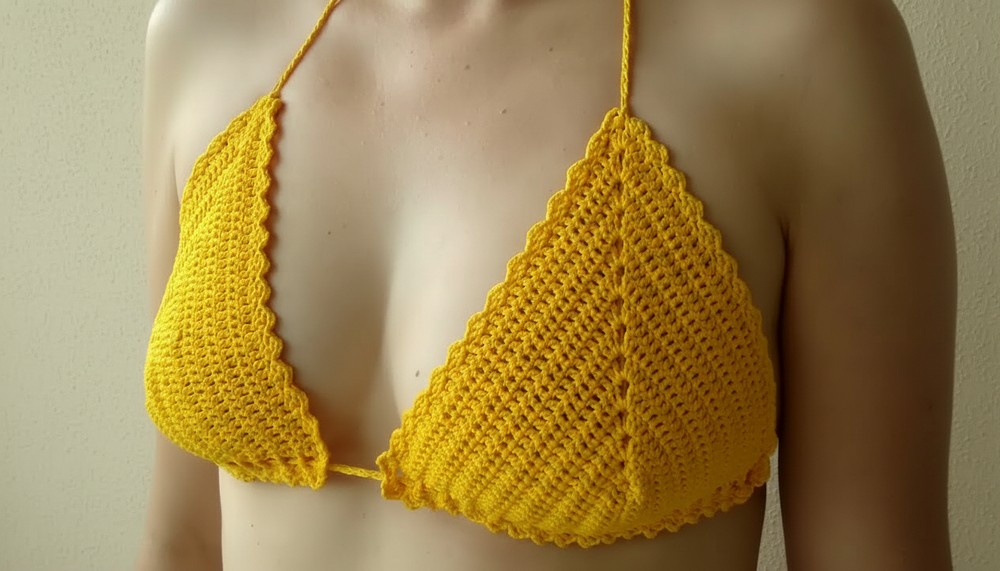
Enjoy the versatility and confidence that comes from wearing something tailor-made, whether you’re soaking up the sun or attending a festival. Presently, crocheted swimwear reigns as a trendy favorite among fashion-forward creators, offering a perfect blend of handmade artistry and modern style in every stitch.
Special Features
- Adjustable Fit: Features neck and underbust cords for a custom, comfortable fit.
- Elastic & Fast Drying: Verano yarn is 100% polyamide—soft, stretchy, and great for swimwear.
- Neat Finishing: Includes optional inner cover for modesty and sturdy double chains for the straps.
- Size Customization: Easily adaptable for sizes P (S), M, and G (L) by adjusting row count.
Level of Difficulty
Beginner-Friendly
Skills used: chain, double crochet, single crochet, increases, decreases, double-chain cord, basic sewing in ends.
Materials
- Yarn: 2 skeins Circulo Verano, color 616 (165m each, 100% polyamide)
- Hook: 2.25mm crochet hook
- Notions: Scissors, tapestry needle
Step-by-Step Pattern
1. Make the Bikini Cup (Make 2)
Foundation Chain
- With Verano yarn, chain 15.
Row 1
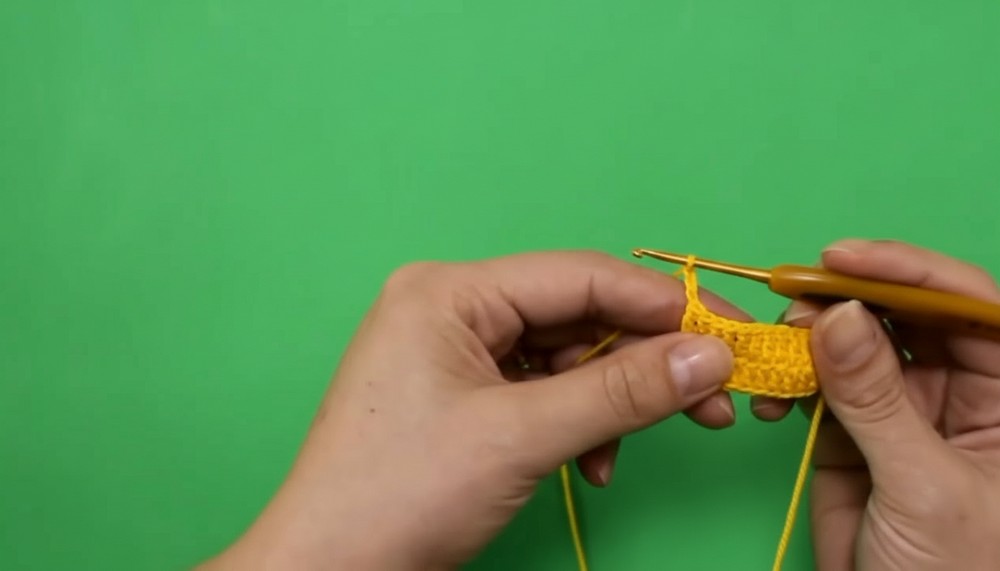
- Skip 3 chains (counts as first dc), dc in 4th chain from the hook.
- Dc in each chain to end. (You will have 13 dc.)
Row 2 (Corner Increase)
- Ch 2, turn.
- Dc in same stitch (first dc of the previous row) for a corner increase.
- Dc in each dc across this side (the “bottom”). (13 dc)
- Continue working around the corner: ch 3 (turning chain), turn.
Row 3 and All Following Rows (Triangle Shaping)
- Dc in each stitch until you reach the corner (the two chains in the previous row).
- In the corner space: Work (2 dc, ch 2, 2 dc) in same space (this forms the pointed tip).
- Continue dc in every stitch to the end.
- Ch 3, turn. Repeat as above.
Increasing the Cup
- After every row, you add 2 new dc (one per "side") as you increase at the top/center.
- For Size G/L: Make 14 rows (count rows on one side only).
- For Size M: Make 12 rows.
- For Size P/S: Make 10 rows.
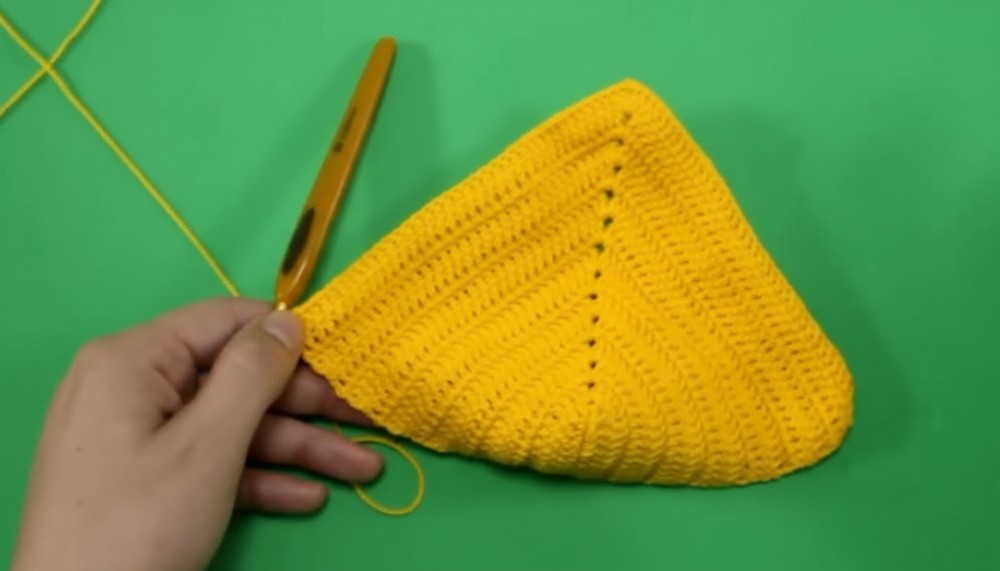
(Adjust as needed for coverage—try on as you go!)
2. Creating Spaces for the Underbust Cord
- At the last row's base: Ch 3, turn. (Acts as first dc)
- (Dc, ch 1, skip 1) across the whole base edge to form a row of dc, ch 1, skip 1 mesh spaces.
- When you reach the tip, fasten off.
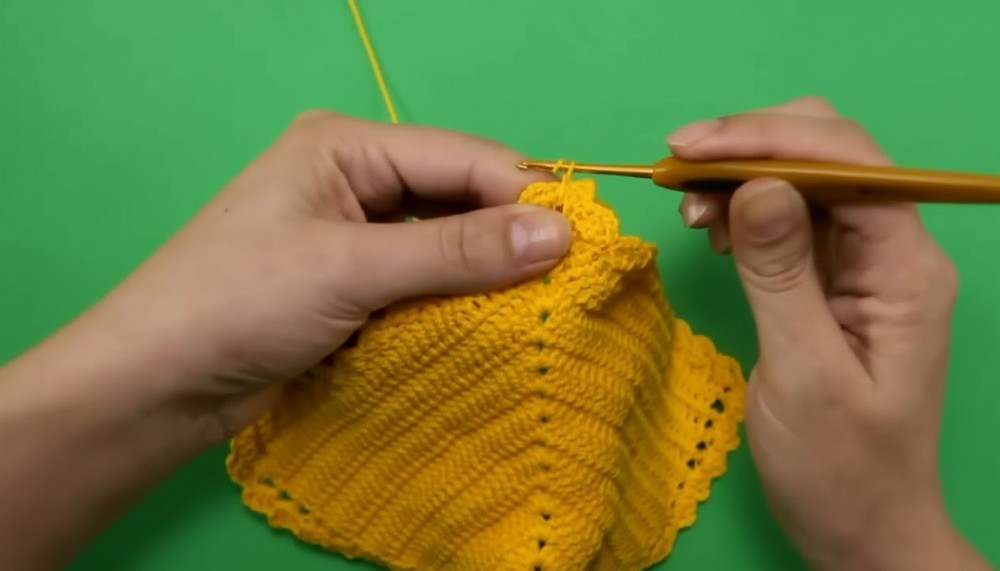
3. Decorative Edging Around Cup
- Join yarn at one tip.
- (Ch 3, 2 dc in same st, skip 2 sts, sc in next st) – repeat along all edges to form decorative fans, working around the entire cup.
- At the end, slip stitch to starting point.
- Weave in all ends securely between stitches.
4. Straps & Cord
Neck Strap (Make 2)
- Join yarn in the top center point of each cup (the ch-2 space at the triangle tip).
- Ch 29 (or adjust for length; try on as you go).
- Work double-chain cord:
- (Ch 1, sl st back into previous st, ch 1, sl st in previous, repeat)
- Continue until you reach approx. 35 cm.
- Fasten off, knot the end, and weave in tail for neatness.
Underbust Cord
- Make a double-chain cord (see above) about 1 meter long or to your desired length.
5. Optional Inner Finishing (for Modesty or Full Coverage)
- If preferred, join yarn at the inside cup before the first corner space.
- (Ch 2, sc in next mesh/space) repeatedly along the interior bottom edge, bridging the mesh gaps.
- At end, weave in and hide all tails.
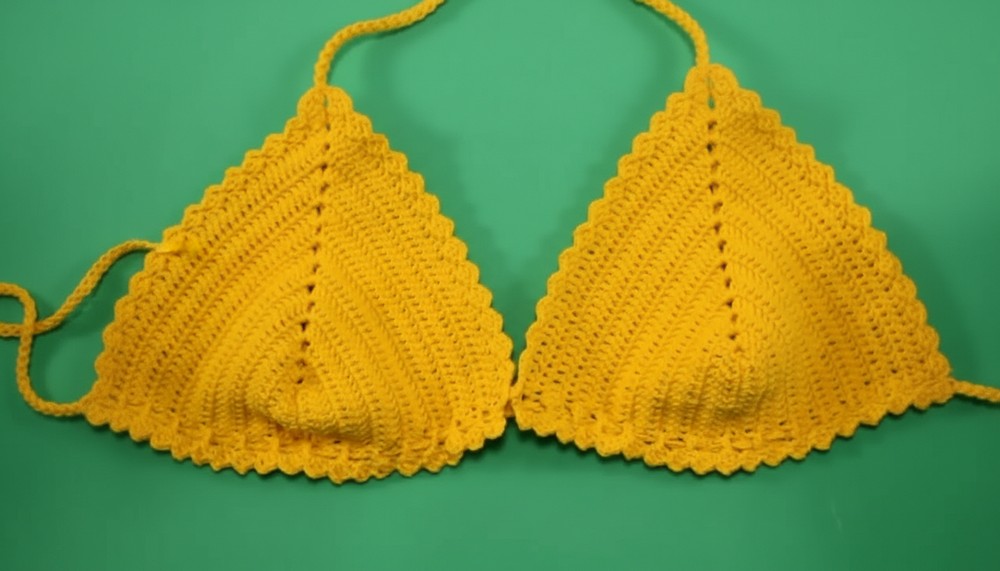
6. Assembly
- Align both cups, right side up.
- Weave the underbust cord through the dc mesh spaces at the base of the cups, entering from outside edge to inside, looping through both cups.
- When wearing, tie the neck straps and back cord to fit.
Tutor’s Suggestions
- Customization is key: Try the cup against your body and adjust number of rows or chain length for best fit.
- If you prefer more coverage or support, add extra rows to each cup.
- Weave ends neatly to avoid loose threads—or unraveling at the beach!
- Use a color that matches your style. The elastic and quick-dry properties of Verano yarn make it perfect for swimwear.
Uses
- Swim top/bikini
- Bralette for layering
- Festival/carnival fashion or summer beachwear
- Makes a wonderful, quick summer gift!
Tip
Block your finished top: Gently wet and shape cups over a round surface (like a bowl) and air dry to ensure perfect drape and shape!
Conclusion
Congratulations! You’ve made a chic, comfortable crochet bikini top, perfect for summer fun. Experiment with colors and sizes for a whole collection. Wear your creation with pride and confidence—handmade is always unique.




Leave a Reply