
Carry small essentials with this Free Crochet Drawstring Pouch Pattern, perfect for gifting, organizing, and adding charm to daily routines.
A small yet stylish accessory, this pouch adds charm and practicality to everyday life. Perfect for storing jewelry, coins, cosmetics, or small personal items, it keeps essentials organized and easy to carry. The drawstring closure ensures that items stay secure while adding a decorative touch to the design. Its compact size and lightweight nature make it ideal for travel, gifting, or daily use, and it pairs beautifully with casual or elegant settings.
Handy Crochet Drawstring Pouch Pattern Perfect for Tiny Treasures
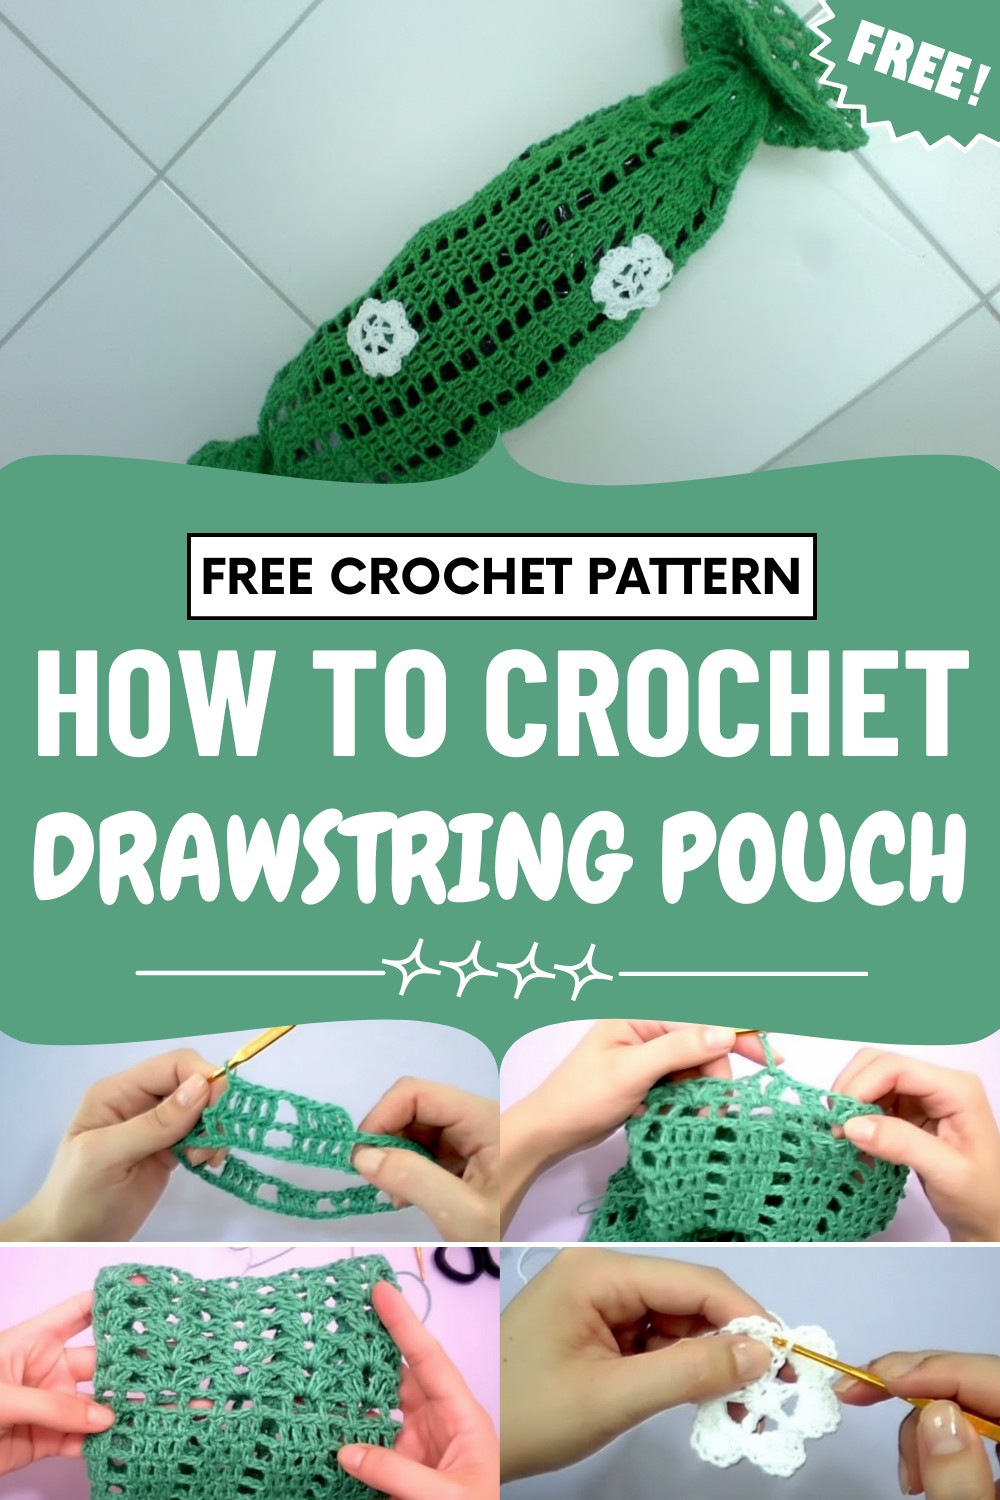
The Crochet Drawstring Pouch Pattern allows flexibility in yarn type, color, and size, so each pouch can reflect personal style and creativity. The texture and stitches give it a delicate yet sturdy feel, combining durability with visual appeal.
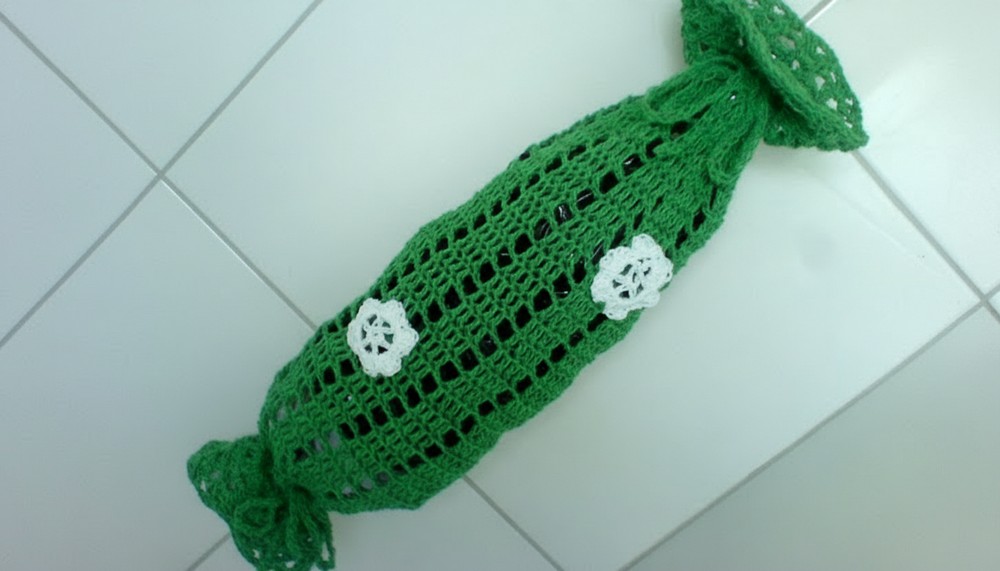
Whether used as a thoughtful gift or a personal accessory, this pattern brings a handmade charm that is practical, elegant, and timeless, turning a simple pouch into a versatile and stylish addition to any collection.
Special Features
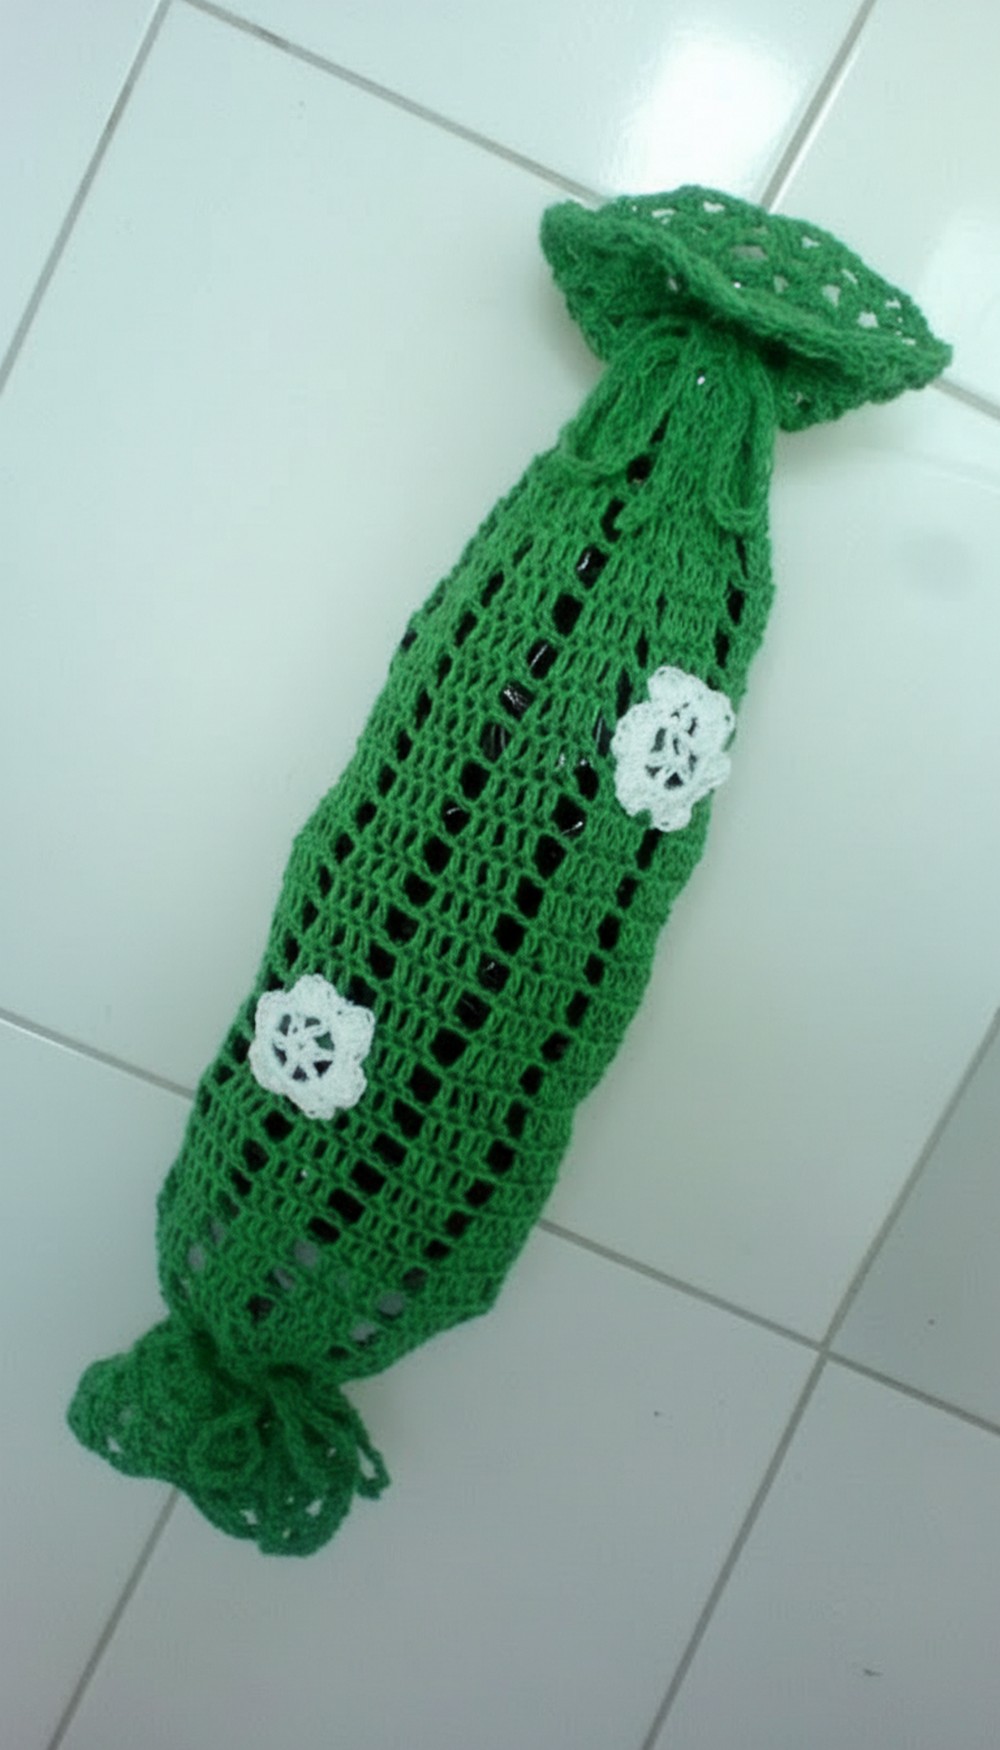
- Structured Tubular Body: The openwork creates plenty of stretch and breathability.
- Dual Drawstring Ends: Closes both top and bottom for secure, versatile hanging.
- Decorative Flower Accent: Adds a joyful, handmade embellishment.
- Durable Design: Sturdy cotton or string yarn ensures long-lasting use.
- Quick and Enjoyable: Repetitive rows make this a relaxing project.
Level of Difficulty
Beginner to Advanced Beginner. You will use foundation chains, double crochets, V-stitches, simple decreases, and basic assembly techniques. The stepwise repetition makes it easy for newer crocheters.
Suggested Uses
- Store and dispense plastic bags (bag dispenser)
- Organize produce in the kitchen
- Stash small items, toys, or yarn balls
- Gift bag for handmade goods
- Add to bathroom/kitchen as handy decor
Materials
- Twine or sturdy cotton yarn, size 4 (green suggested)
- Remnant of white 100% cotton yarn for the flower
- 2 mm crochet hook (hook size 5 as referenced, check for yarn compatibility)
- Tapestry needle for finishing and sewing the flower
- Scissors
- Ruler or measuring tape (for cords)
Step-by-Step Pattern
1. Body of the Bag
- Chain 60.
Form a ring by joining into the first chain with a slip stitch, being careful not to twist. - Round 1:
- Chain 3 (counts as first dc).
- Dc in next 3 ch (4 dc total).
- Chain 2 (for space), skip 2 ch, dc in next 4 ch.
- Repeat from * to * around, ending with chain 2, join with a slip stitch to top of starting ch-3.

- Rounds 2–27:
- Chain 3 (counts as first dc).
- [Dc in next 3 dc, chain 2, dc in next 4 dc (each group from the previous row)] repeat all the way around.
- Always chain 2 between blocks of 4 dc.
- Join each round with a slip stitch to the third starting chain.
Note: Repeat until you have 27 rows of this openwork pattern, or until bag reaches desired length.
2. Cord Insertion Round
- Chain 3, chain 2 (for space).
- Skip 2 dc, dc in last dc of the 4-dc group below (you now create "windows" all around).
- Chain 2, dc in last dc of next group; repeat around.
- Join with a slip stitch to the third chain.
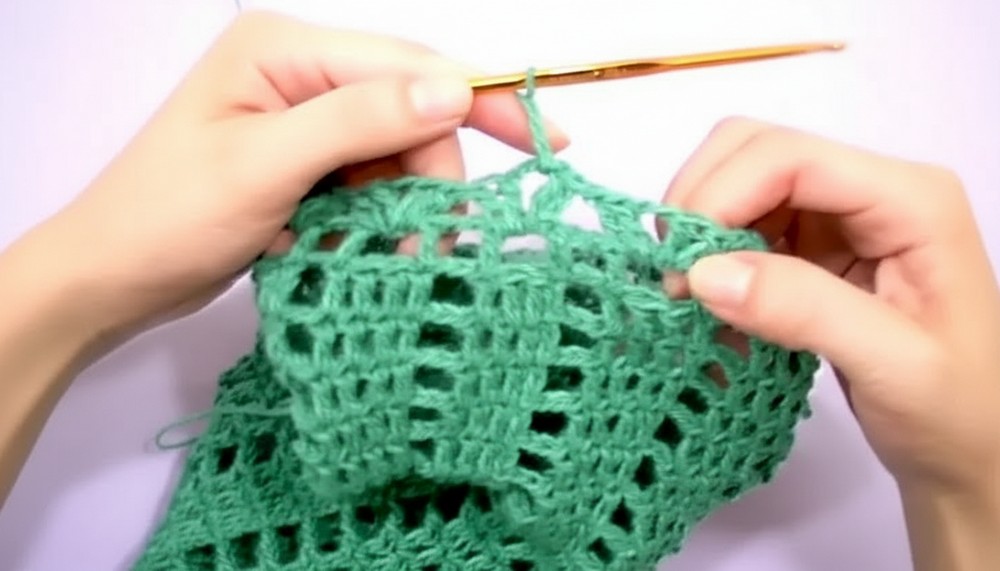
3. Ruffled Double V-Stitch Edges
(Make these edging rounds at both bag ends — after finishing one, repeat on the other side.)
- Slip stitch to middle of any chain-2 space.
- Chain 3, dc, chain 2, 2 dc (all in the same space) — this creates a double V-stitch.
- Skip next chain space; in the following chain space, 2 dc, chain 2, 2 dc (double V-stitch); repeat around, skipping one ch-space each time.
- Join with slip stitch to top of starting chain 3.
- Slip stitch to chain-2 space in V-stitch to start next round.
- Work 5 rounds total of double V-stitch edging.
Fasten off, weave in ends. Repeat same set (steps 1–6) on the other side of the bag.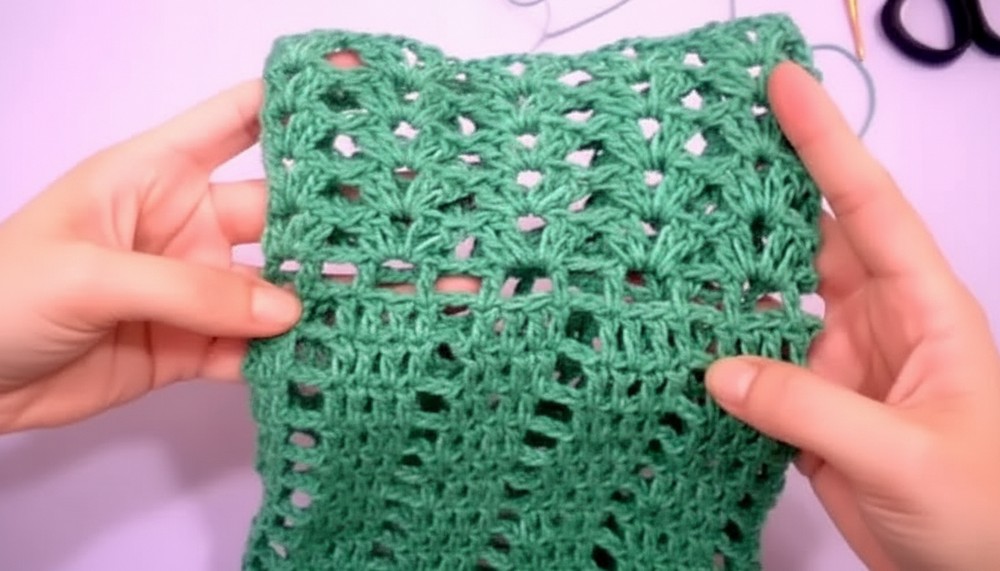
4. Make the Cord (Make Two)
- Using the same yarn, chain 2.
- Insert hook into first chain, yarn over, pull through (2 loops on hook).
- Yarn over and pull through both loops — forms a single crochet.
- Insert hook into side of previous single crochet (the "chain" formed), yarn over, pull through, yarn over and pull through both loops.
- Repeat step 4 until cord measures 60 cm.
- Leave a tail, thread onto tapestry needle. Weave the tail back through several stitches for security, trim excess.
- Repeat for second cord.
5. Attach Cords
- Thread one cord through the "windows" or chain-spaces at one end, skipping two dcs between each insertion.
- Repeat with the second cord at the other end—thread through the opposite side's eyelets.
- Tie ends in a secure knot if desired.
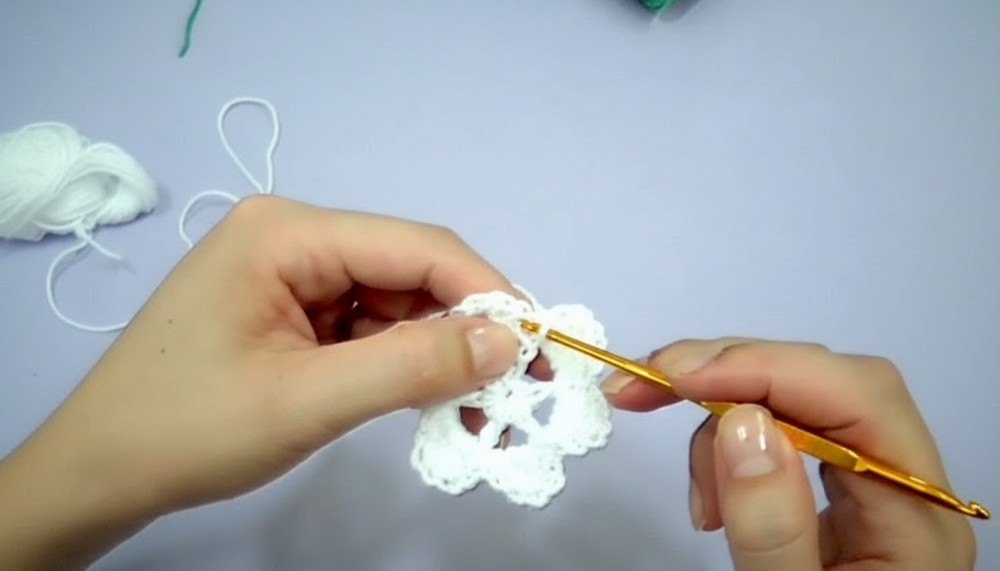
6. Crochet Flower (Embellishment)
- With white yarn:
- Chain 5, join with slip stitch into ring.
- Round 1: Chain 3, two chain spaces, dc into ring, chain 2 — repeat for a total of 6 dc (each separated by ch-2).
- Join with slip stitch to third chain.
- Petals: In each chain-2 space:
- Sc, hdc, 2 dc, hdc, sc.
- Repeat in each ch-2 space for 6 petals.
- Fasten off, leaving a long tail for sewing.
7. Attach Flower
- Use tapestry needle and yarn tail to sew flower to your drawstring bag at your preferred spot.
- Sew around the base of petals using a loose but secure slip stitch, catching both the bag and a loop of each petal as you go.
- Fasten off, weave in ends.
Tutor’s Suggestions
- Make a long, thick cord using the double chain method for extra strength—ideal for bags that will carry weight.
- Sew the flower to an area that won’t be heavily handled to preserve its shape.
- For a more elaborate look, add more flowers or use a multicolor yarn for the body.
Pro Tip
Keep the two sides of the bag open when sewing on the flower. Only stitch through the outer layer, so the bag remains usable and doesn’t close accidentally.
Conclusion
Congratulations! You’ve completed your own versatile, eco-friendly crochet drawstring bag—complete with a decorative flower. This project is not only practical but allows loads of creative customization.




Leave a Reply