
Carry your essentials with flair using this Free Crochet Card Holder Pattern that’s perfect for compact, chic, and handy everyday use.
A small and useful accessory makes it easy to keep cards organized while looking stylish. The Crochet Card Holder Pattern designs a lightweight holder perfect for credit cards, ID cards, business cards, or other small essentials. Its slim size makes it easy to carry in a bag or pocket, and the crochet texture gives it a cute and handmade look. You can pick different colors or stitch patterns to make each holder unique and personal.
Handy Crochet Card Holder Pattern for Everyday Comfort
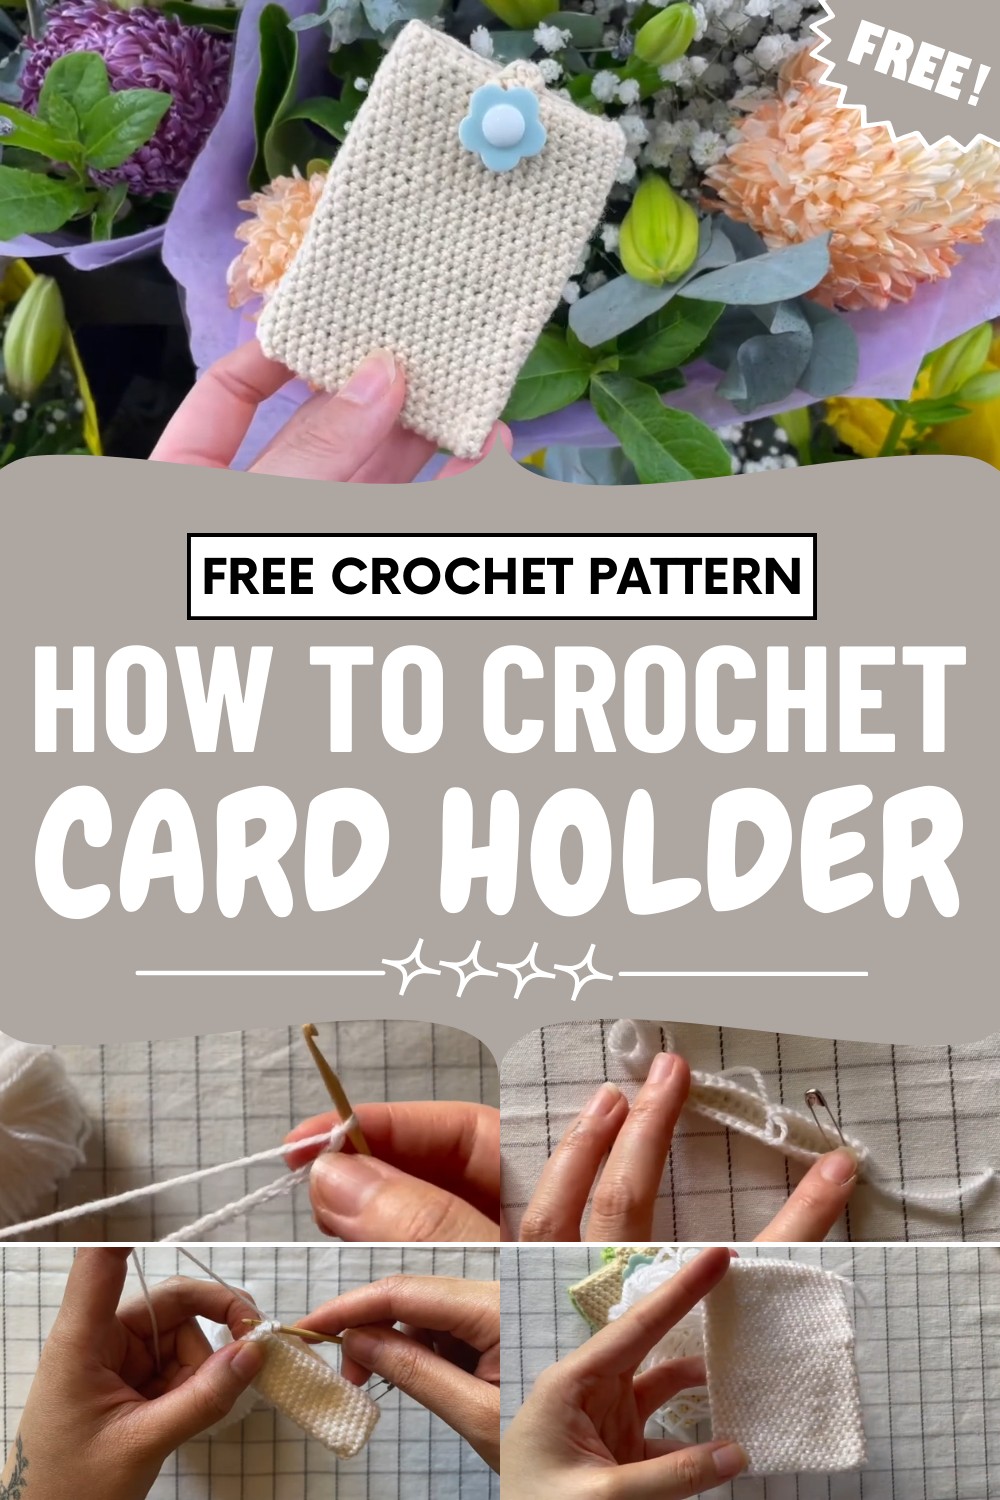
Making this piece is fun and relaxing while also helping improve focus and crochet skills. The finished card holder is strong, easy to use, and lasts a long time, making it great for yourself or as a gift.
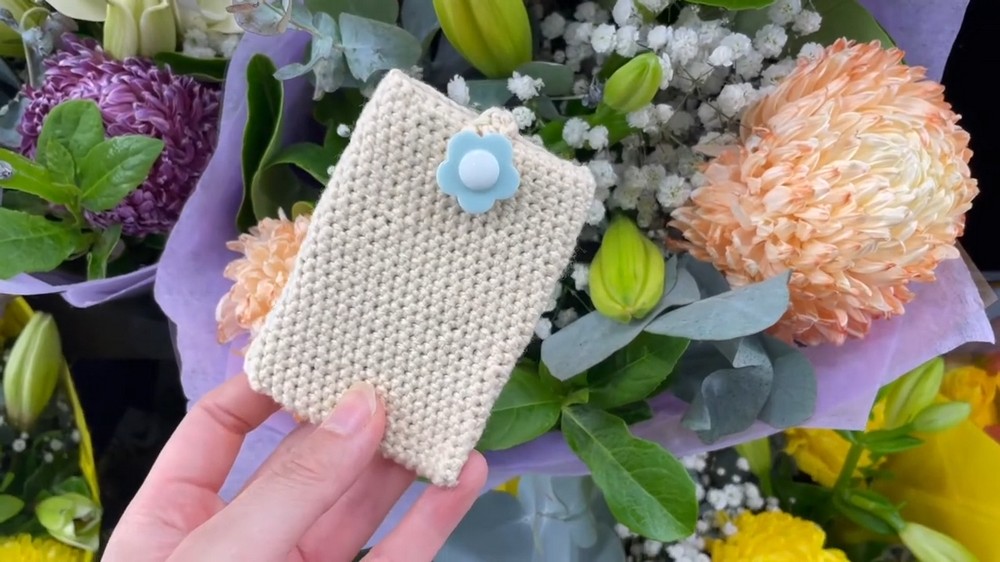
The Crochet Card Holder Pattern turns simple yarn into a practical and pretty accessory that keeps everyday items organized while adding charm and style.
Special Features
- Secure Button Latch: Keeps all your cards safe inside.
- Customizable: Mix and match yarn colors with statement buttons for a personalized look.
- Chunky Texture: Durable and easy to handle for everyday use.
- Quick Make: Easy pattern, finished in under an hour!
- Beginner Friendly: Uses simple stitches and basic techniques.
Level of Difficulty
Beginner – Simple stitches, minimal shaping, and straightforward assembly.
Uses
- Credit card or business card holder
- Gift card wallet
- Mini wallet for small essentials
- Stylish bag accessory
Materials Needed
- Chunky or durable fiber yarn in your preferred color
- 3mm crochet hook (adjust hook size for your yarn weight)
- Statement button(s) of your choice
- Scissors
- Darning needle or a smaller crochet hook for weaving in ends
- Measuring tape
- Sewing thread (if button hole is too small for yarn)
- Stitch marker (optional)
Pattern Steps
1. Prepare Your Materials
Gather your yarn, crochet hook, scissors, darning needle or small hook, measuring tape, and button(s).
2. Crochet the Base
- Make a slipknot.
- Chain 17 for the width of the holder.
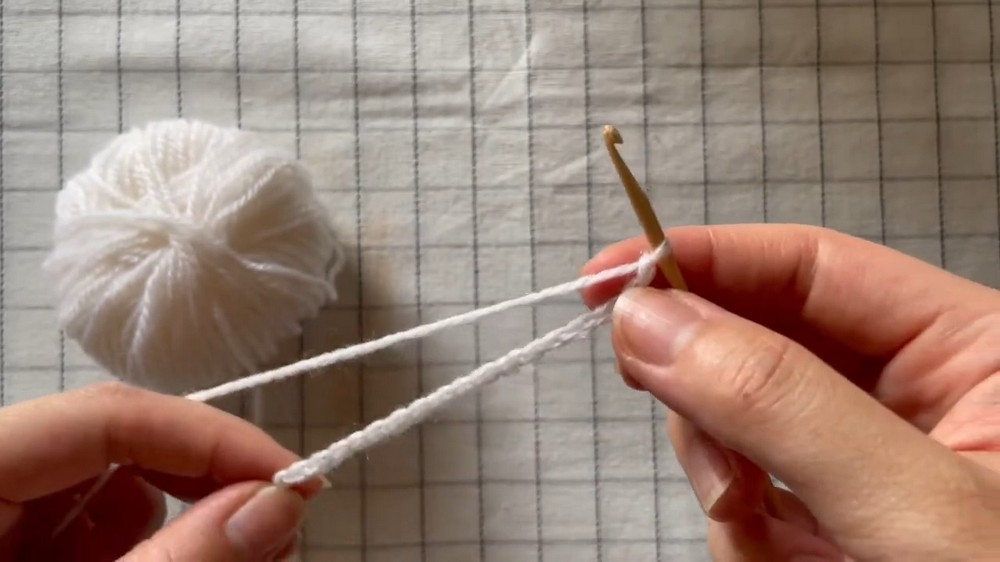
- Add three extra chains to create your turning chains (total: 20 chains).
- Turn the work, and single crochet into the fourth chain from your hook.
- Continue single crocheting across each chain until you reach the end.
3. Create the Turning
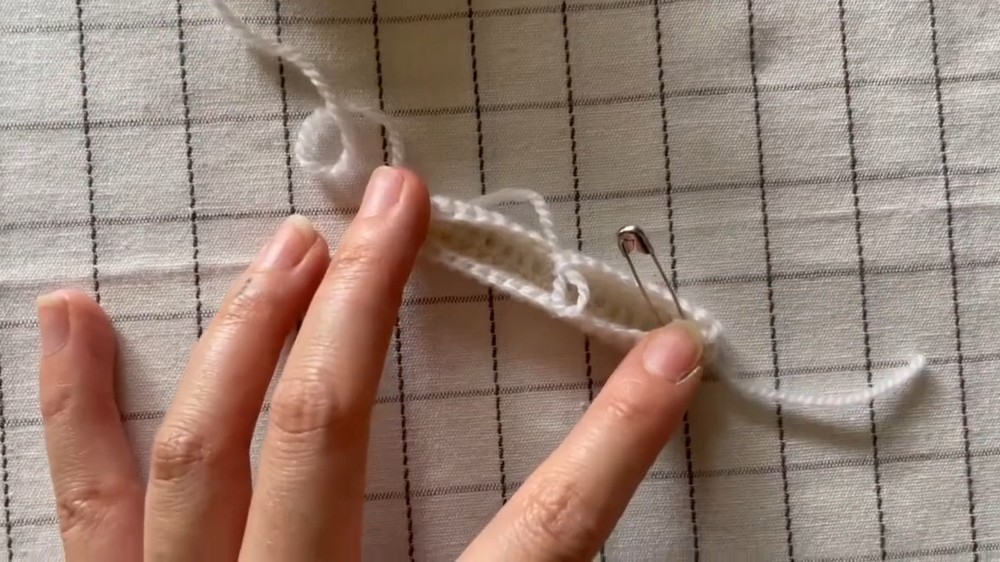
- In the last chain, make three single crochets to turn the corner.
- Optionally, add a stitch marker to note the beginning of your round.
4. Build Up the Sides
- Continue to single crochet around your piece, one stitch in each stitch, until your work measures approximately 70mm (2.75”) width and 95mm (3.74”) height.
- Check your measurements as you work, since tension may vary.
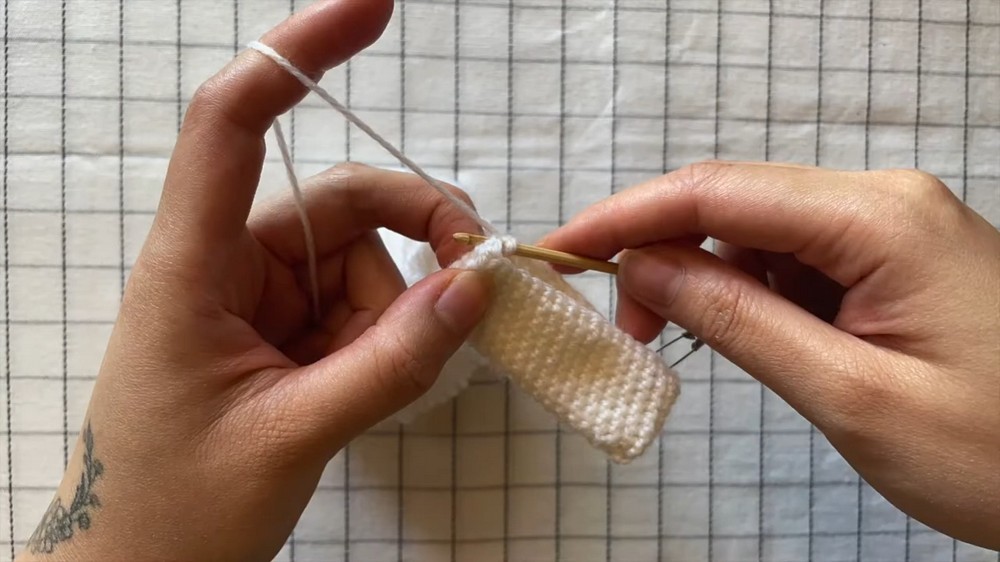
5. Finish the Main Body
- Once you reach the correct height, remove your stitch marker.
- Close the round with a slip stitch.
- Cut your yarn and leave a tail for weaving in.
6. Attach the Button
- Sew a statement button to the front of your card holder using thread or yarn (if the buttonhole is large enough).
- Be sure it’s securely fastened where you want your latch to close.
7. Crochet the Latch
- Make a slipknot and chain 20 (adjust according to your button size).
- Measure to ensure the length will comfortably fit around your button.
- Starting in the fourth chain from your hook, single crochet back along the chain.
- Finish with a slip stitch in the last stitch.
- Leave a longer tail for sewing the latch onto the card holder.
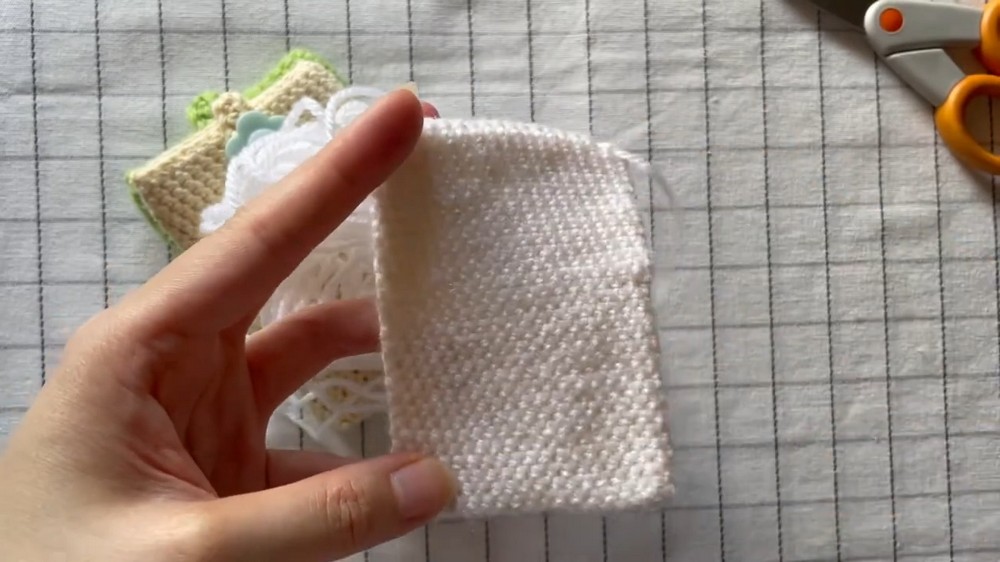
8. Attach the Latch
- Position the latch at the back/inside flap edge and sew the tails to secure.
- Ensure the loop fits snugly over your button.
9. Weave in the Ends
- Weave in all loose ends securely using your darning needle or small crochet hook.
Tutor’s Suggestions & Tips
- Use strong, durable yarn so your card holder stands up to daily use.
- Have fun choosing colorful or novelty buttons to make your project unique.
- Don’t stress if your measurements aren’t exact—adjust the initial chain length or rows as needed.
Conclusion
Your chunky crochet card holder is ready to use! Pop your cards inside, close the latch over the button, and enjoy your handmade accessory. This fun and speedy project is perfect for personal use or as a thoughtful gift.
Crochet Tip:
If your latch is too loose or tight, simply add or remove a couple of chains before crocheting back along the latch.




Leave a Reply