
Shape polished edges with this Crochet I-cord Pattern ideal for handles, trims, borders and finishing touches on all your crochet projects.
Making a thin and flexible yarn rope is a clever way to add words and symbols to your favorite projects. This Crochet I-cord Pattern helps you form a smooth, rounded string that is perfect for bending into shapes or letters. It works wonderfully as a 3D decoration on the front of a pillow or as a piece of wall art that spells out a name or a sweet message.
Refined Crochet I-cord Pattern That Frames Projects With Elegance
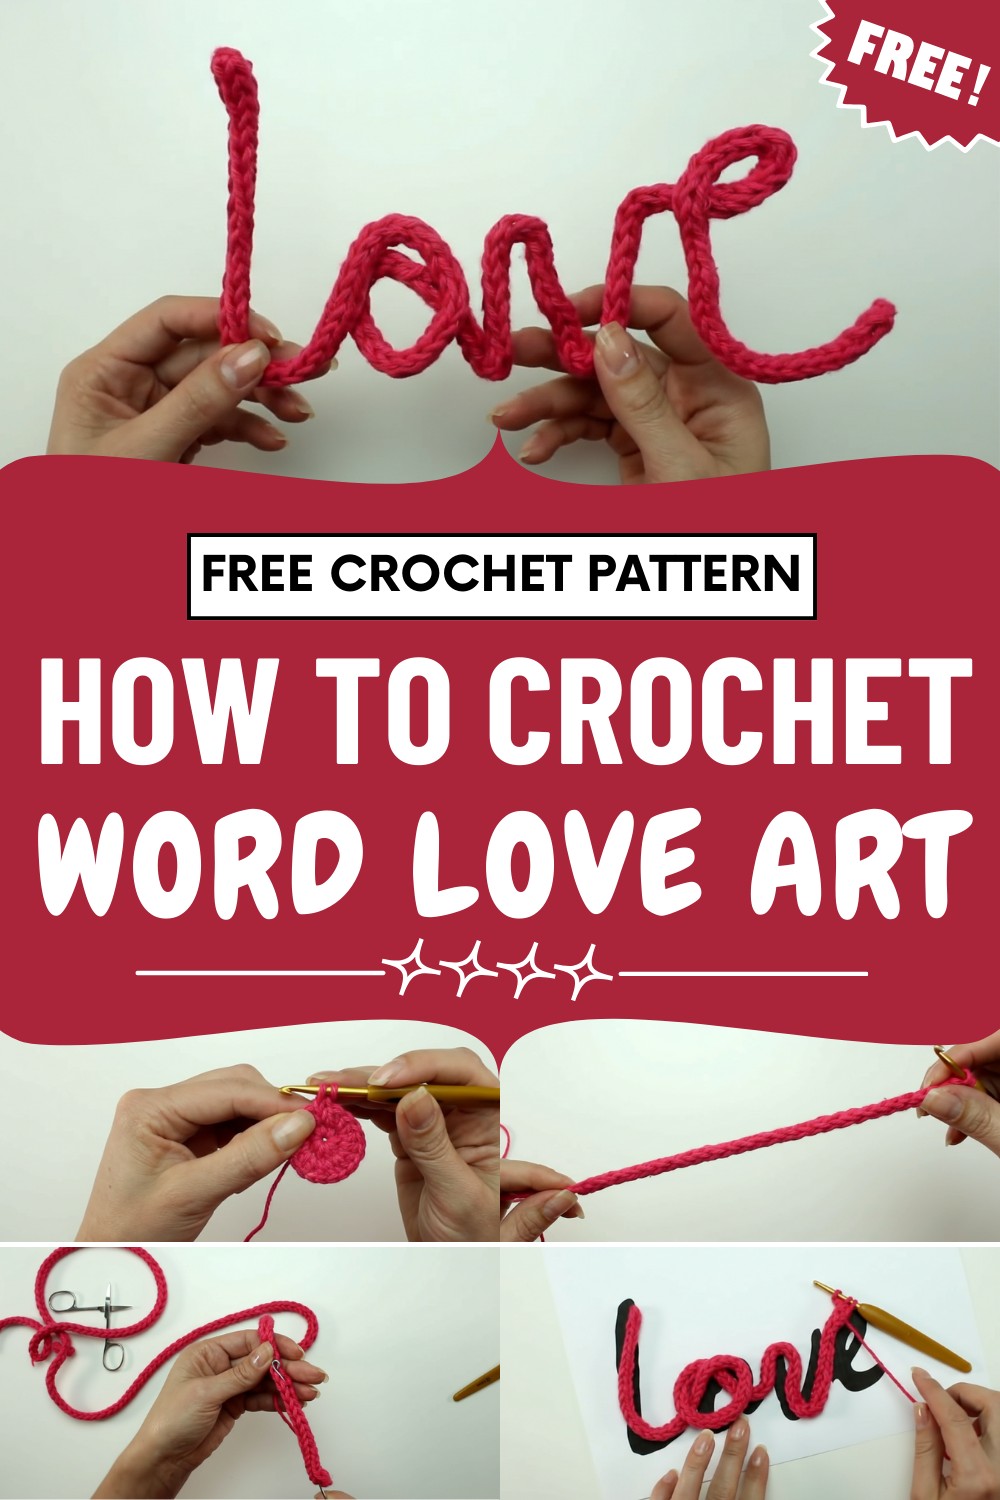
The final look is very neat and professional, giving your home a high-end feel that looks like it came from a trendy shop. Because the cord is sturdy but easy to move, it stays in place perfectly once you sew it down.
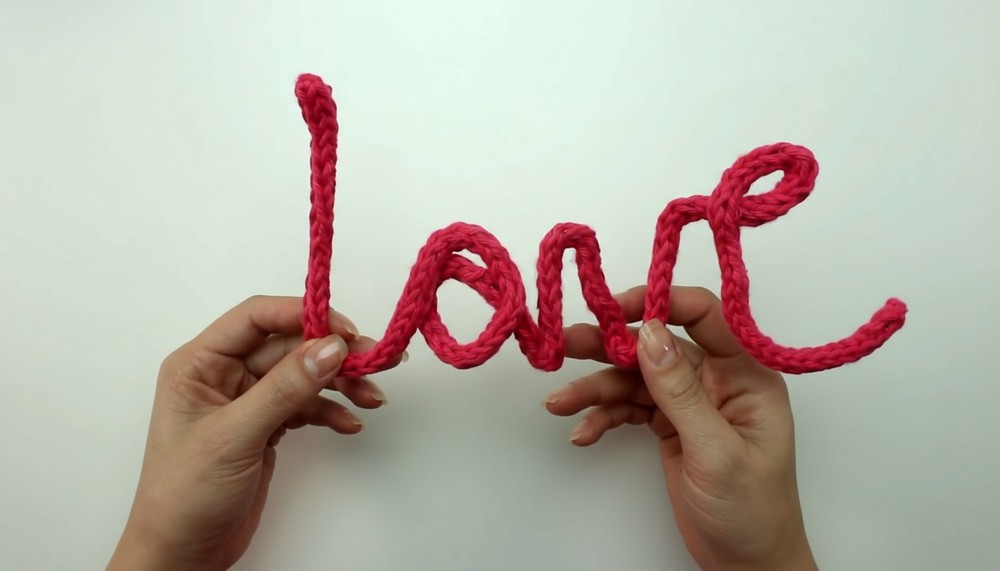
It is a smart choice for adding a personal touch to a baby blanket or a sweater for a friend. Using this design lets you turn simple yarn into a meaningful gift that carries a lot of heart.
Special Features
- 3D, sturdy cord: The I-cord creates a rounded, rope-like shape that holds its form well.
- Versatile function: Ideal for shaping words (like names), outlines, or drawings.
- Wire core: A hidden wire inside gives the cord flexibility and helps it keep its shape.
Level of Difficulty
Beginner-Friendly: If you know basic crochet stitches and can chain, you’ll find this technique approachable. A bit of patience is needed when threading the wire and shaping the final words or drawings.
Required Materials
- Yarn: Medium-weight cotton yarn (e.g., Barroco Maxcolor 6 for a thicker cord, Barroco Maxcolor 4 or Charme for something more delicate). Any leftovers work well.
- Crochet Hook: 4mm for Barroco Maxcolor 6, 3mm for thinner yarns.
- Wire: Galvanized, number 18 (or other sizes; thinner for more delicate work, thicker for sturdier shapes).
- Jewelry pliers: For bending and cutting the wire.
- Needle: Tapestry needle for finishing ends.
Uses
- Nursery and kids’ room décor (names, inspirational words)
- Event decorations (birthday banners, monthly milestones)
- Home décor (wall art, table or shelf displays)
- Gifts and party favors with personalized messages
Step-by-Step Pattern
1. Make a Slip Knot and Starting Chain
- Make a loop (slip knot) on your hook.
- Chain 3.
2. Form the Foundation
- Skip the first chain from the hook.
- In the second chain, pull up a loop (2 loops on hook).
- In the third chain, pull up another loop (now 3 loops on hook).
3. Establish Cord Rhythm
You will always keep 3 loops on your hook.
- Step A: Remove the hook from the last 2 loops (keep them on your finger so they don’t unravel).
- Step B: Yarn over and pull through the first loop left on the hook.
- Step C: Insert your hook into the next loop, yarn over and pull through.
- Step D: Repeat for the third loop.
- Now you have 3 loops again.
4. Continue the Cord
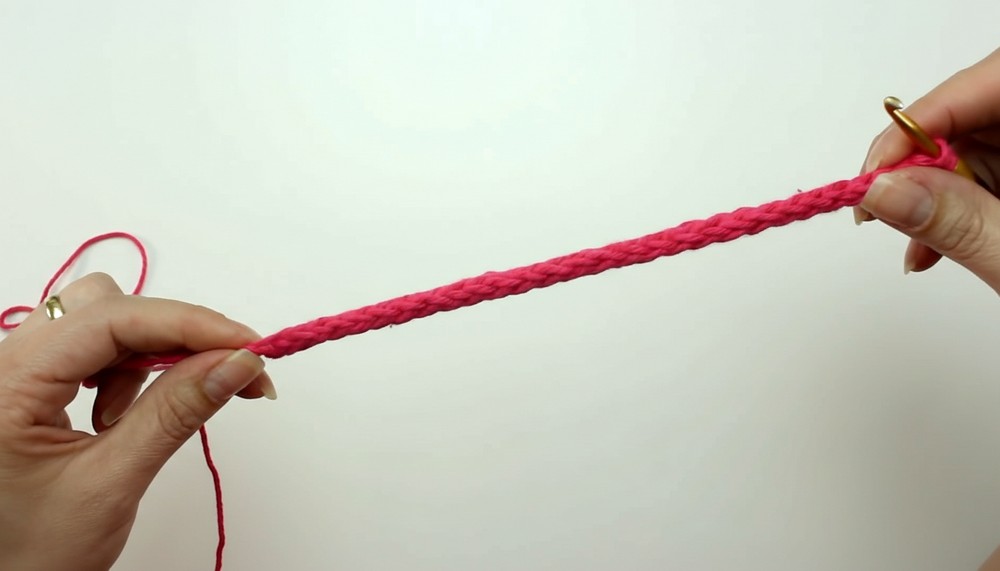
- Repeat the steps above, always working loop by loop, until you reach the length you need.
5. Measure & Plan for Your Word or Design
- Print or draw your chosen word or image at the correct size to use as a template.
- Periodically compare your cord’s length against your pattern.
6. Finish the Cord
- After reaching the desired length, finish by drawing the working yarn through all three loops, pulling tight to secure.
- Leave a long tail for weaving in.
7. Prepare and Insert the Wire
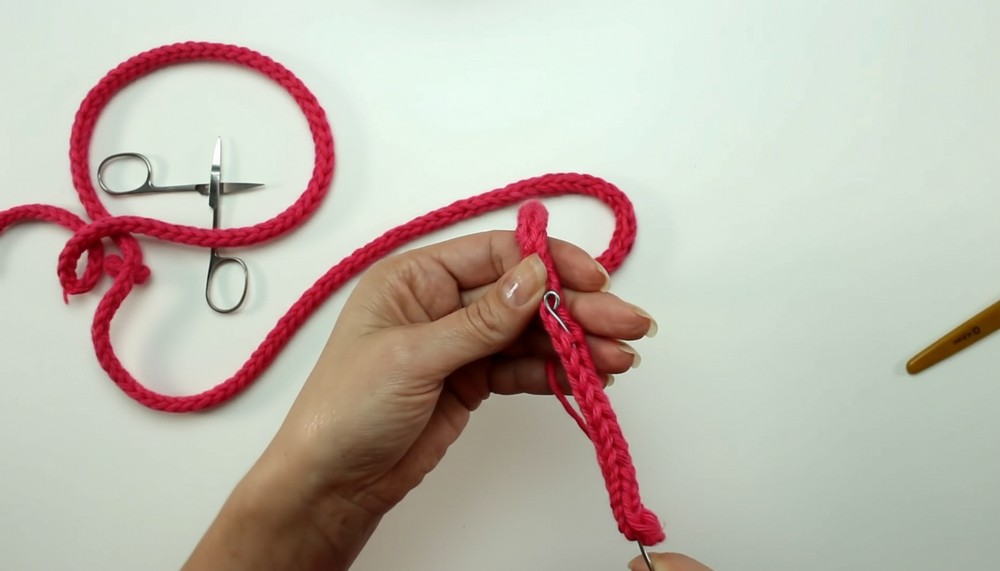
- Cut wire to match the length of your finished cord, adding 2cm extra on each end.
- Bend each end of the wire into a small hook or coil to prevent it from poking through.
- Carefully thread the wire through the length of the cord.
8. Weave in Ends & Sew Closed
- Use a tapestry needle to weave in any loose yarn ends, wrapping them around the wire inside for a neat finish.
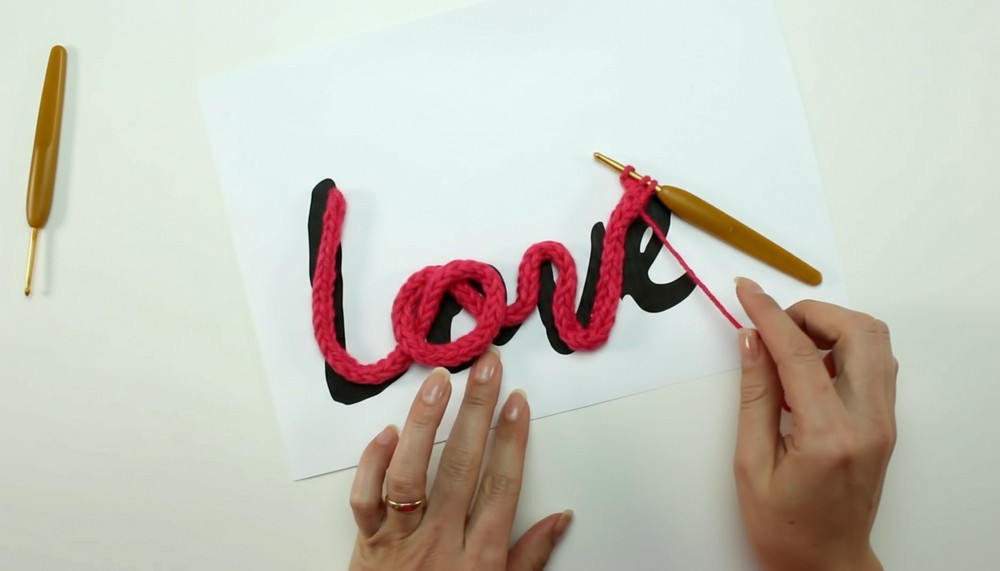
9. Shape into Word or Design
- Lay your cord over your printed template.
- Carefully bend to match each curve and corner of letters or shapes, adjusting until you’re happy with the result.
10. Display
- Attach to the wall, door, or any desired spot using small hooks, tape, or string.
Tutor’s Suggestions
- Yarn Choice: Thinner yarn and a smaller hook make delicate cords; thicker yarn builds bolder, chunkier cords.
- Wire Selection: Use a wire size that’s sturdy but still easy to bend by hand.
- Practice: Work slowly at first. Hold any loose stitches firmly to avoid losing loops.
- Finishing touch: For extra safety, consider wrapping the wire ends with a small piece of fabric or ribbon before tucking them in.
Tip
If you’re worried about stitches slipping off the hook, try placing a stitch marker or a small piece of paper on the held loops as you work. This helps beginners keep track and prevents unraveling!
Conclusion
This I-cord technique opens up endless customization options for home décor, gifts, and personal projects. With just a little patience and imagination, you can transform simple yarn and wire into beautiful, expressive art.




Leave a Reply