
Slide into cozy vibes with this Free Crochet Headband Pattern that's bring effortless charm and a comfy, easy and stylish touch to any look.
Modern style meets cozy comfort in this beautiful hand-stitched accessory that is currently trending for all ages. Choosing a Crochet Headband Pattern allows you to create a versatile piece that keeps hair neat while adding a sophisticated touch to your look. This item is especially useful for outdoor activities, as it protects your ears from the wind without the bulk of a full hat. .
Bold Crochet Headband Pattern Perfect for Statement Accessories

The finished product features a lovely, raised texture that feels soft against the skin and looks stunning in photos. Because it uses very little material, it is an affordable way to practice new stitches and make a high-quality gift.
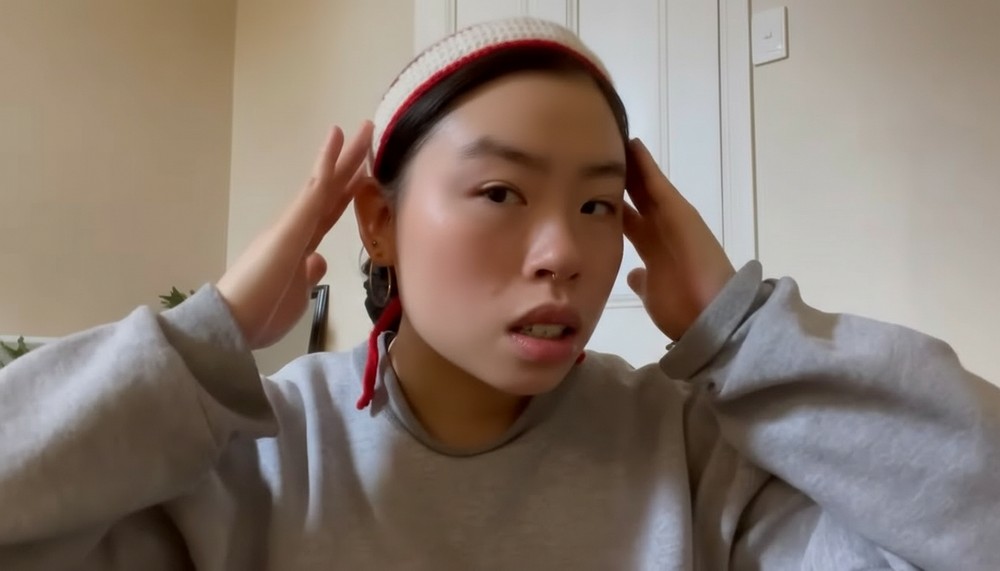
Its flexible design means it stays snugly in place, making it perfect for a busy day on the go or a relaxed brunch with friends. This elegant project brings a sense of accomplishment and results in a chic, timeless addition to any modern accessory collection.
Special Features
- Scrap Yarn Friendly: Use up leftover yarn from previous projects.
- Fully Adjustable: Make custom lengths and widths for the perfect fit.
- Two Finishing Options: Choose between crochet ties or ribbon closures.
- Beginner-Friendly: Uses only basic stitches and simple decreasing for shaping.
- Customizable Colors: Add borders, accents, and contrast for a personalized look.
Level of Difficulty
Beginner — No complex stitches, just basic single crochet and easy shaping/decreasing.
Uses
- Everyday hair accessory
- Gifts for friends and family
- Cute way to use up small yarn leftovers
Materials Needed
- Cotton yarn recommended (4ply works great for stability and comfort)
- Yarn leftovers for borders or accents (optional)
- 3mm crochet hook for 4ply, 7mm for heavier yarns
- Scissors
- Darning needle (for weaving in ends)
- Measuring tape (optional, for fitting to your head)
- Ribbon or cord (optional, for ribbon closure style)
- Stitch markers (optional, for marking chains/rows)
Step-by-Step Pattern
1. Prepare Your Materials
Choose your yarn (cotton preferred for durability and shape), select a suitable hook, and have your other tools ready. If you want a ribbon closure, pick a ribbon that matches your style.
2. Crochet the Headband Base
(a) For Tied/Color-Edge Headband
- Make a slip knot.
- Chain 80 (for heavier yarns and a 7mm hook), or chain 100 (for 4ply yarn with a 3mm hook).
- Add 1 chain for your turning chain (81 or 101 total).
- (Optional) Use stitch markers every 20 chains to keep track.
- Single crochet in the second chain from the hook and every chain across.
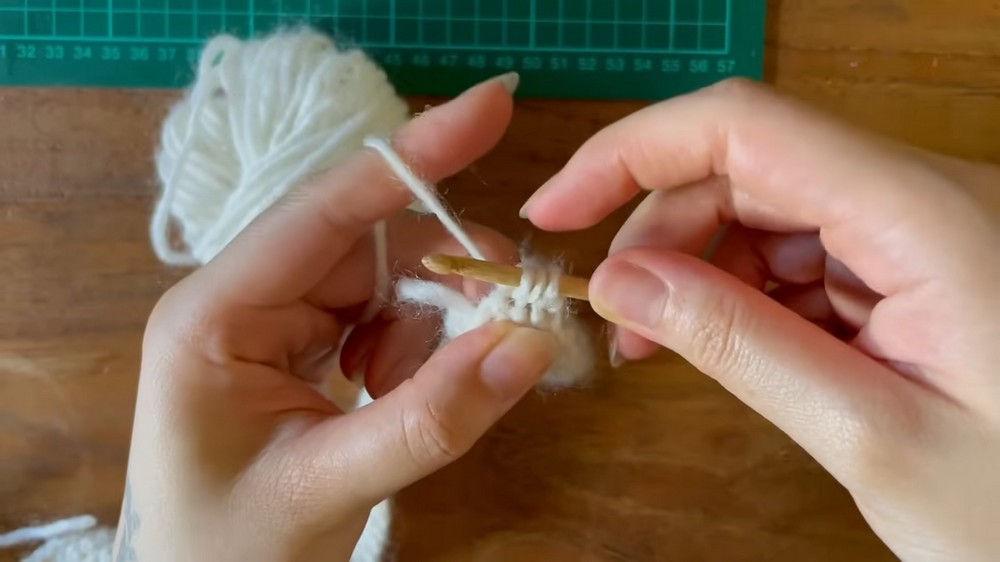
- Turn; work single crochet in each row until your band reaches the desired width:
- 3 rows for a skinny headband
- 5 rows for medium width (as in sample)
- Up to 9 rows for a thick headband
3. Taper the Ends
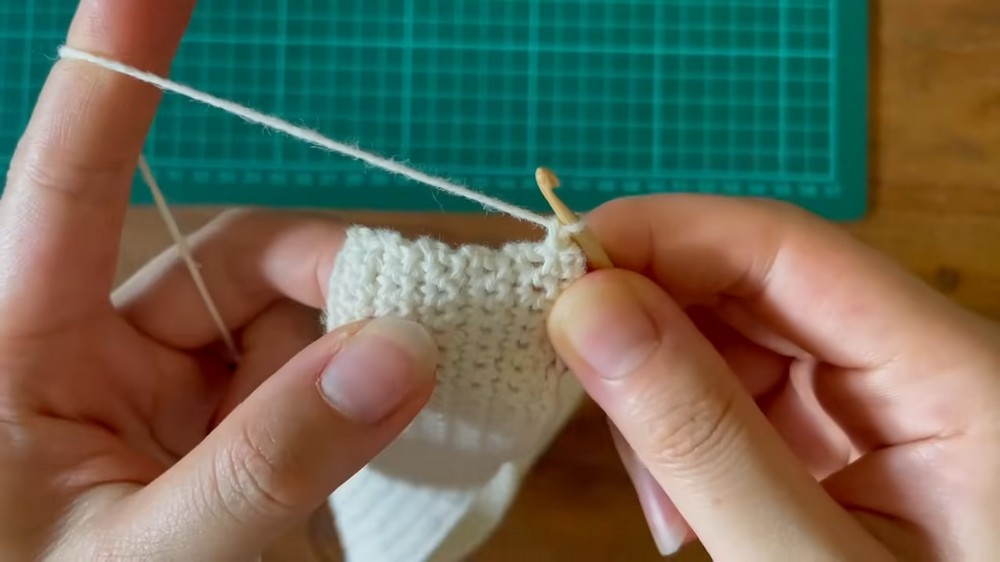
- To shape a tapered end, start working single crochet decreases:
- Option 1: Pull up a loop in each of 2 stitches, yarn over and pull through all three loops.
- Option 2 (alternative): Skip the first or last stitch in each row to decrease gradually.
- Continue decreasing until only one stitch remains.
4. Add Crochet Ties or Ribbons
- For Tied End (with color border):
- On the last single stitch of your tapered end, switch to your border/accent yarn color (e.g., red).
- Chain 40 for the length of the tie.
- Work back along the chain with single crochet (optional for added durability).
- For Ribbon End:
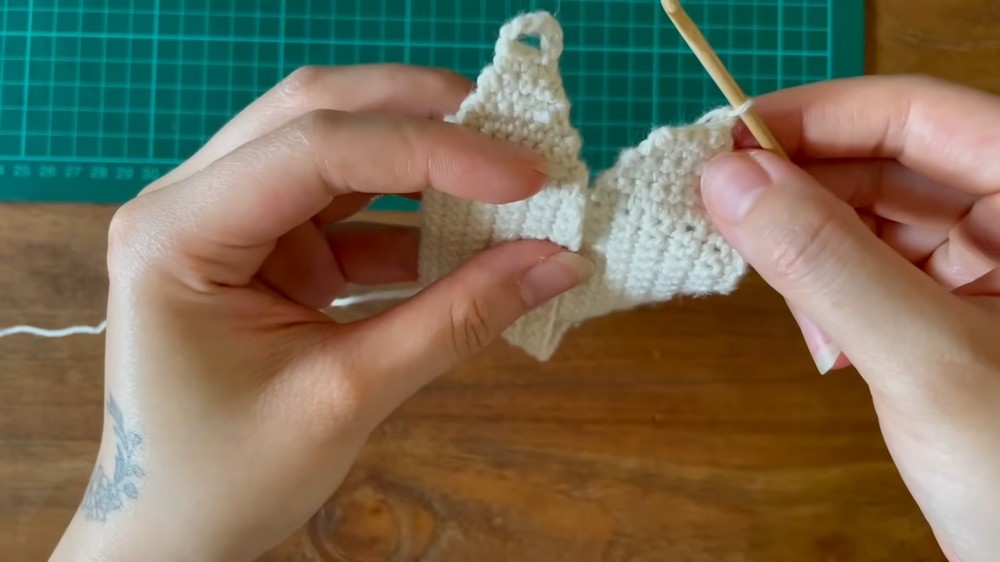
- After tapering, chain enough to form a loop—usually 6 chains for standard ribbon. Slip stitch into the third stitch from your last row.
- For thicker ribbons/cords, increase the number of chains for a larger loop.
- Fasten off, weave in ends.
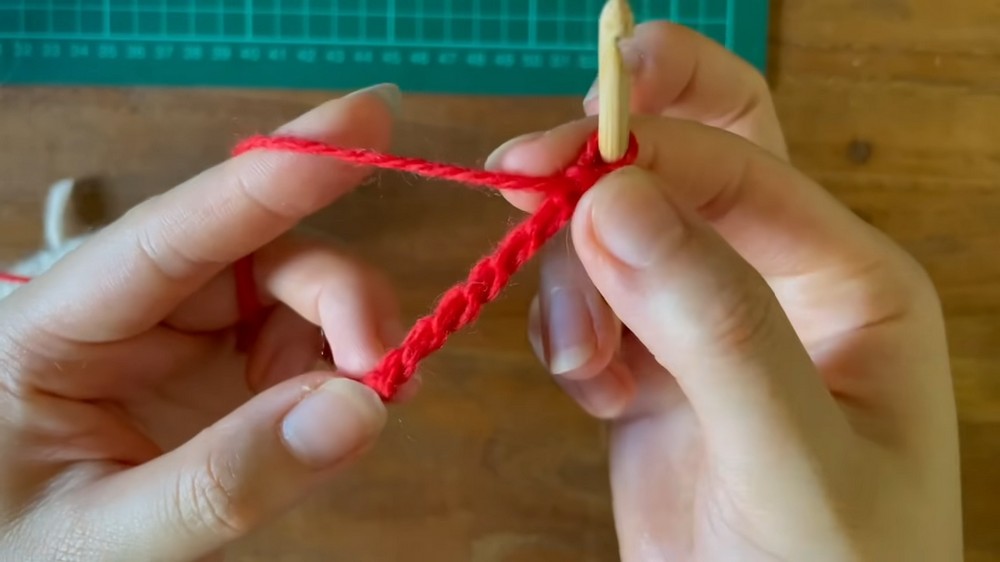
- On the opposite end, repeat the tapering and finish as above to make the other tie or loop.
5. Assembly and Finishing
- If using ribbon, thread it through both loops to complete the closure.
- Weave in all ends with your darning needle for a neat finish.
Tutor’s Suggestions
- Cotton yarn holds its shape best and is comfortable to wear.
- For neat edges, try crocheting into the back bumps of your starting chain.
- If your yarn is fluffy or splits easily, work slowly and use smoother hooks for less hassle.
- Adjust chain length and number of rows for a perfect, custom fit to your head.
Tip
Measure your head before starting and adjust your initial chains accordingly for the perfect fit—you can always add more or fewer chains to suit your style!
Conclusion
You’ve made a stylish, customizable crochet headband! Try both tie and ribbon closures for variety. They’re fast, fun, and perfect for using leftover yarn. Gift them or mix up colors for every outfit—handmade accessories never go out of style.




Leave a Reply