
Crocheting home décor that’s both stylish and functional is incredibly satisfying, and this hanging basket with succulents is no exception. Perfect as a statement piece for your room or a heartfelt handmade gift, this pattern combines clean lines with organic plant-inspired designs. This pattern stands out for its versatility—you can remove, rearrange, or swap the soil and succulents, allowing you to customize your hanging basket endlessly.
Easy and Fun Crochet Hanging Basket Pattern for Creative Decor
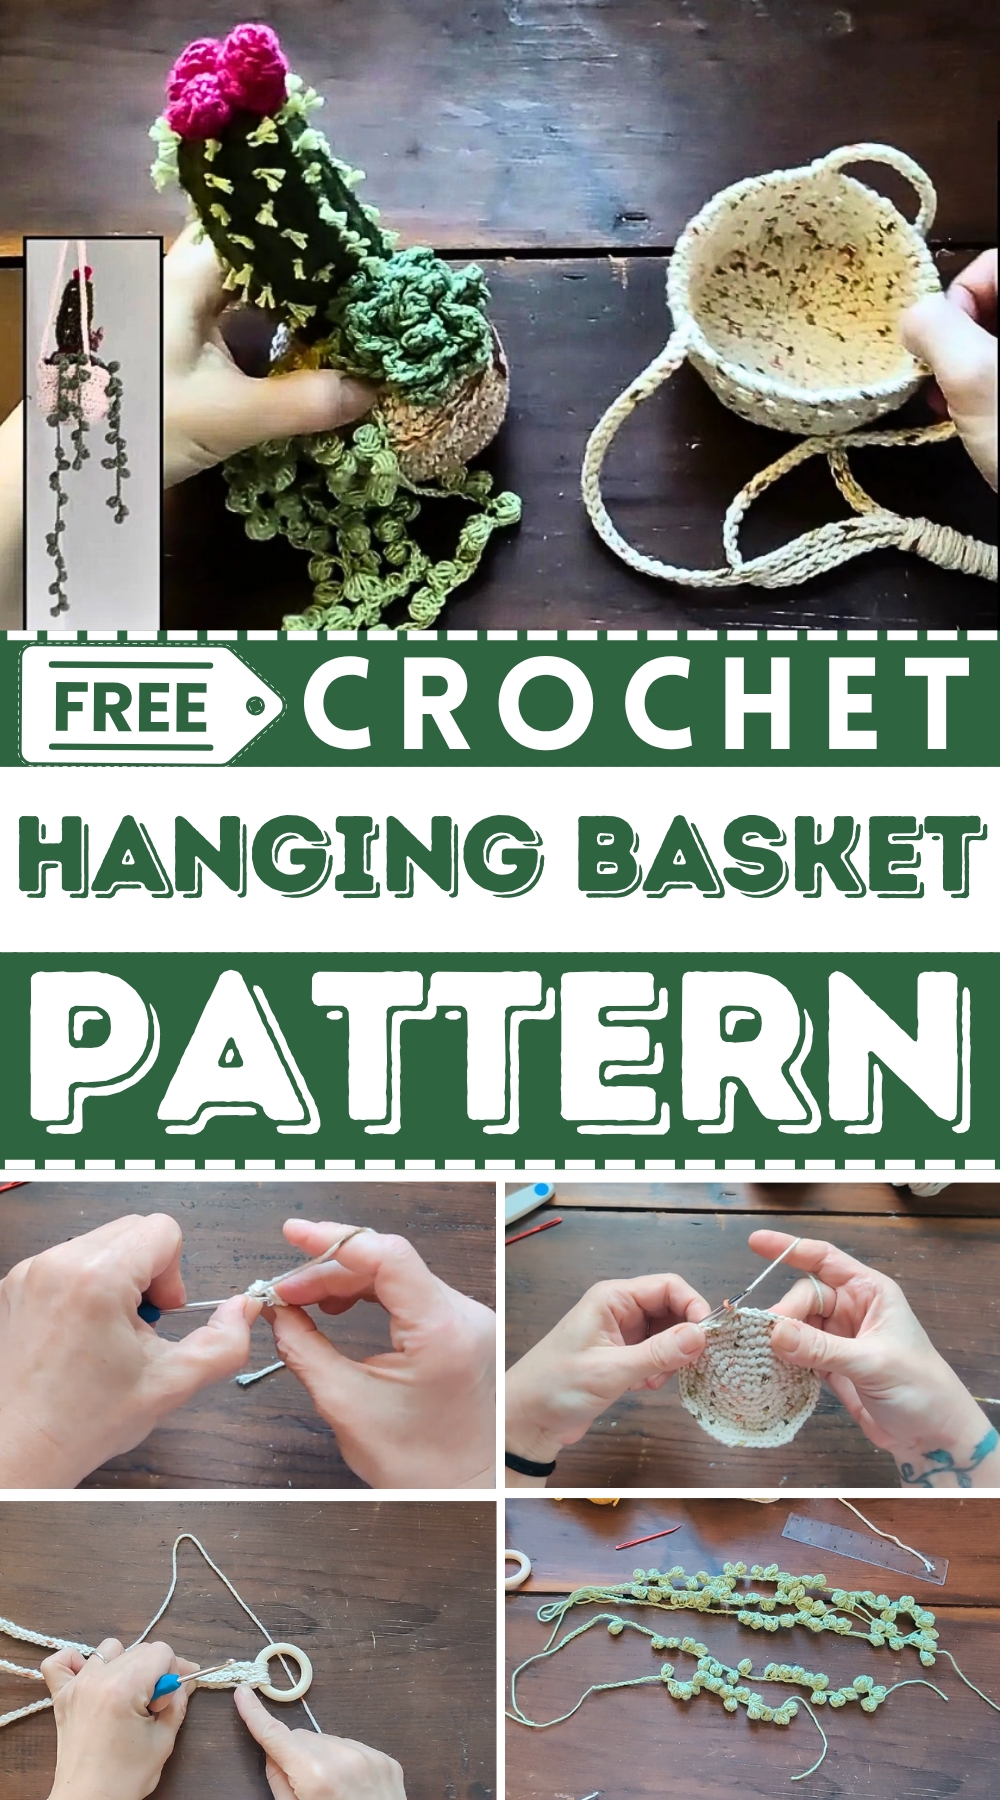
From its sturdy yet decorative straps to its finely detailed succulents, every aspect of this design strikes the perfect balance between elegance and practicality. Use stitch markers to keep track of rounds and maintain symmetry in increases.
Experiment with yarn tension for the succulents to give them a realistic texture. Stuff the soil lightly for a well-shaped finish without sagging. With its combination of practicality and charm, this basket pattern is not just décor—it’s a customizable masterpiece that speaks to your creativity.
Materials Needed
You'll need the following supplies:
- Yarn Selection:
- Medium #4 weight yarn in these colors:
- White or cream (basket)
- Dark green (cactus)
- Brown/tan (soil/dirt)
- Sage green (lily pad succulent)
- Lightweight #1 yarn for details:
- Light green (cactus prickles and string of pearls)
- Pink, red, yellow, or purple (cactus flowers).
- Medium #4 weight yarn in these colors:
- Tools:
- 4mm and 3mm crochet hooks
- 2-inch wooden ring (optional)
- Tapestry needle
- Scissors
- Stitch marker (optional)
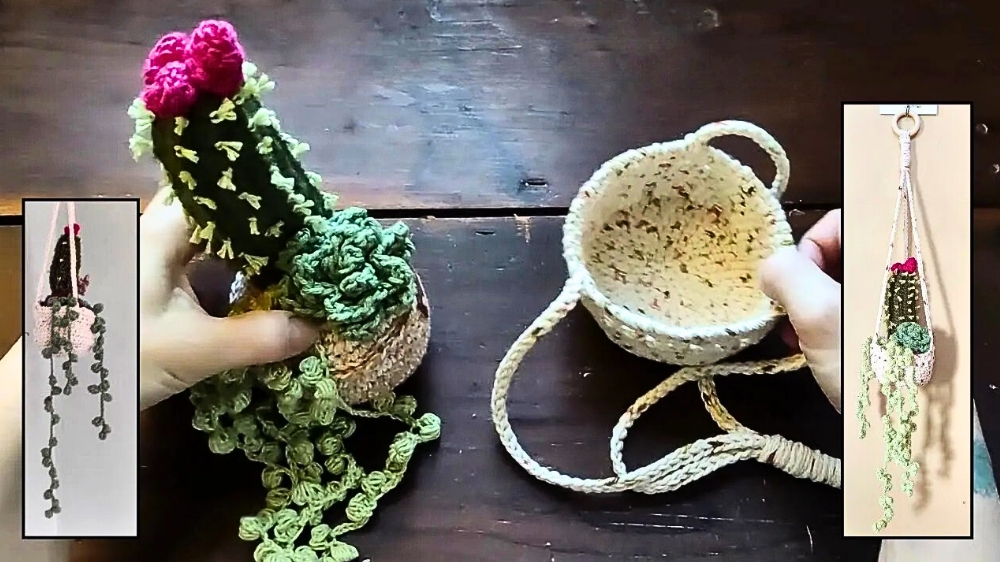
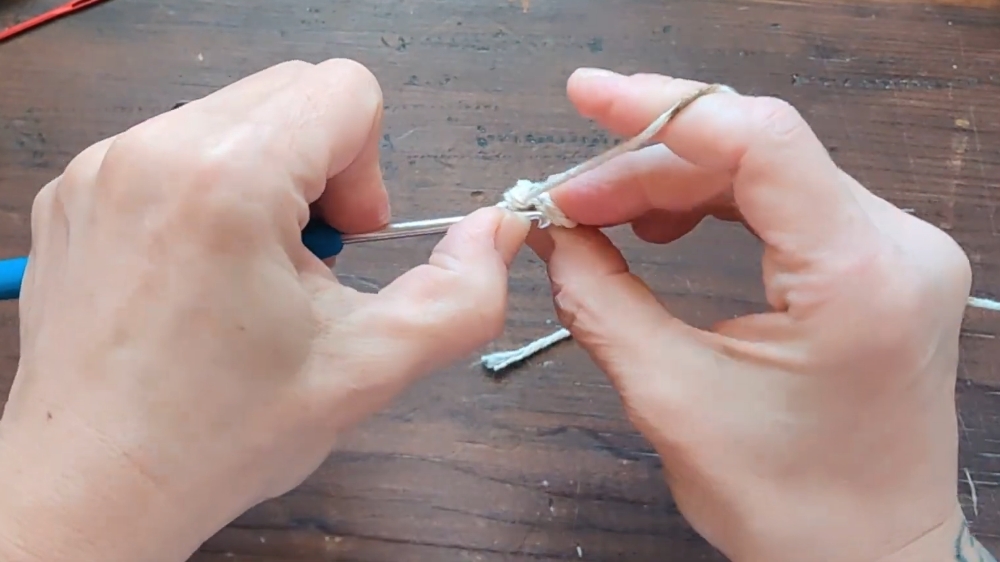
The process begins with a circular basket base, worked through increasing rounds of single crochet to create a smooth foundation.
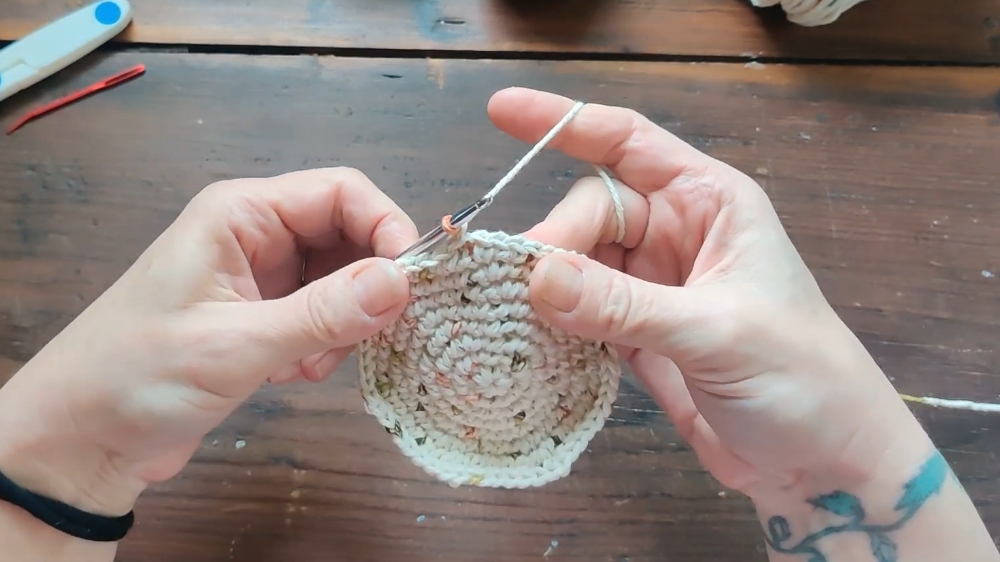
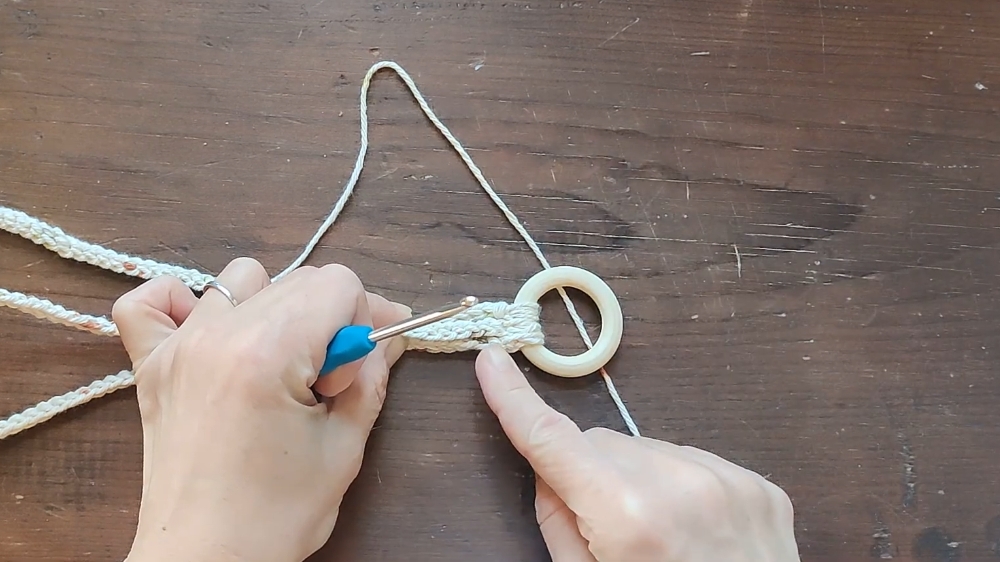
The walls are built using back-loop-only stitches, adding texture and firmness to the sides. A finishing row of alternating half-double crochets and chains creates an attractive edge. The straps, which can either tie or loop around a wooden ring, give the basket its hanging functionality while adding a decorative twist. The soil, made from rounds of increasing single crochet stitches, serves as a base to securely hold the succulents.
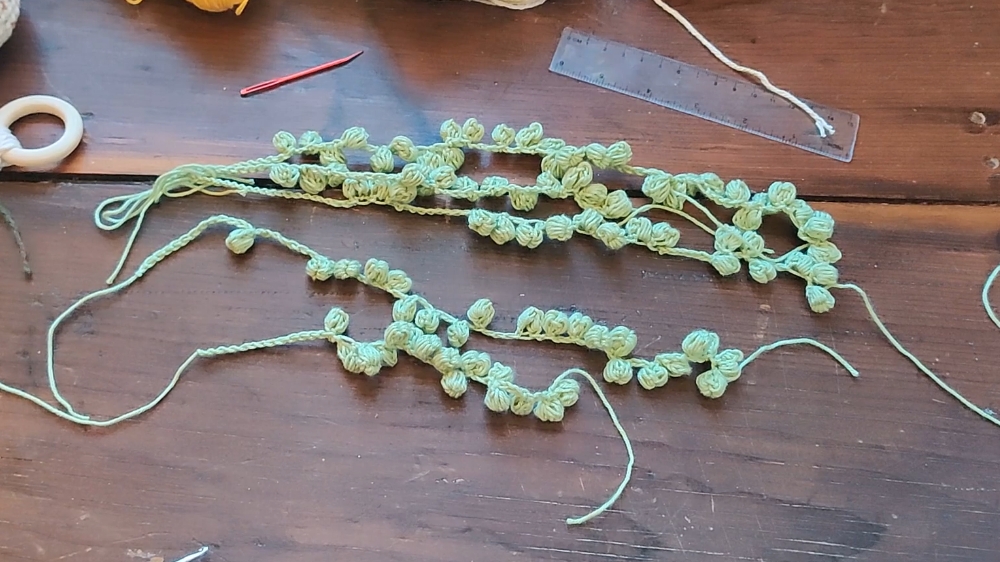
The pattern’s focal point—the succulents—is where the fun really starts. Using ridged single crochet stitches worked in back loops, you’ll form a realistic-looking cactus paired with tiny flowers shaped by curling double crochet increases. String of pearls succulents are crocheted using puff stitches and chains, while lily pad designs feature stylish pico stitch edges for a layered look.
Special Features
- Interchangeable Design: The soil and succulents can be removed and swapped for variety.
- Quick and Fun: Completed in just a few hours.
- Customizable Succulents and Flowers: The pattern supports different colors and designs for a personalized touch.
- Stylish Functionality: Acts as both décor and a space-saving storage solution.
Difficulty Level: Advanced beginner to intermediate.
Tutor’s Suggestions
- Use stitch markers to track rounds and avoid mistakes.
- Ensure the succulents are securely sewn to the soil before inserting the basket.
- Experiment with yarn colors to create personalized designs.
- Don't overstuff the soil may stretch the basket.
Uses
- Home Decoration: Adds charm to any room with no maintenance!
- Gift Idea: A perfect handmade present for plant enthusiasts.
- Creative Storage: Use the basket to store small items while enjoying the succulents as décor above.
Tip for Success
To make your hanging basket sturdier, consider adding a plastic liner or cardboard round base inside the soil to prevent sagging when hung.
Step-by-Step Process
In this step-by-step pattern, we’ll explore how to crochet a stunning hanging basket adorned with gorgeous succulents. This project is ideal for decoration, gifting, or simply enhancing your crochet skills. Whether you're experienced or an advanced beginner, this pattern promises a creative and satisfying outcome crocheted with love.
Conclusion
Crocheting a hanging basket with succulents is more than a project; it’s a journey to create something personal and beautiful. With these step-by-step instructions and tips, you can replicate this charming design and add your own creative spin. Perfect for gifting or brightening your space, this is a pattern worth trying.




Leave a Reply