
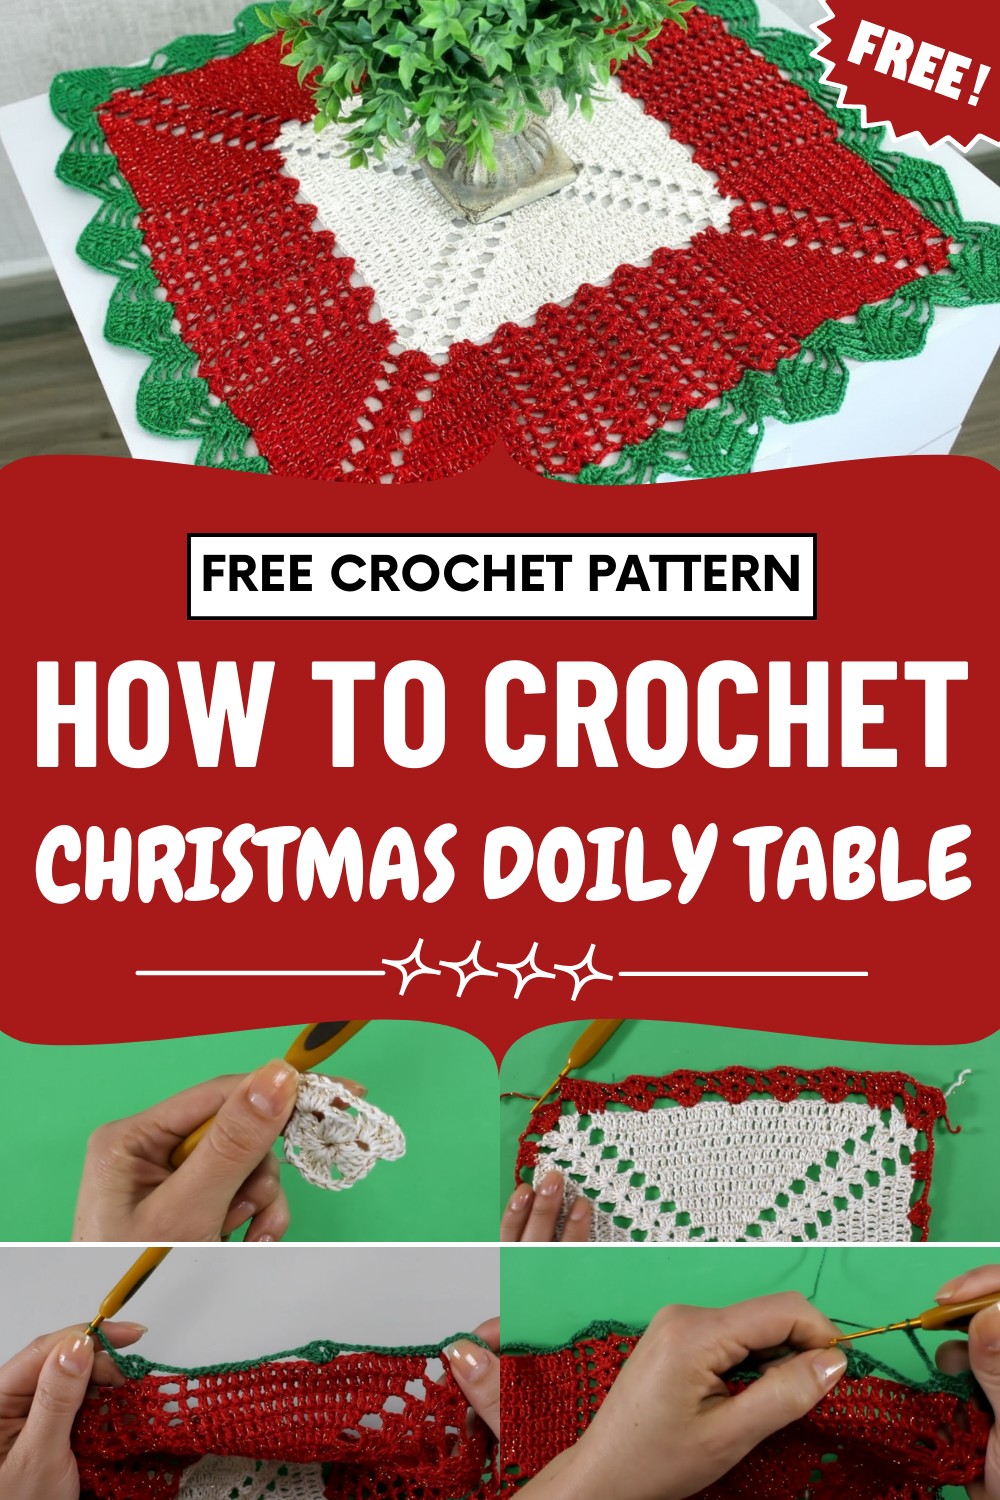
Deck holiday tables with this Crochet Christmas Centerpiece Pattern, featuring festive textures, colorful detail, and playful seasonal charm.
Bright colors and cozy textures help create a welcoming holiday atmosphere for any home. A festive crochet Christmas centerpiece pattern often uses traditional shades like red, white, and green, making it perfect for the dining table or as a special decoration for coffee and side tables. This handmade piece not only catches everyone's eye but also helps prevent scratches or spills on your furniture.
Artistic Crochet Christmas Centerpiece Pattern for Holiday Flair
Many people love crocheting these centerpieces because the process is relaxing and the patterns are easy to follow, even for beginners. The finished project offers a unique way to show off your creativity, and it’s simple to mix in your favorite colors or yarn styles.
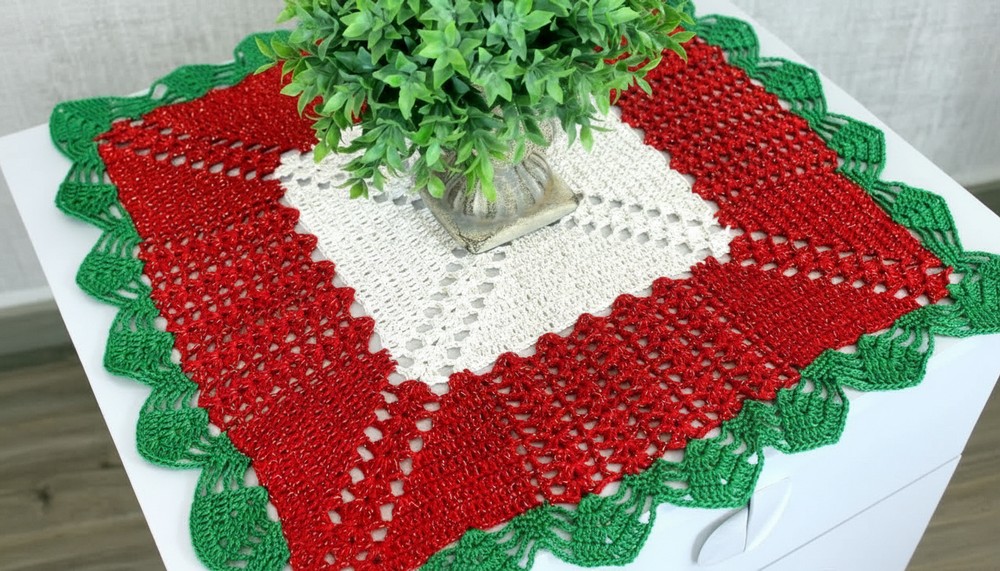
Right now, this centerpiece are a popular choice for spreading holiday cheer and make wonderful, thoughtful gifts for family and friends. Their charm and usefulness brighten every gathering during the Christmas season.
Special Features
- Classic Christmas color palette: white, red, green, and gold accents
- Subtle sheen: created with "Anne Brio" and shiny yarns for a festive touch
- Square motif: easy to adapt in size for different table shapes
- Textured edges: scalloped corners and decorative beaks achieved with advanced stitches
- Professional blocking and pressing technique for crisp, elegant finish
Level of Difficulty
Intermediate:
Basic crochet knowledge is required (chains, single/double/triple crochet, slip stitch). Increases, color changes, and working in the round are involved, along with neat finishing.
Tutor's Suggestions
- Experiment with your favorite Christmas colors.
- Use a slightly smaller hook (1.75–2 mm) for firmer stitches.
- Always block or lightly steam your finished piece for a flawless look and well-defined points.
- Take time to carefully finish off all threads for a truly polished result.
Uses
- Festive table centerpiece for holidays
- Decorative overlay for coffee tables or sideboards
- Thoughtful handmade Christmas gifts
Materials
- Yarn:
- "Anne Brio" or similar, approx. 500 m/ball
- White (Color 8000, shiny gold accent) – about half a ball
- Red, with some sheen (Color 3528 or similar)
- Green (Color 5638) – about half a ball
- Hook: 2 mm (or 1.75 mm for a smaller, denser piece)
- Notions: Tapestry needle, scissors, measuring tape, steam iron, and a damp cloth
Step-by-Step Pattern
White Center – Begin the Square
- Foundation Ring:
With white, chain 6, join with a slip stitch to the first chain to form a ring. - Round 1:
- Ch 3 (counts as first dc), work 3 dc into the ring (4 dc total).
- Ch 2, work *4 dc into the ring – repeat for a total of 4 groups.
- After last ch-2, join with a sl st to the top of beginning ch-3.
- Round 2:
- Slip stitch to first ch-2 space.
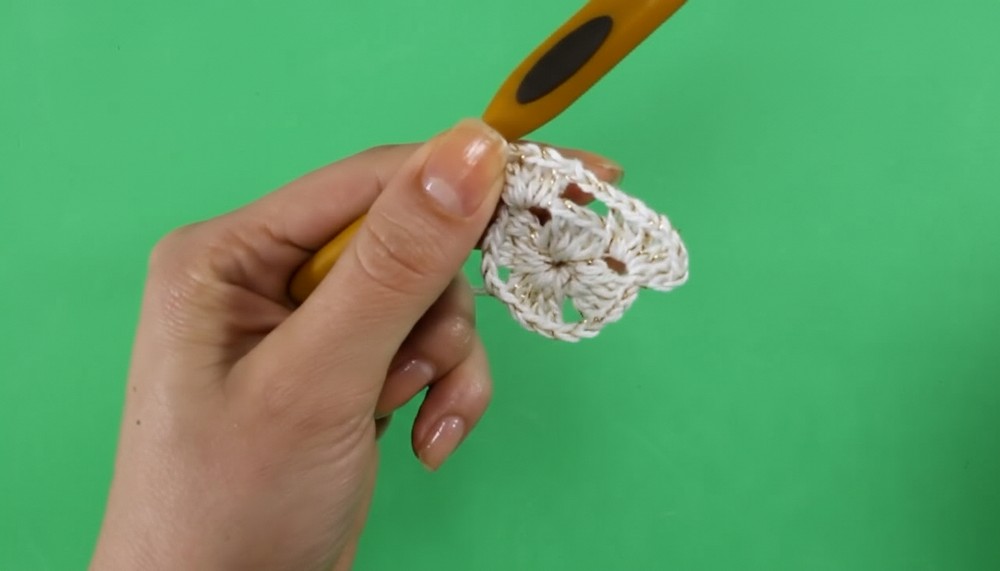
- In each corner: (Ch 3, 2 dc, ch 2, 3 dc) for a total of 4 corners, separated by ch 3.
- At end, sl st to top of starting ch-3.
- Slip stitch to first ch-2 space.
- Round 3:
- Slip stitch to next ch-2 corner space.
- In each corner: (Ch 3, 2 dc, ch 2, 3 dc), ch 3
- Along each side: in ch-3 space: 3 dc, ch 3.
- Repeat around and join with sl st.
- Shaping Sides (Rounds 4–12):
- For each corner: (Ch 3, 2 dc, ch 2, 3 dc)
- For each new ch space on the sides: Increase—work 2 dc in both chain spaces before & after each group, then dc across all base dcs—which increases each side by 4 stitches every row.
- Always ch 3 between groups.
- Repeat for a total of 12 rounds (count includes initial rows).
Red Section
- Attach Red at any corner space:
- Ch 3, 2 dc, ch 2, 3 dc (corner).
- Ch 3, in first side space: 2 dc; in next 2 dc, 1 dc each (4 dc in total at the edge).
- Ch 3, skip 5 dcs, in next dc work (2 dc, ch 2, 2 dc) (V-stitch group).
- Continue: Ch 3, skip 5, (2 dc, ch 2, 2 dc), repeat to the corner.
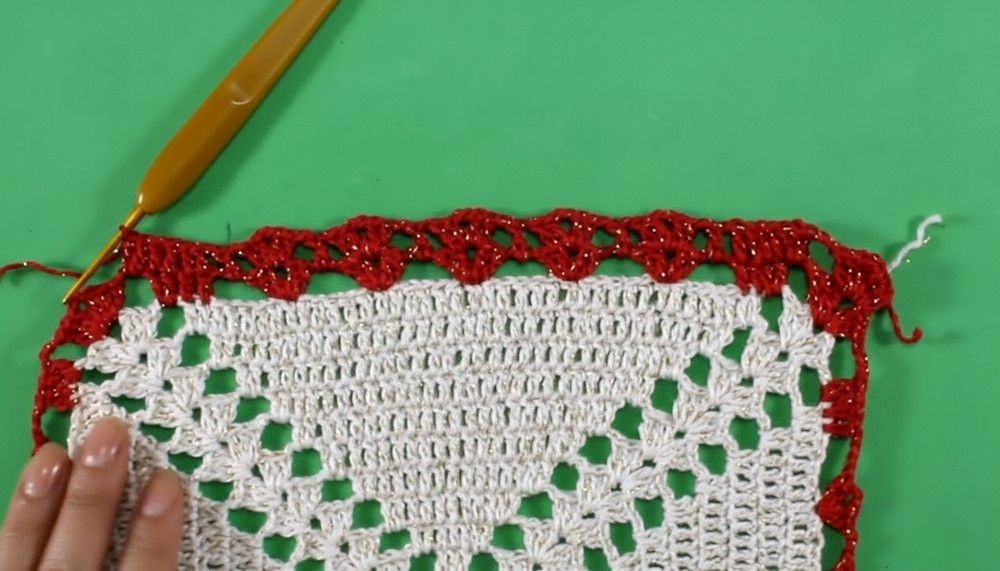
- Next Red Rounds (10 in red total):
- Corners: (Ch 3, 2 dc, ch 2, 3 dc).
- Increase side groups by always working 2 extra dcs at start/end of each group; in between, ch 1, dc, ch 1, dc, etc. as per previous round.
- Always separate by ch 3 and repeat V-stitch in the center of side groups.
- End each round with sl st to top of ch-3.
Green Edge & Finishing – Decorative Points
- Attach Green at corner:
- In corner: Ch 3, dc, ch 2, 2 dc (corner V).
- Ch 7, sc in next space, then sc in each dc for a total of 7 sc.
- Ch 5, skip 5 dcs, in next make (2 dc, ch 2, 2 dc).
- Continue in established pattern: alternates of (sc groups separated by ch 5, V-stitches at corners).
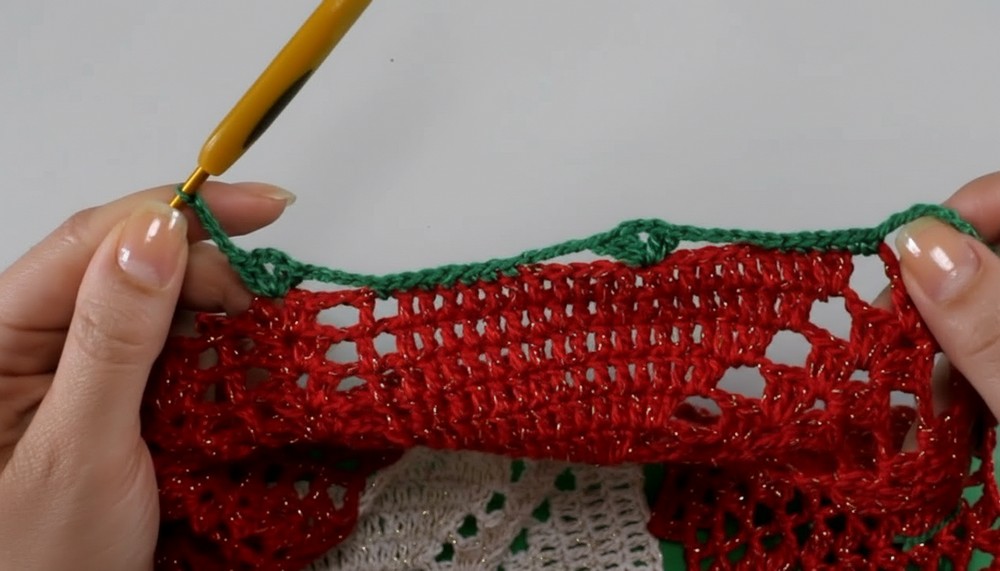
- Second Green Round:
- Work as established, but reduce sc groups: 5 sc, then 3 sc in next round.
- Maintain corners with (2 dc, ch 2, 2 dc) V-stitches and ch-5 or ch-7 as appropriate.
- Continue with each round reducing sc groups (from 7 to 5, then 3, then 1).
- Always finish each round with a slip stitch to join.
- Finish Off:
- Fasten off the yarn at the end. Hide all thread ends on the reverse, weaving in neatly only under the back loops of stitches for a flat finish.
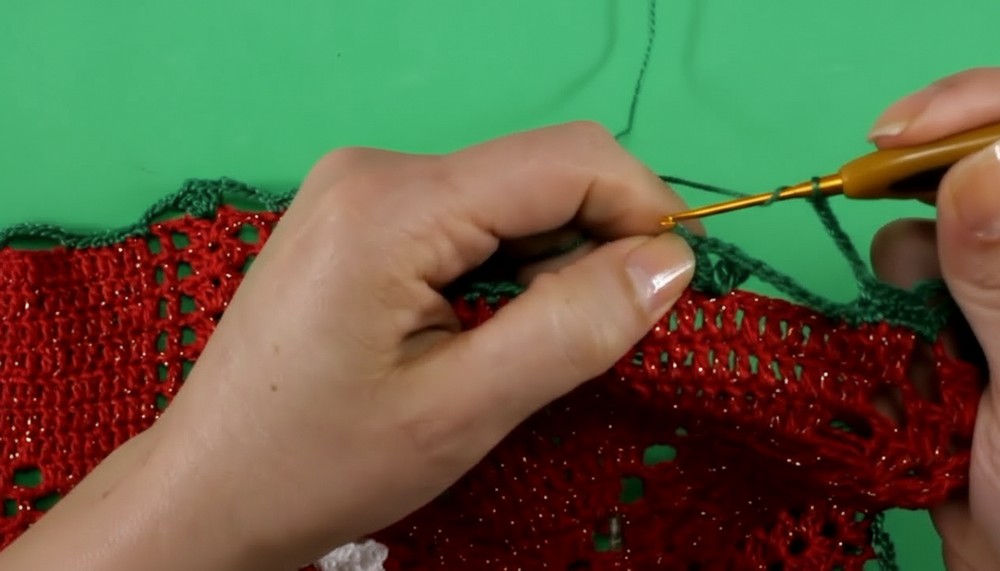
- Fasten off the yarn at the end. Hide all thread ends on the reverse, weaving in neatly only under the back loops of stitches for a flat finish.
Blocking & Final Touch
Professional Step:
- Lay the finished piece flat, gently shaping and pulling all decorative points to defined tips.
- Place a damp cloth (e.g., muslin or clean towel) over your centerpiece.
- Steam iron on top (never directly on the crochet!)—this sets the stitches, sharpens points, and gives a crisp polished finish.
Conclusion
Congratulations! You've completed an enchanting Christmas crochet centerpiece. With its dynamic colors, subtle shine, and decorative edge, you're ready to brighten any holiday table or create heartfelt gifts. Cherish the finished result of your time and talent, and let this centerpiece become a festive family tradition.
Tip
Use a tapestry needle and weave in yarn ends under stitches of the same color—for invisible, neat finishing. Always block your work for the most beautiful, defined results!




Leave a Reply