
Enchant your rooms with elegance and warmth with this Free Crochet Doily Pattern that's brings cozy, delicate handmade table décor.
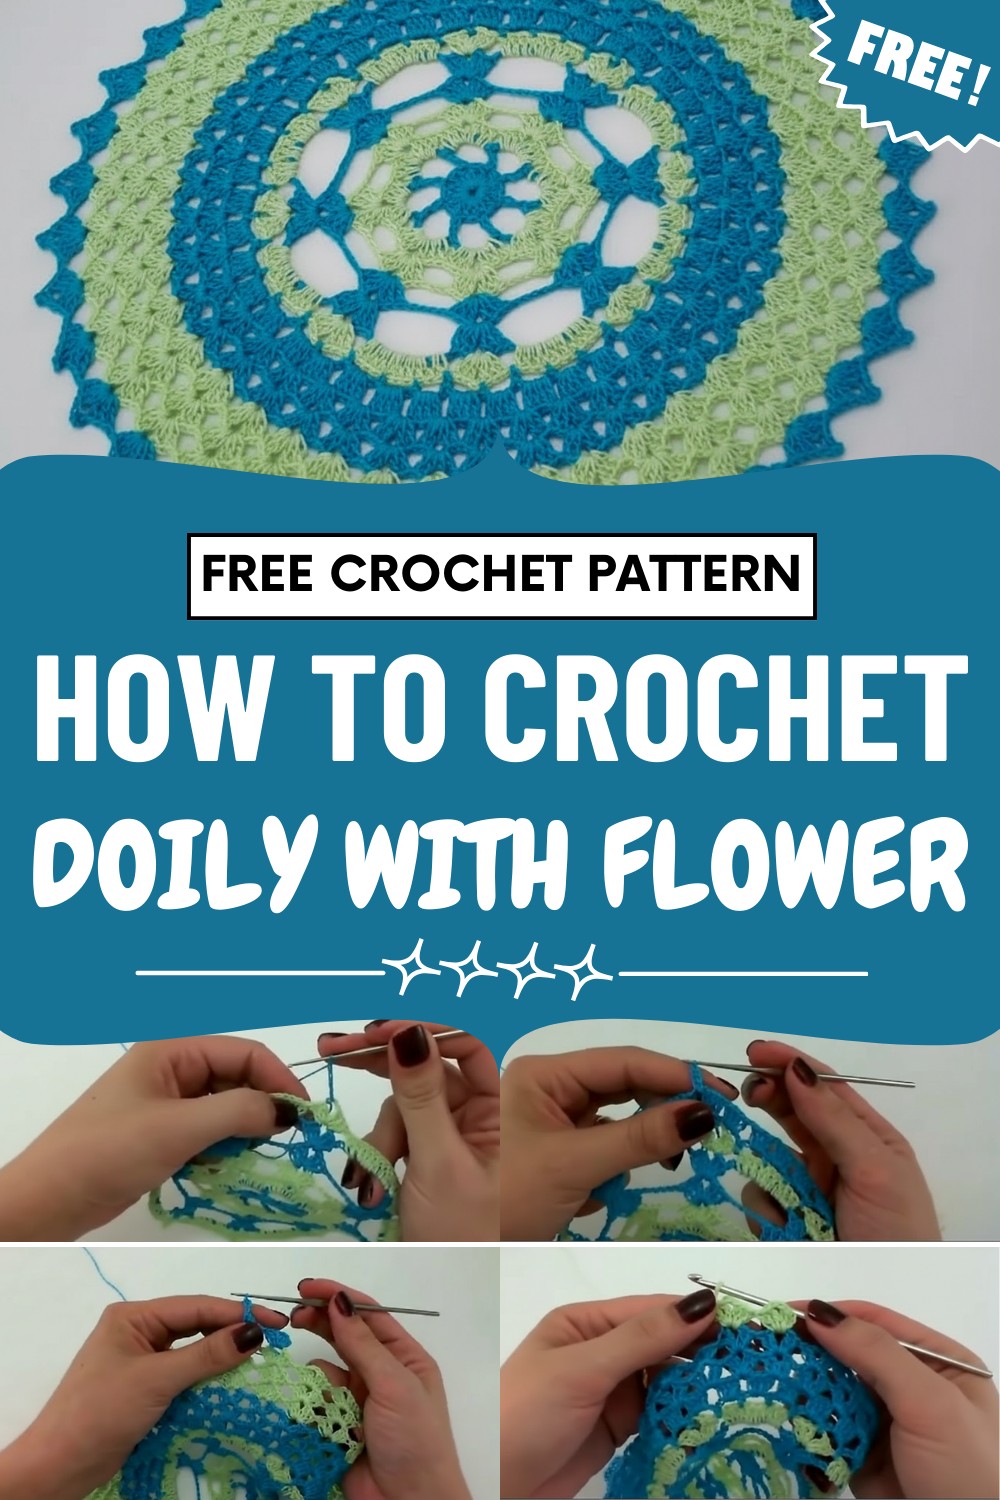
Fine stitch work highlights craftsmanship and adds a graceful focal point without overwhelming the surrounding elements. Color choices range from traditional neutrals to modern tones, allowing seamless coordination with existing themes.
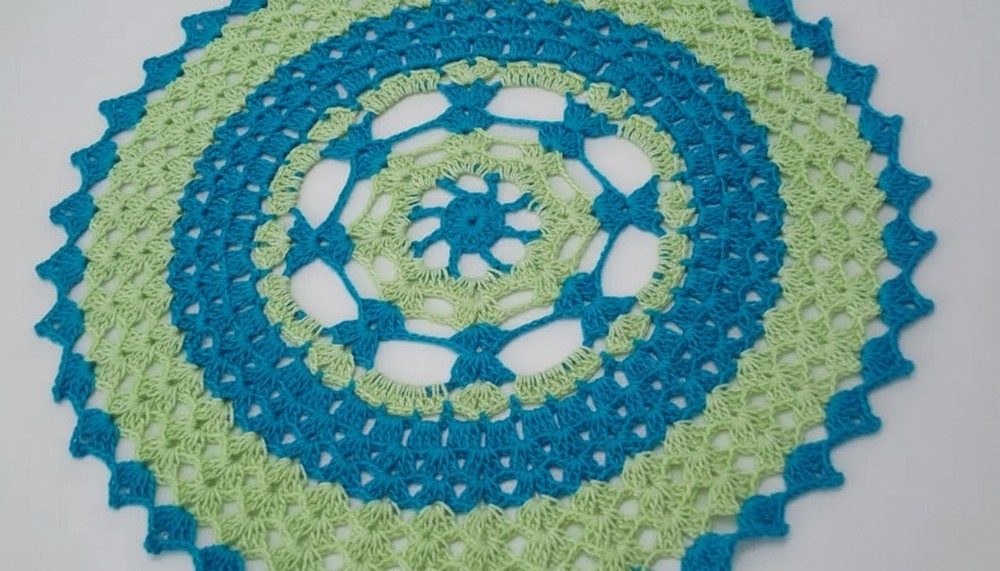
Beyond decoration, this piece provides a subtle layer of practicality by helping organize centerpieces or display items neatly. Overall, it blends beauty and function, delivering a soft, elegant touch that elevates everyday spaces with charm, sophistication, and lasting visual appeal.
Special Features
- Delicate and Lacy: Thin cotton threads and an openwork pattern create a light, airy finish.
- Color Play: Alternates blue and aquamarine for a sophisticated and vibrant look.
- Picot-Edged Finish: Adds a decorative flourish for extra elegance.
- Eco-Friendly: Uses leftover or small amounts of thread.
- Modular Design: Make a set in various sizes simply by repeating or omitting motif rounds.
Level of Difficulty
Confident Beginner to Intermediate: The design uses only basic stitches (chains, single crochet, double crochet, slip stitch, picot), but the fine yarn and motifs require some attention to detail.
Tutor’s Suggestions & Uses
- Wonderful as a decorative accent under vases or small trays.
- Lovely as part of a coordinated set (make several in different sizes and colors).
- Ideal for gifting—pairs well with homemade bath or kitchen goods.
- Use up thread leftovers and explore color combinations!
- Block your finished piece for maximum beauty.
Materials Needed
- Blue fine 100% cotton thread (less than half a skein)
- Aquamarine fine 100% cotton thread (less than half a skein)
- 1.5 mm crochet hook
- Yarn needle for finishing
- Scissors
Step-by-Step Pattern
1. Foundation & Mesh Round (in Blue)
- Begin the motif:
(Refer to video or pattern source for center motif instructions if included; otherwise, start with blue thread.) - Join blue yarn into a space between stitches.
- Repeat across the round:
- Chain 4, skip 3 stitches, single crochet in the space between double crochets or “V” points.
- Continue: Chain 4, skip 3, single crochet in next space.
- Work this mesh all around the piece.
- End round by chaining 4 and joining to the first chain with a slip stitch.
2. First Group Round (in Blue)
- Move (with slip stitches) to the nearest chain space.
- Chain 3 (counts as double crochet) + 3 double crochet in space (4 dc total).
- Chain 1, 4 double crochet in next chain-4 space.
- Repeat around, making grouping of 4 double crochet in each mesh space, separated by chain 1.
- Join with a slip stitch to first double crochet.
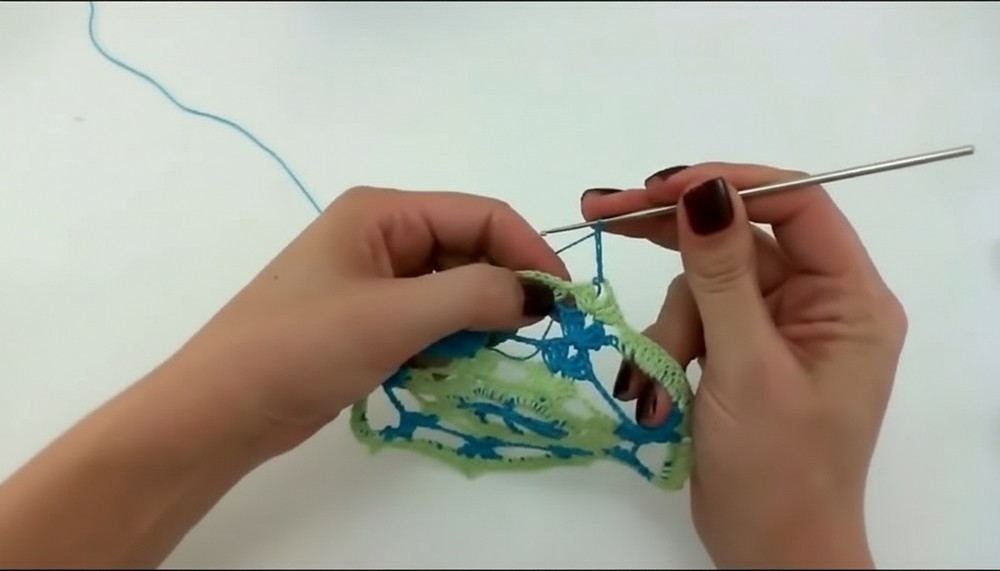
3. Double V-Stitch Rounds (in Blue)
- Slip stitch to space between groups.
- Chain 3 (as first dc), dc in same space, chain 2, 2 dc in same space – forms a "double V".
- Repeat in every space between dc groups: 2 dc, chain 2, 2 dc.
- Complete round and join with slip stitch.
- Repeat this entire round once more for increased size.
4. Triple V-Stitch Rounds (in Aquamarine)
- Attach aquamarine yarn in any V-space.
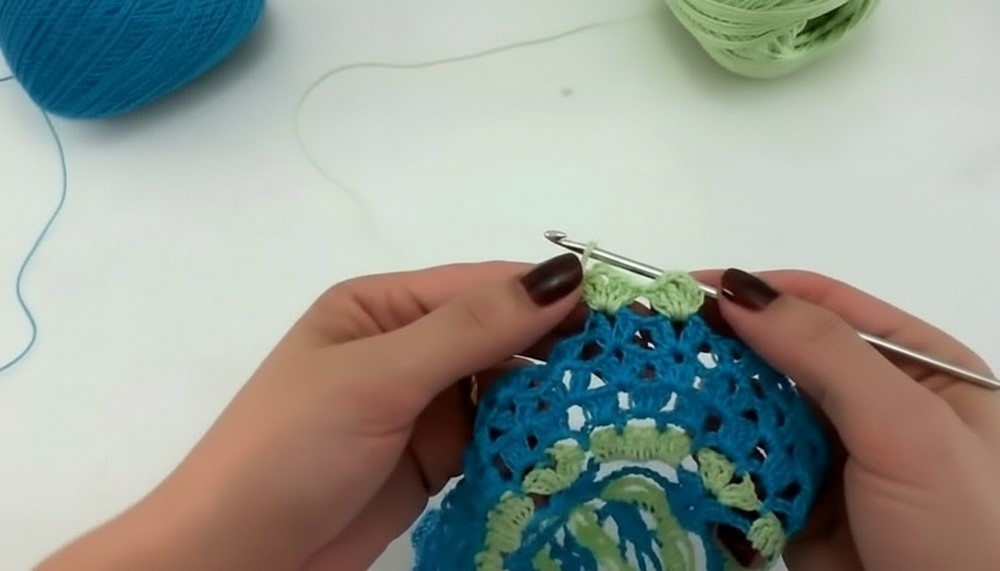
- Chain 3, make 2 dc in same space, chain 2, 3 dc in same space (triple V-stitch).
- Repeat: In each V-space, work 3 dc, ch 2, 3 dc.
- Join and repeat this round twice more (for a total of 3 aquamarine rounds with triple V-stitches).
- Option: Add chain spaces in triple V-stitches if your work is tight or loose (use one or two chains as needed).
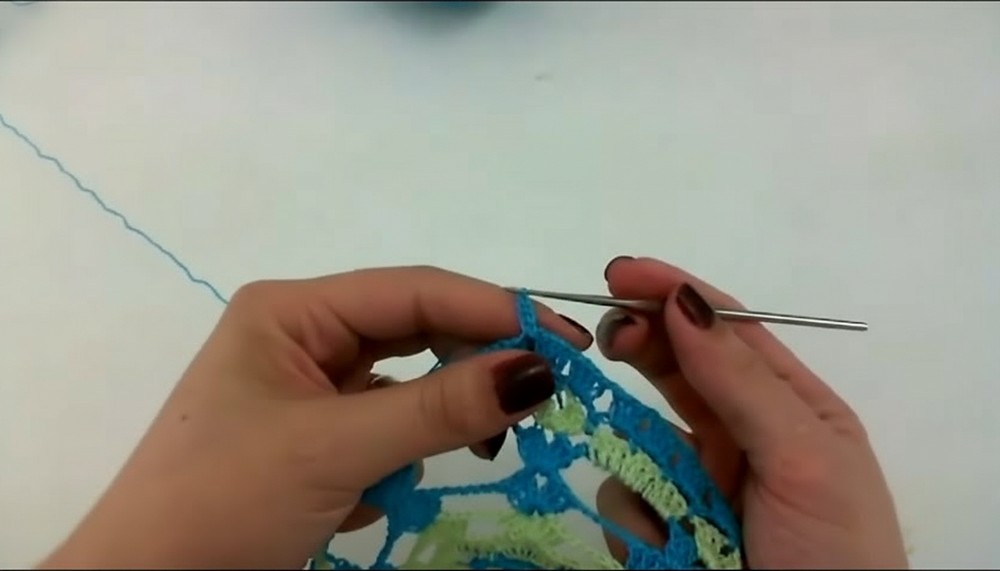
- Option: Add chain spaces in triple V-stitches if your work is tight or loose (use one or two chains as needed).
5. Finishing Edge with Picot (in Blue)
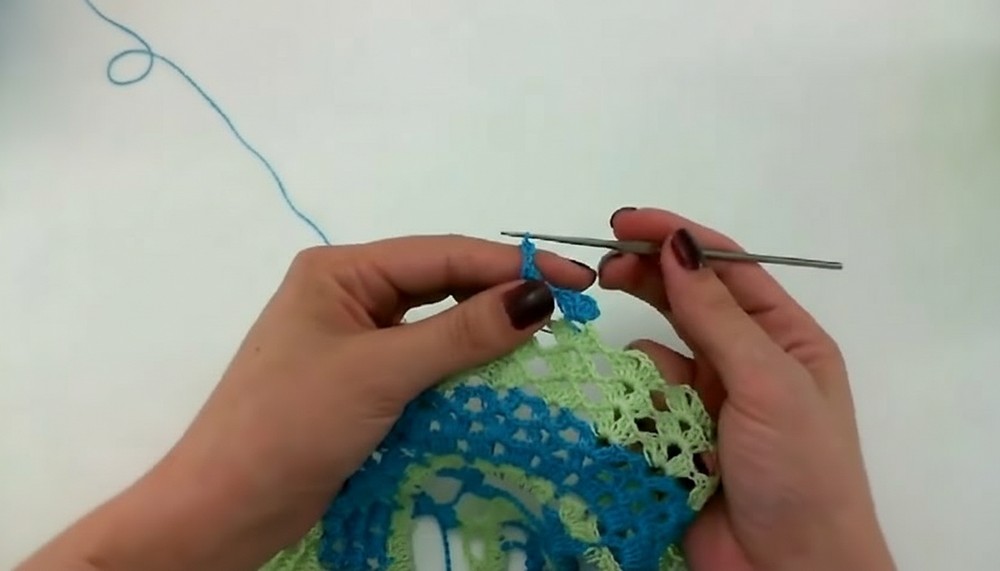
- Join blue yarn in any triple V-space.
- Chain 3 (counts as dc), 2 dc in same space.
- Work picot: chain 3, slip stitch to first chain (of the 3 just made).
- 3 dc in same space (total: 3 dc, picot, 3 dc in one V-space).
- Chain 1 to next V-space, repeat the cluster: 3 dc, picot, 3 dc.
- Continue around the entire round.
- After final group, make chain 1 and join with slip stitch to first dc.
6. Finishing Touches
- Fasten off, then weave in ends carefully with yarn needle—pull threads through a few stitches on the back for a neat finish.
- Block your doily/towel gently to open up lacework and shape corners.
Conclusion
You’ve crafted an elegant, lightweight doily or mini towel that captures subtle beauty through color, texture, and graceful stitches. This exclusive design brings a classic yet refreshing look to any surface in your home. With minimal yarn and careful detail, the pattern is both accessible and rewarding—ideal for your next handmade gift or personal indulgence!
Tip
For best results, lightly mist and block your finished work on a soft surface, pinning out the points for perfect symmetry. This ensures your lace expands beautifully and boasts a professional finish.




Leave a Reply