Flip home decor fun with this Crochet Double Sided Rug Pattern offering reversible texture and cozy appeal for any room in your space.
This creative project makes a cozy and colorful rug that brightens up any room in your home. With a crochet double sided rug pattern, you can quickly flip the rug to change the look, giving you two styles in one. It feels soft and warm under your feet and helps protect your floors from scratches and dirt. The strong stitches make this rug last a long time, even in busy areas like the hallway or kitchen.
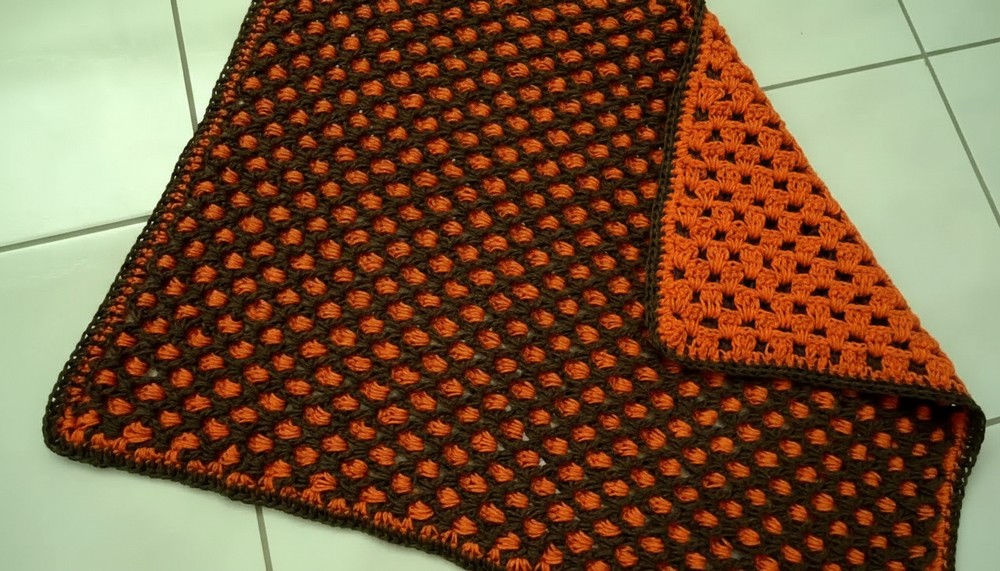
Durable Crochet Double Sided Rug Pattern Built For Daily Use
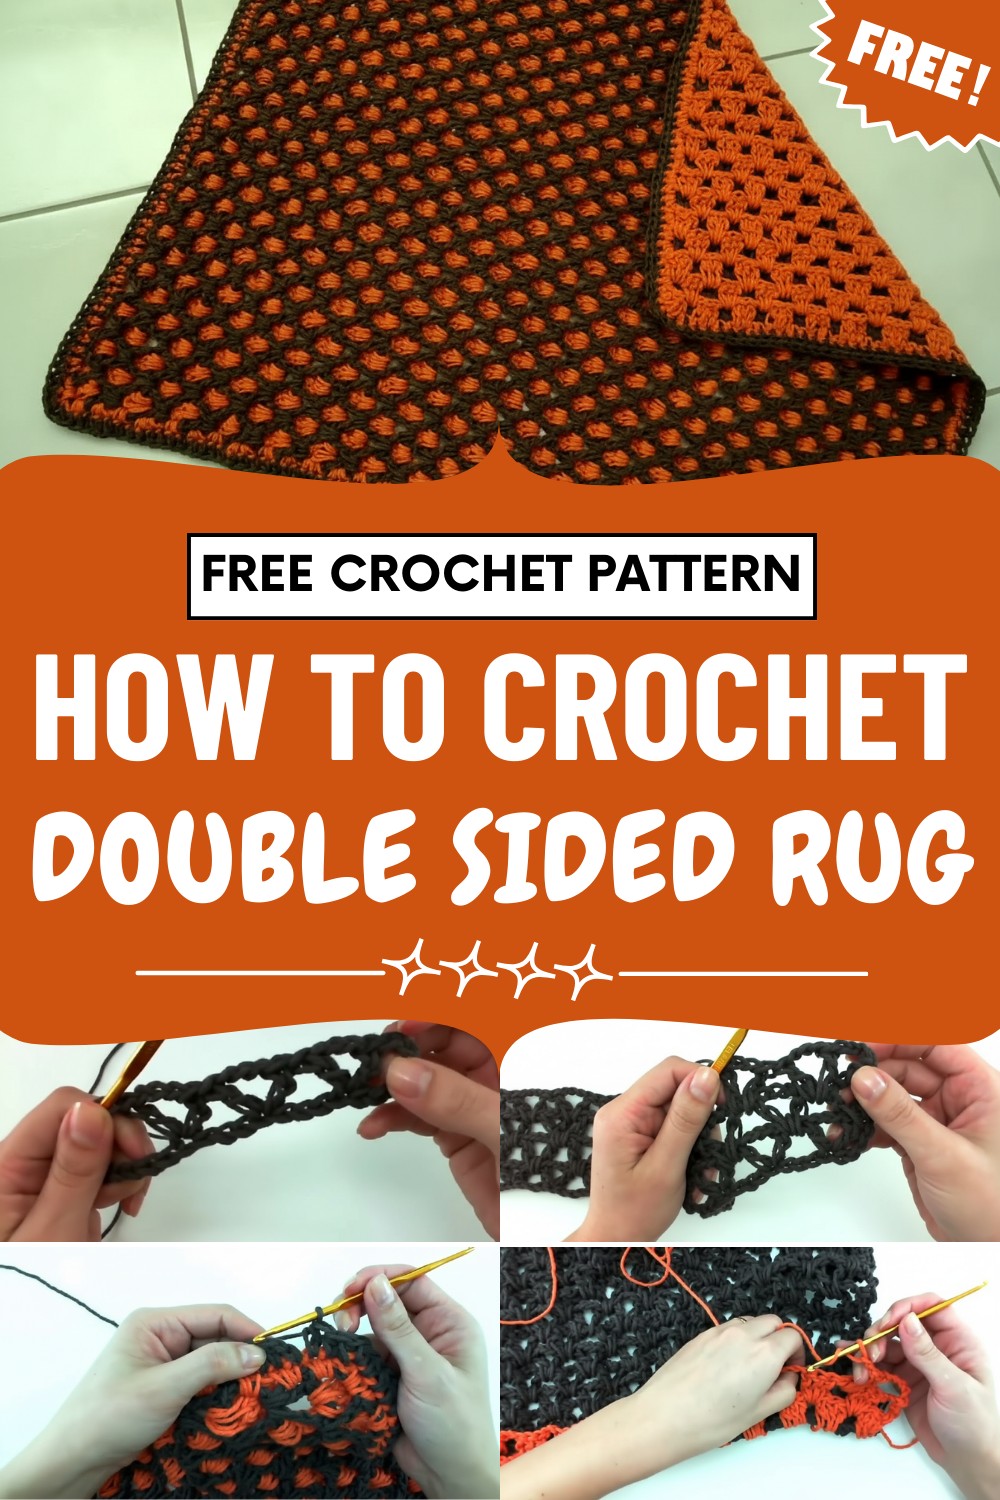
You can choose your favorite colors and patterns so the rug matches your own style or the season. These days, many people enjoy making this kind of rug because it is useful, pretty, and simple to clean. The crochet double sided rug pattern lets you create a fun and smart project that adds charm and comfort to any space.
Materials Needed
-
Yarn: Number 8 Cotton Twine/Yarn (approx. 700g–1kg per color).
-
Color A: Brown (Foundation/Background)
-
Color B: Orange (Pattern/Top layer)
-
-
Hook: 4.0 mm (Size 7 or G-6) to ensure tight, sturdy stitches.
-
Tools: Scissors, tapestry needle for weaving in ends.
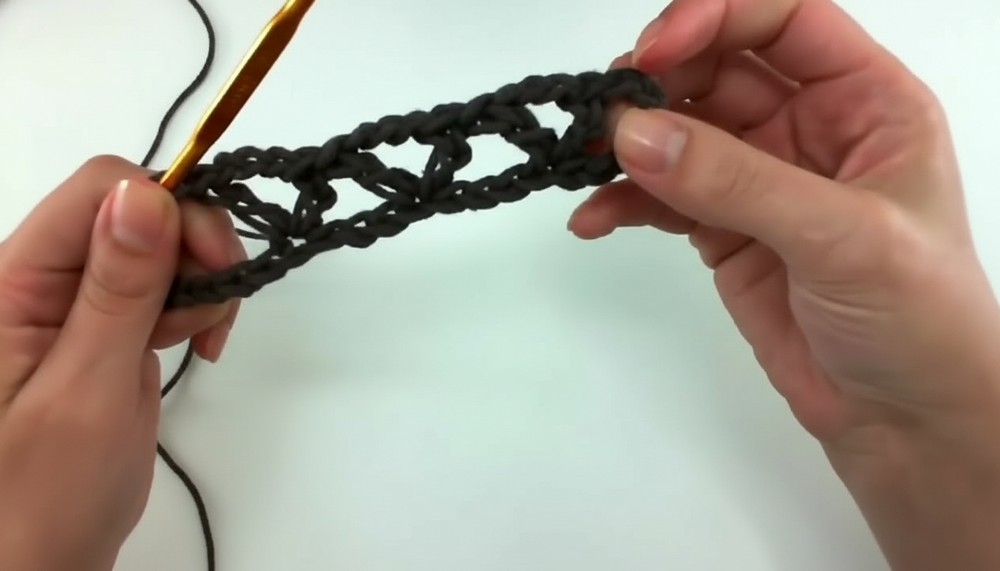
Part 1: The Foundation Grid (Color A – Brown)
This section creates the “ladder” structure that the second color will weave through.
-
Foundation: Chain 71. (Width is approx. 55 cm. To widen, increase in increments of 4).
-
Row 1 (V-Stitch Setup):
-
Work the first V-stitch in the 7th chain from hook: (1 dc, ch 3, 1 dc) all in the same chain.
-
Skip 3 chains, work a V-stitch in the next chain (1 dc, ch 3, 1 dc). Repeat from * across.
-
End the row with 1 dc in the very last chain.
-
-
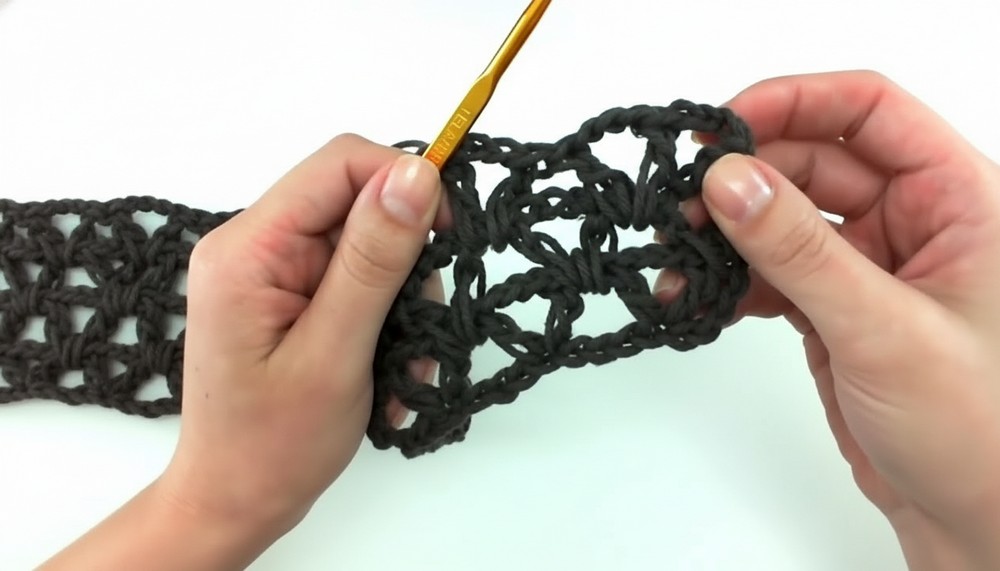
Row 2: Ch 3 (counts as dc), turn.
-
Work V-stitches (1 dc, ch 3, 1 dc) into the spaces between the V-stitches of the previous row. Important: Do not work inside the ch-3 loop; work in the gap between the groups.
-
End with 1 dc in the 3rd chain of the turning chain.
-
-
Growth: Repeat Row 2 until the rug reaches your desired length (tutorial uses 70 cm, approx. 38 rows).
-
Finish: Fasten off Color A.
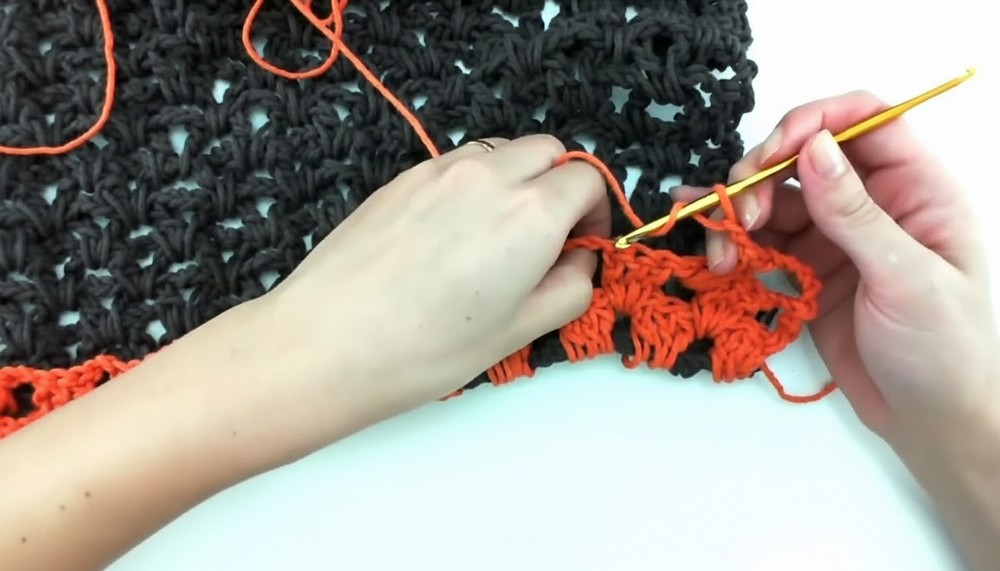
Part 2: The Interlocking Layer (Color B – Orange)
You will now weave the contrast color through the existing grid.
-
Row 1: Go back to the foundation edge. Attach Color B to the first available space between brown V-stitches.
-
Ch 3 (counts as dc). Work 2 dc in the same space.
-
Ch 2, work 3 dc in the next space between brown V-stitches. Repeat across.
-
-
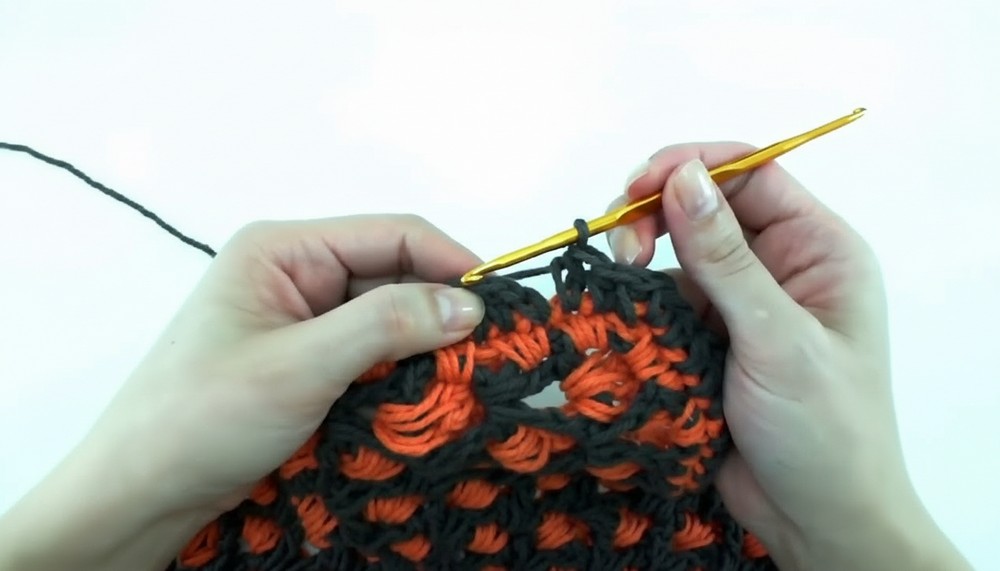
Row 2 (Locking the Layers):
-
Ch 5 (counts as 1 dc + ch 2 space), turn the rug upside down.
-
Fold the orange row forward. You will now work into the ch-3 loops of the brown V-stitches from Row 1 while catching the spaces of the orange row.
-
Work 3 dc into the brown ch-3 loop, ch 2. Repeat across.
-
-
Row 3 and Beyond:
-
Ch 5, turn.
-
Work 3 dc into the next available brown ch-3 loop (from the row below), working “through” the orange spaces to lock them together.
-
-
Growth: Continue this pattern until you have filled all 38 rows of the brown base.
Part 3: The Border & Finishing
-
Side Join (Color B): Do not cut the orange yarn. Align the loose edges of both the brown and orange layers.
-
Work a row of Single Crochet (sc) all the way around the rug, catching both layers at once to seal the sides.
-
Work approximately 2 sc in each side row space.
-
Join with a slip stitch and fasten off.
-
-
Final Perimeter (Color A): Reattach Color A (Brown) to the side.
-
Work 1 Half Double Crochet (hdc) in every stitch around the entire rug for a clean, professional finish.
-
-
Final Step: Fasten off and weave in all loose ends with a tapestry needle.
Conclusion
Your double-sided reversible mat is now complete! The interlocking relief texture makes it exceptionally plush and durable.
Would you like me to find a pattern for a matching textured pillowcase or a simple tutorial on how to add a non-slip backing to this rug?
Leave a Reply