
Tidy up in style with this Free Crochet Storage Basket Pattern perfect for organizing essentials while keeping your space cheerful and neat.
Keeping your living space neat and tidy is much easier when you have a beautiful, handmade bin to hold your favorite things. This Crochet Storage Basket Pattern helps you form a single, sturdy container that stands tall and keeps its shape on any shelf or table. It is perfect for holding a soft blanket by the sofa, keeping remote controls in one place, or storing small toys in a child's room.
Bold Crochet Storage Basket Pattern For Statement Storage Pieces
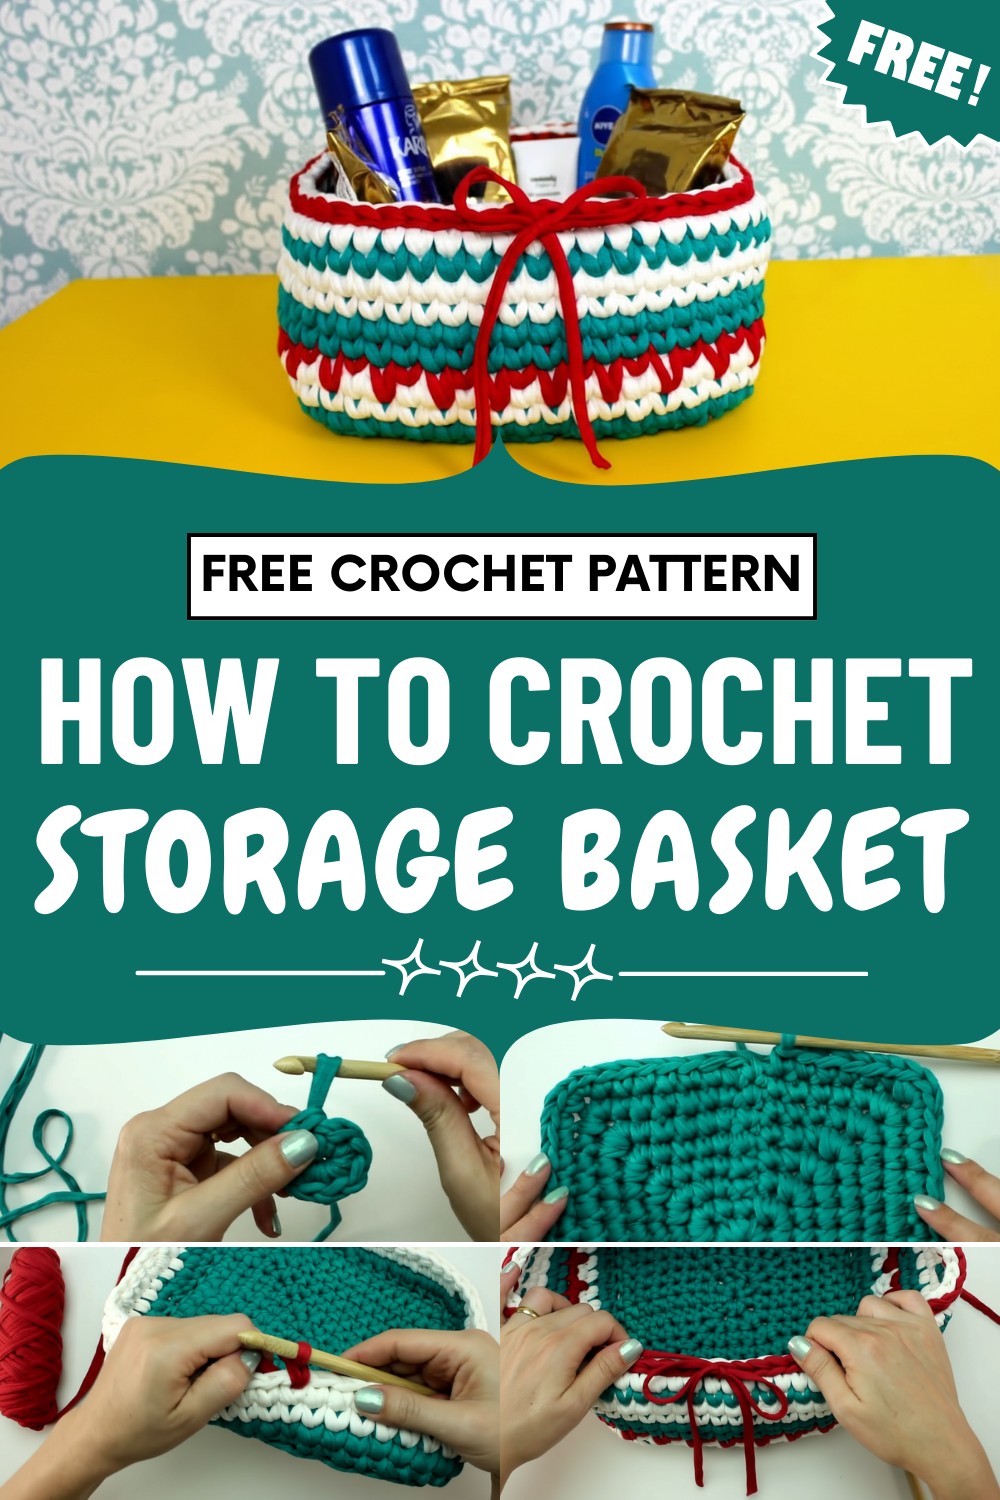
The finished item looks very high-end and elegant, featuring thick stitches that add a cozy, modern feel to your home. Because the walls are firm and strong, the basket stays upright even when it is empty.
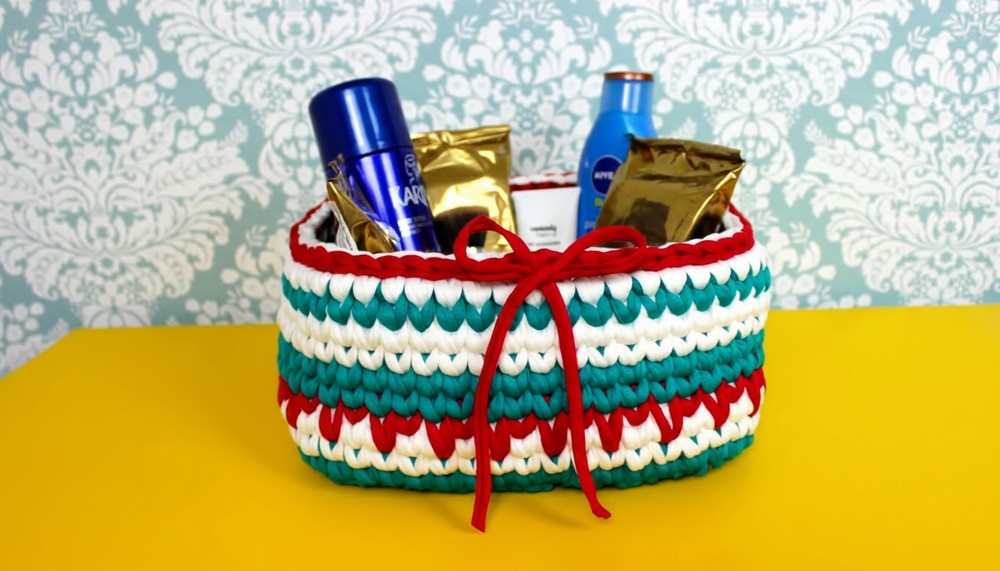
It is a smart choice for any room because it is soft enough to not scratch furniture but tough enough to last for years. Making this item allows you to pick the exact color that matches your house perfectly. This project results in a high-quality, practical piece that makes organizing feel like a dream.
Special Features
- Sturdy, structured squared sides using single crochet and centered single crochet
- Seamless join technique for a professional finish and extra firmness
- Decorative contrasting color details and a sweet bow
- Perfect size for gifting cookies, chocolates, or small presents
Level of Difficulty
Advanced Beginner / Intermediate
The base techniques are simple (single crochet, working in the round and in rows, color changes), but there are special joining/finishing techniques and centered single crochets for added structure.
Materials
- T-shirt (yarn/fabric) yarn in 3 colors (used: green, white, red for Christmas—but customize as you wish)
- Only small amounts needed of each color
- Bamboo or wooden crochet hook, 8 mm or [7 mm for extra firmness]
- Tapestry needle (for weaving/finishing)
- Scissors
Step-by-Step Pattern
1. Start the Basket Base (Green Color)
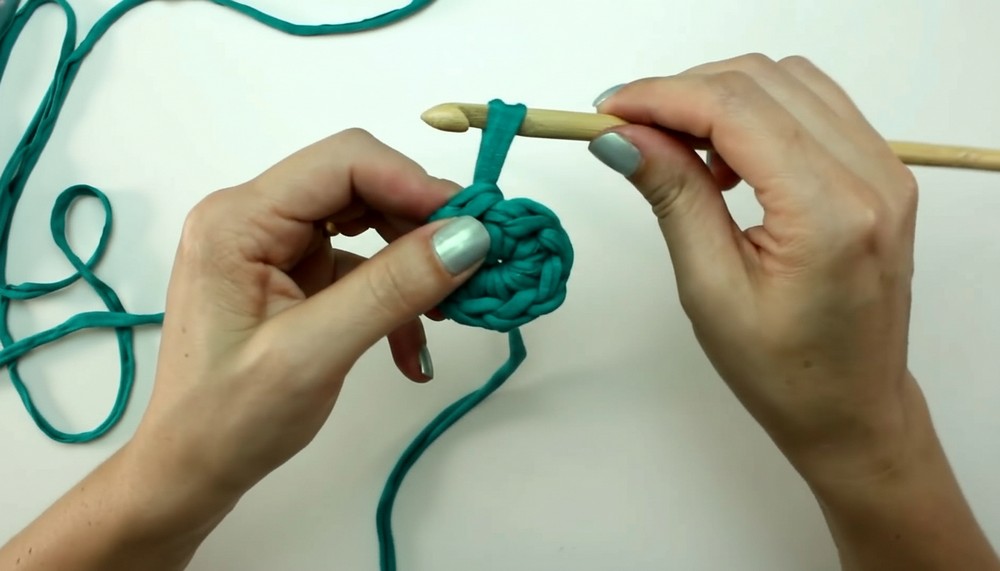
- Make a magic ring.
- Work 9 single crochet (sc) into the ring. Tighten the ring gently and evenly.
- Special join: Do not close with a slip stitch. Instead, follow this method:
- Identify the two loops from the first sc (not the starting chain).
- Insert needle from back, yarn over, and pull through both loops to join.
- Always avoid closing in the chain itself; close in the first SC for a seamless finish.
2. Shape the Square Base
- Round 2: Ch 1, sc in next st, 3 sc in next st (corner) – repeat around to get 4 corners with increases.
- Continue each round as follows:
- Sc in each st, at each corner make 3 sc in the central st of the previous corner cluster.
- The number of sc between corners increases by 2 each round (so: 1, then 3, then 5, then 7, etc.).
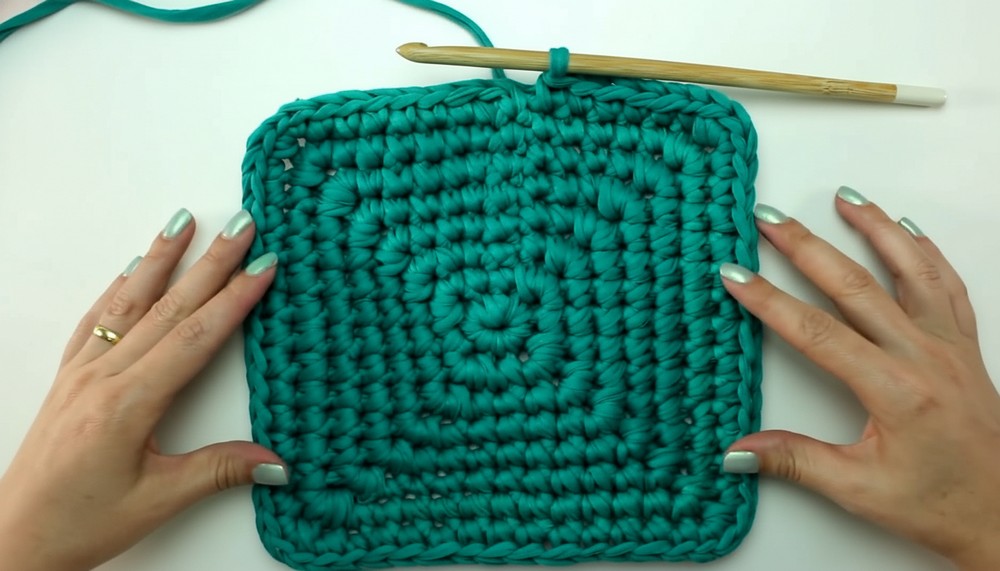
- Work 8 rounds, increasing each side of the square, until you have 13 sc between corners.
- End the base: Remove hook, insert into first real sc (not ch1), pull up a long loop, and gently finish off. Weave in yarn tail on the inside using your tapestry needle.
3. Basket Walls (Green Color)
- With right side up, attach green yarn into the back loop only of any edge sc.
- Ch 1, sc in back loop only around entire edge (“back loop only” creates a crisp corner for the side to turn up).
- Close as before with invisible join (not in chain; use the body of the first sc for a sturdy seam).
4. Work Centered Single Crochet Sides
- Now, work in centered single crochet: insert hook into the center “v” of the stitch below (not the usual top loops), for extra-firm sides.
- Continue with centered sc in every stitch, joining each round as before (invisibly).
- Work 1 round in green.
5. Color Changes for Wall Stripes
- Cut green, change to two rows white, making centered sc but closing & starting as before.
- (Optional) On next round: Add red accent detail—work alternating sc in previous row and the one below for a zigzag effect.
- Fasten off and weave in ends neatly between stitches.

6. Continue with Wall Stripes
- Return to green: Work 2 rounds in green, then switch to 2 rounds in white, always working centered sc and joining as above.
- Next, 1 round green, 1 round white.
- Finish with slip stitch edging in red: Work one slip stitch in each stitch, not too tight.
7. Final Touches
- Fasten off yarns. Use tapestry needle to weave yarn tails inside basket and under several stitches for security.
- Shape basket, squaring the corners and straightening sides.
8. Optional Bow
- Cut a 20-cm length of red yarn.
- Thread through one basket edge, tie a bow, and trim ends neatly.

Tutor’s Suggestions
- Try using a smaller hook (7 mm) for even stiffer sides if your yarn allows.
- You can use any thick cotton, tape, or T-shirt yarn for a super-firm finish.
- For non-Christmas themes, try gold/silver/white, or your giftee's favorite colors.
Uses
- Christmas treat basket for cookies, candies, or gifts
- Desk or dresser organizer for keys/jewelry
- Custom holiday/festive décor container
- Gift packaging (pop a present inside—it becomes part of the gift!)
Tip
For especially neat joins and ultra-crisp corners, always finish rows with an invisible join (never in the beginning chain), and take the time to block your basket sides square with your hands when you’re finished.
Conclusion
You’ve created a timeless, sturdy crochet basket with beautiful colorwork—ready to brighten anyone’s holiday or special day. This easy, customizable basket is the perfect project for learning new finishing techniques and makes a memorable, reusable gift.




Leave a Reply