
Twirl into fashion fun with this Free Crochet Peplum Top Pattern that's perfect for chic, stylish, and eye-catching wardrobe favorites.
Feminine style and flattering shapes bring a fresh and chic look to any wardrobe with a handmade touch. This Crochet Peplum Top Pattern that highlights the waist while adding a soft flare at the hips, creating a stylish silhouette suitable for casual outings, parties, or office wear. Its lightweight and breathable construction ensures comfort while maintaining elegance, making it perfect for warm seasons or layered looks.
Feminine Crochet Peplum Top Pattern Full of Style and Grace

The pattern allows flexibility in yarn choices, sleeve styles, and length adjustments, letting each piece reflect personal taste and fashion sense. Beyond its aesthetic appeal, working on this project provides a calming and rewarding experience while improving crochet skills and attention to detail.
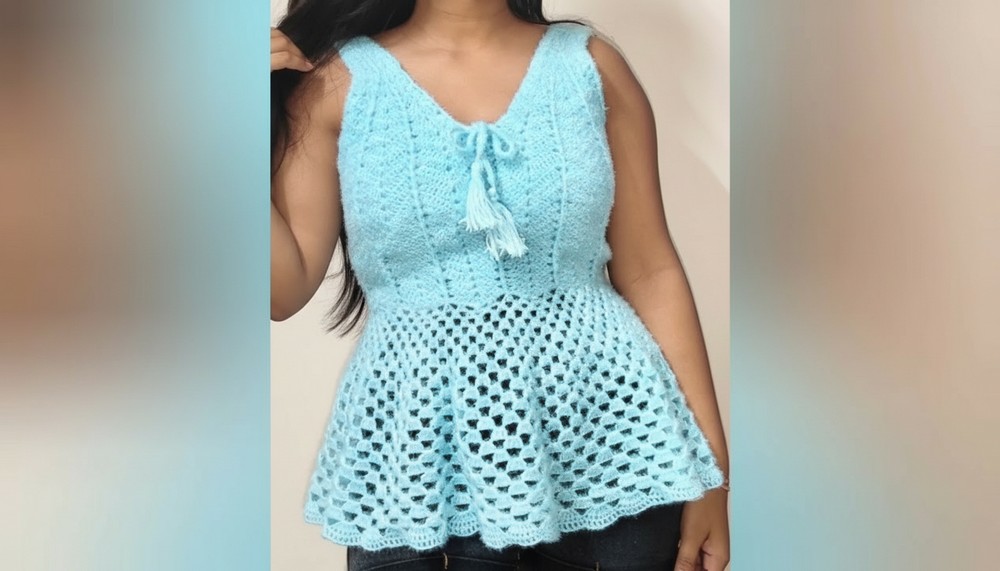
The finished top is durable, easy to care for, and versatile enough to pair with skirts, jeans, or trousers. The Crochet Peplum Top Pattern transforms simple yarn into a stylish, wearable piece that combines beauty, comfort, and handmade charm for everyday fashion.
Special Features
- Petal/Fan Stitch Bodice: Eye-catching texture at the top.
- Adjustable Sizing: Incremental rows for custom fit.
- Crisscross Back with Tassels: Decorative and functional finish.
- Lacy Skirt: Airy and elegant for warm weather.
Skill Level
Intermediate: You should be comfortable with basic crochet stitches and increases/decreases, as well as working in rows and rounds.
Materials Needed
- Yarn: Lightweight (amount depends on size)
- Hook: 2mm crochet hook (or size suited to your yarn)
- Scissors
- Yarn needle
- Tape measure
Suggested Yarn Type: Soft cotton or blend for best drape and comfort.
Step-by-Step Pattern
1. Crochet the Bodice (Front):
- Make a slip knot with your yarn.
- Chain 12.
- Chain 3 more (counts as first double crochet), then:
- Into the 4th chain from the hook, work 2 double crochets, chain 2, 2 double crochets (First "petal").
- Skip 2 chains, double crochet in the next chain.
- Skip 2 chains, in the next chain work 2 double crochets, chain 2, 2 double crochets.
- Skip 2 chains, double crochet in the last chain.
- Chain 3 and turn.
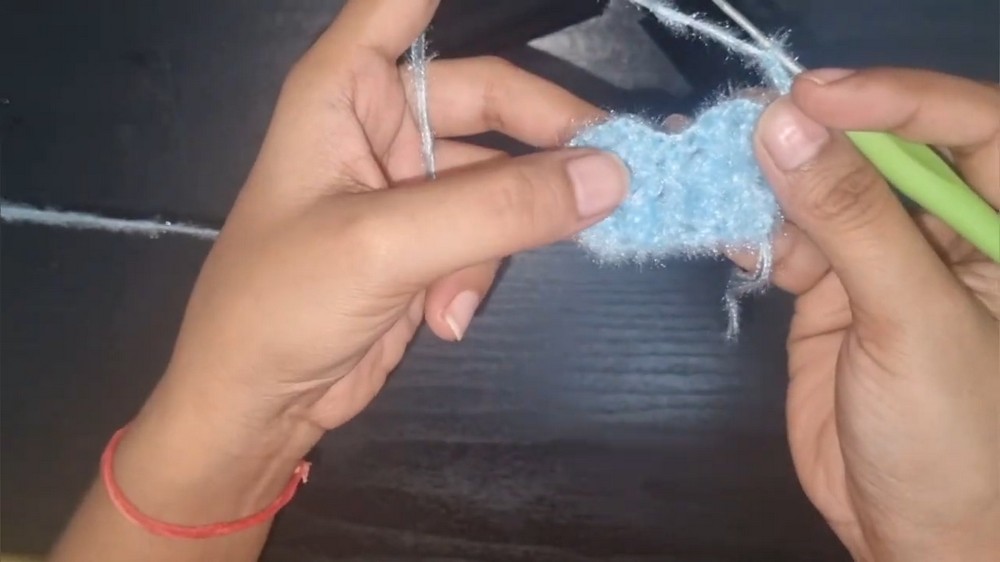
- In chain-2 space of petal, work 2 double crochets, chain 2, 2 double crochets.
- Double crochet into the single double crochet from the previous row.
- Repeat for the next petal.
- Double crochet in top of turning chain.
- Continue this sequence for 6 petal rows (or as deep as desired).
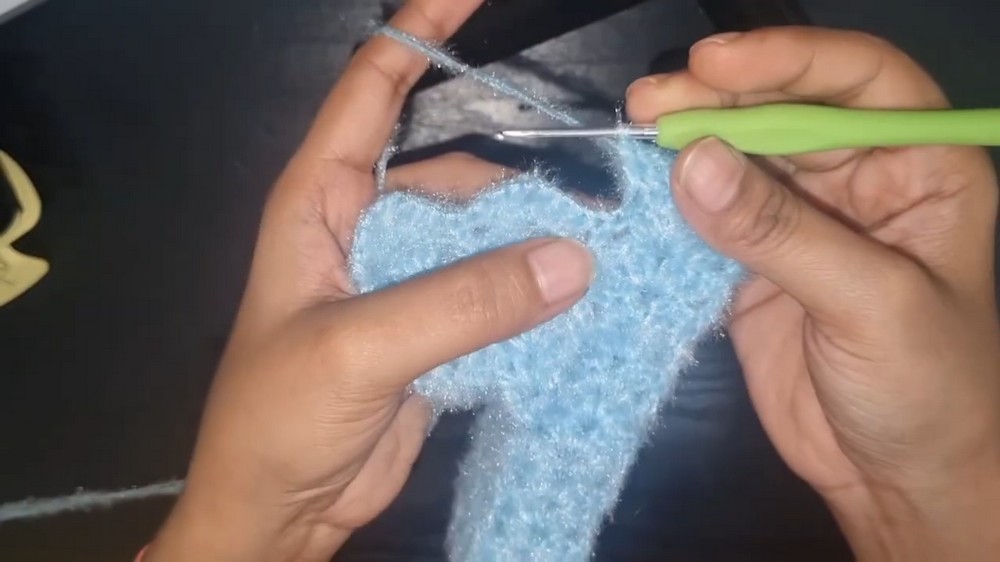
2. Shape Neckline and Increase for Bust:
- If you want a less deep neck, work only 4–5 petal rows.
- In subsequent rows, increase by making additional double crochets at the beginning and end of rows, and around the petal spaces, as per the video.
- The increase method: Each time you repeat after an increase row, add one more double crochet to the ends or sides for each size increment.
- Continue until the piece measures ¼th your bust circumference (e.g., for 32", aim for 8" wide).
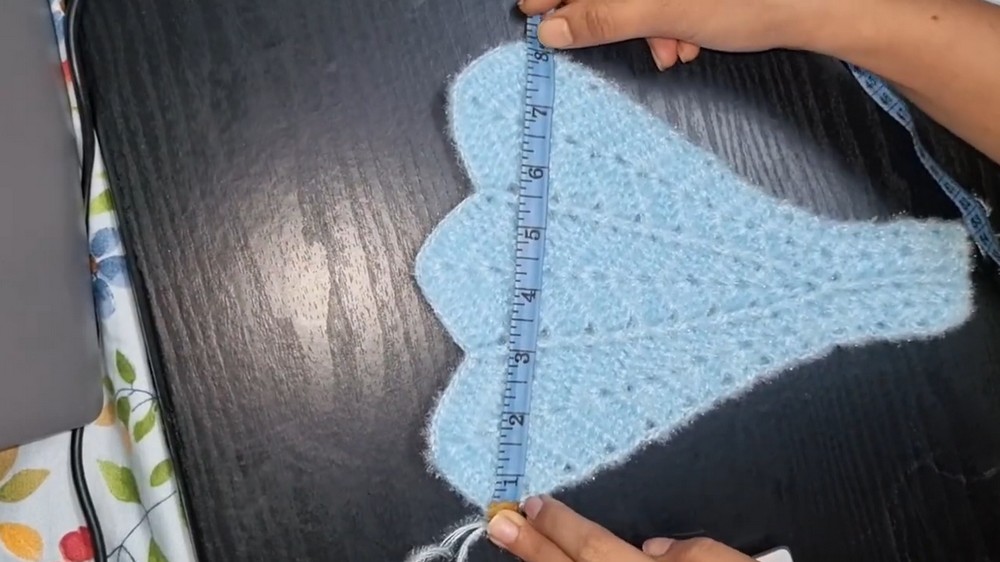
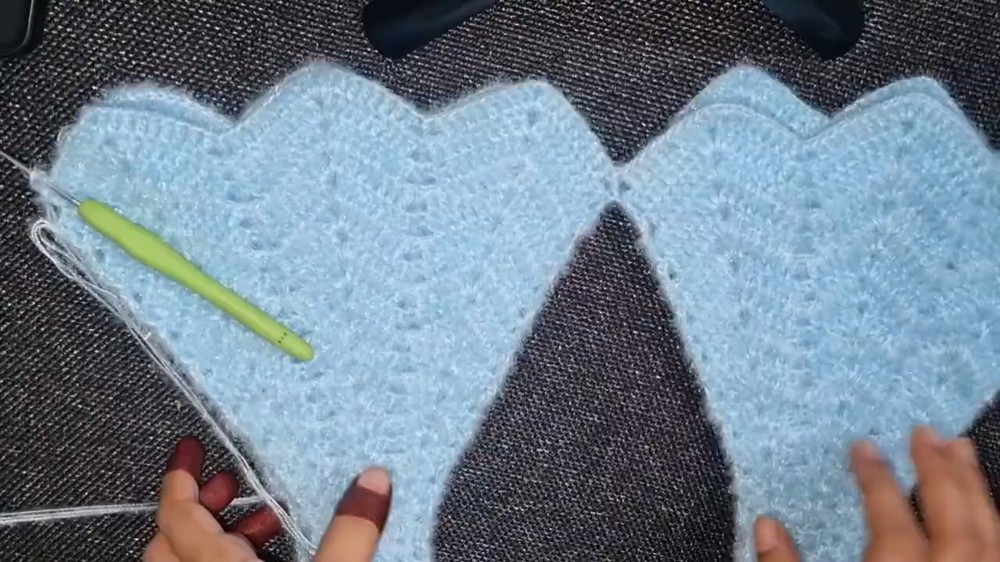
3. Make the Back Piece:
- Repeat the same method as front for the other shoulder side.
- Match length and width to the front piece.
4. Join Front and Back Shoulders:
- Use slip stitch or double crochet to join shoulders at one edge.
- At the armholes, make 7 chains and attach via double crochet; do this for both sides.
- Attach the bottom (waist area) similarly, joining and chaining as needed to create the torso opening.
5. Shape the Waist:
- After assembling, switch to rows with fewer double crochets to decrease for the waist.
- Decrease the number of stitches per row (from 7 to 6, to 5, etc.) as needed, depending on your measurements.
- Continue the repeat rows until your desired waist width is reached.
6. Make the Tie Strings and Tassels:
- For Strings: Chain until you reach desired string length (about 23.5").
- For Tassels: Wrap yarn 6 times around a small item; tie in the middle, attach to string end, trim for evenness.
7. Crisscross Strings at Back:
- Weave through back loops or eyelets to create a lace-up closure.
- Attach tassels at each end.
8. Attach Skirt and Work Skirt in Rounds:
- Join yarn at the bodice bottom with single crochet between motifs.
- Row 1: Chain 2 (counts as double crochet), work 2 double crochet in same stitch. Chain 1, skip to next motif, 3 double crochet—repeat all around.
- Slip stitch to join round. Chain 4 (first double crochet + chain space), 3 double crochets in next space, chain 1—continue in pattern.
- In subsequent rounds: For every round, increase chain spaces or the number of double crochets per motif (from 3 to 4, etc) to flare out skirt.
- Continue repeating for desired skirt length.
9. Finishing Edges:
- Work a final round: Single crochet in space, chain 2, double crochet in next space all around.
- Slip stitch to finish; cut yarn and weave in ends.
Tutor Suggestions
- Measure frequently to customize the dress to your body shape.
- Adjust the number of rows and increases for smaller or larger sizes.
- Use lighter yarn for a flowy look, heavier for cooler weather.
- Try different colors for petals and skirt for a unique effect.
Possible Uses
- Everyday summer dress
- Swim cover-up
- Party/Ethnic wear with the right accessories
- Gift for kids or adults
Conclusion
You now have a step-by-step guide to create a stunning, customizable crochet dress. With its unique flower motif bodice, flattering adjustments, and graceful skirt, this project is as fun to make as it is to wear. Enjoy experimenting with colors and sizes to craft your perfect dress!
Pro Tip
For even seams and a professional finish, always block your pieces before assembly. This helps to even out stitches and makes joining much easier.




Leave a Reply