
Organize your space with ease using this free crochet storage basket pattern and invite simple style and fun into any room of your home.
Bringing both beauty and function into your home, a handmade crochet storage basket is a charming solution for organizing daily clutter. This cozy basket can hold toys, yarn, laundry, bathroom items, or even small plants, helping you keep everything in its place while adding a warm, personalized touch to your décor. Crocheted from sturdy yarn with simple crochet stitches, it is strong enough for everyday use yet soft to the touch.
Chunky Yarn Crochet Storage Basket Pattern for Instant Texture
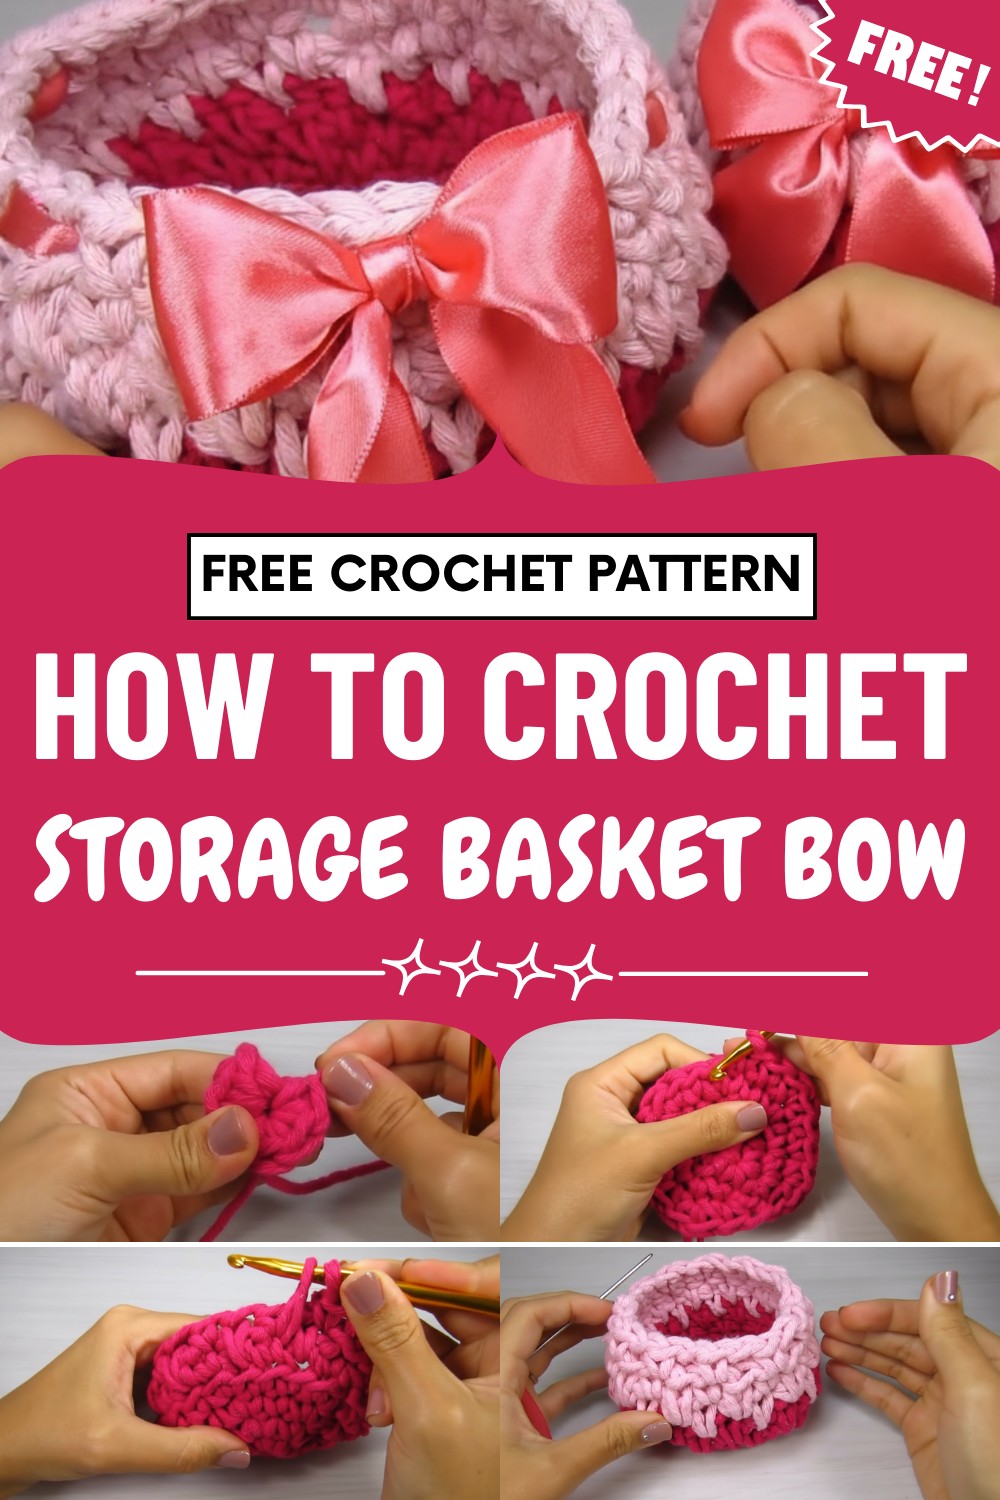
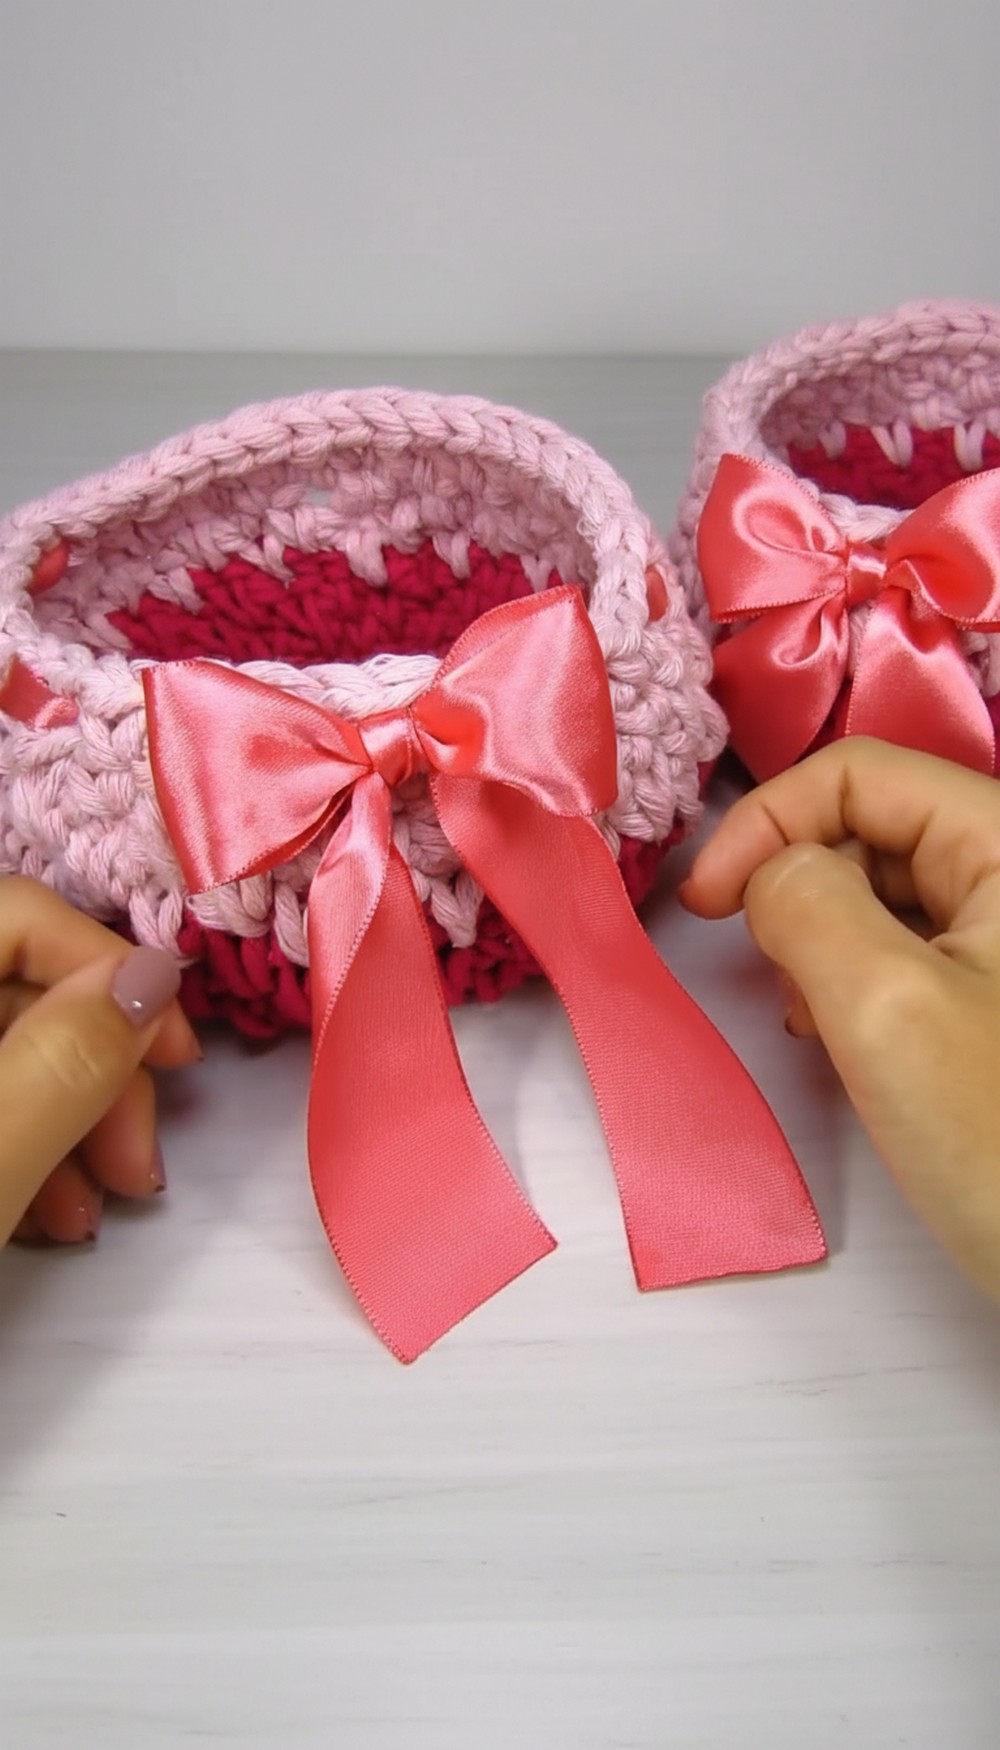
You can choose any color to match your style and even add details like ribbons or wooden buttons for extra appeal. Creating this basket offers a relaxing and fun project, and the end result is both practical and decorative.

As more people look for easy, reusable ways to stay organized, a crocheted basket has become a popular choice, fitting perfectly into all kinds of living spaces—from modern homes to cozy cottages.
Special Features
- Versatile Design: Use as an organizer, basket, or comfy bed for small pets.
- Customizable Size: Increase or decrease the base and body for your preferred dimension.
- Sturdy & Functional: Thick cotton yarn ensures your basket holds its shape.
- Attractive Texture: Alternates regular and elongated single crochets for visual interest.
- Personal Touch: Add a decorative satin bow for a sweet finish.
Level of Difficulty
Confident Beginner
If you’re comfortable with the magic ring, single crochet, increases, and simple color changes, you’ll do great! Perfect as an early project to practice making three-dimensional objects.
Suggested Uses
- Organizer for yarn, cosmetics, toys, or office supplies
- Bed or basket for small pets (cats, dogs)
- Gift basket
- Baby shower decor
Materials
- Thick cotton yarn/twine (recommended: EuroRoma Fio de Malha or equivalent, 24 threads; main and accent colors)
- Crochet hook: 7 mm
- Satin ribbon (1 cm and/or 3 cm wide), for bow and accent
- Tapestry needle (for weaving in ends & threading ribbon)
- Scissors
Step-by-Step Pattern
1. Base (Worked in the Round)
With main color:
- Magic Circle:
- Make a generous magic circle and leave a long tail for closing securely.
- Work 1 chain (does not count as a stitch).
- Round 1:
- Work 6 single crochets (sc) into magic circle.
- Pull tail to tighten circle.
- Join with slip stitch to first sc (ignore the beginning chain).

- Round 2:
- Work 1 chain (don’t count as stitch).
- 2 sc into each stitch around. (12 stitches)
- Join with slip stitch to first sc.
- Round 3:
- 1 chain.
- (2 sc in next st, 1 sc in next st) repeat around (18 stitches).
- Join with slip stitch.
- Round 4:
- 1 chain.
- (2 sc in next st, 1 sc in next 2 sts) repeat around.
- Join.
- Continue Increasing:
- In each new round, increase the number of single crochets between increases by 1. (ex: Rnd 5: 2 sc in same, 1 sc in next 3, etc).
- Stop when the base is as wide as you want.
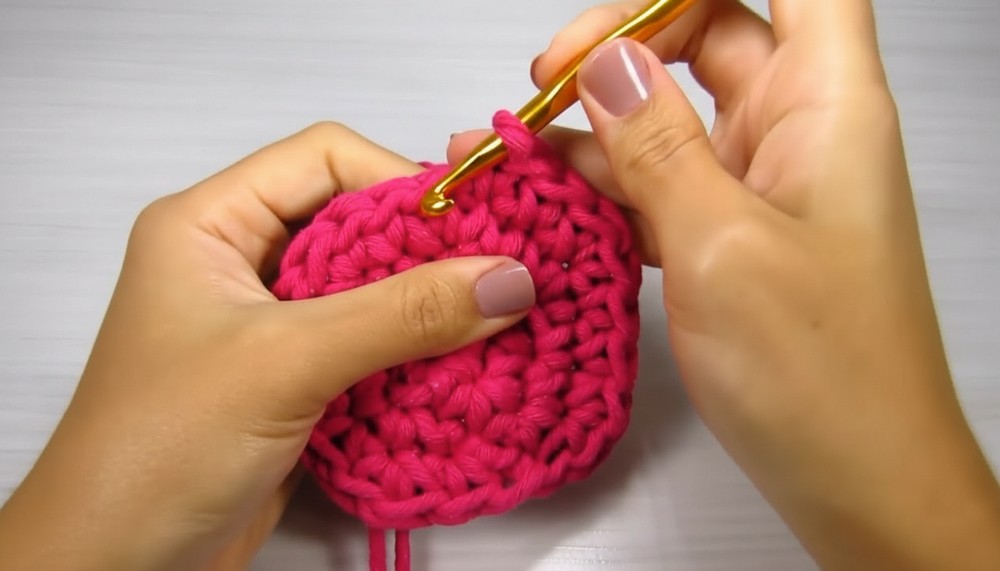
Tip: For a small basket, 6 base rounds is typical; add more for a larger basket.
2. Building the Sides (Basket Wall)
- Transition row:
- After base is complete, work one round of sc in the back loop only (BLO) of each stitch. Join.
- Body pattern (Texture rounds):
- Round 1:
- Chain 1, sc in next st, elongated sc in next st (insert hook into previous round’s stitch, pull up a tall loop, finish as sc); repeat around, join.
- Round 2:
- Chain 1. sc in next st (above elongated sc), elongated sc in next st (above regular sc); repeat around, join.
- Repeat this pattern for several rounds, until basket is as tall as you wish.

- Round 1:
3. Stripes & Color Changes (Optional)
- Change to a contrasting color (e.g. baby pink) after your main-color rounds.
- Work 2 rounds (or as desired) in the new color, repeating the same alternating textured stitch pattern.
4. Finishing Edge & Ribbon Holes
- Eyelet Row:
- Chain 1, skip 1 st, sc in next st, chain 1; repeat around, join with slip stitch.
- This creates open spaces to thread your satin ribbon through later.
- Finish off; weave in all ends using knots for security if using as a pet bed.

5. Add the Ribbon
- Cut a length of 1 cm satin ribbon long enough to loop around the basket and tie a bow.
- Thread ribbon through each chain space around the top edge (alternating front/back for a classic basket look).
- Tie a neat bow at the front.
6. Make a Bow Decoration
- With wider (3 cm) satin ribbon, create a bow by wrapping twice around your fingers, pulling one end through the loop, and tightening.
- Trim “tails” if needed and carefully melt edges with a flame to prevent fraying.
7. Attach the Bow
- Sew, glue, or tie the bow securely at the front of your basket.
- Hide ends within the basket wall for a neat finish.
Tutor’s Suggestions
- Use a sturdy, thick yarn or twine for the best basket structure.
- Customize the color and ribbon width/placement to match your decor or gifting occasion.
- Adjust the number of rounds in the base/body for different basket sizes.
- Always weave in ends and tie off securely, especially if using as a pet bed where durability matters.
PRO TIP
For a truly neat edge:
After your last row, finish with a “slip stitch” edge in each stitch around. This gives a professional, condensed rim and helps the basket hold its shape.
Conclusion
You have now created an adorable, multi-purpose crochet basket that is both practical and decorative! Adjust sizing and colors for endless variety—perfect for organizing, gifting, or pampering your furry friend. Show off your work, share with friends, and enjoy your handmade creation.




Leave a Reply