
Revamp everyday outfits using this Crochet V-neck Top Pattern with a flattering neckline, comfy fit, and simple layering for warm seasons.
Effortlessly blending classic style with modern flair, a Crochet V-neck Top Pattern offers the perfect canvas for personal expression and versatile fashion. Whether you’re seeking a breezy summer layer, a chic evening look, or an everyday staple, this design transitions seamlessly across occasions. The flattering V-neckline elongates the neckline and highlights the collarbone, lending sophistication to the finished garment.
Relaxed Crochet V-neck Top Pattern Offering All Day Comfort
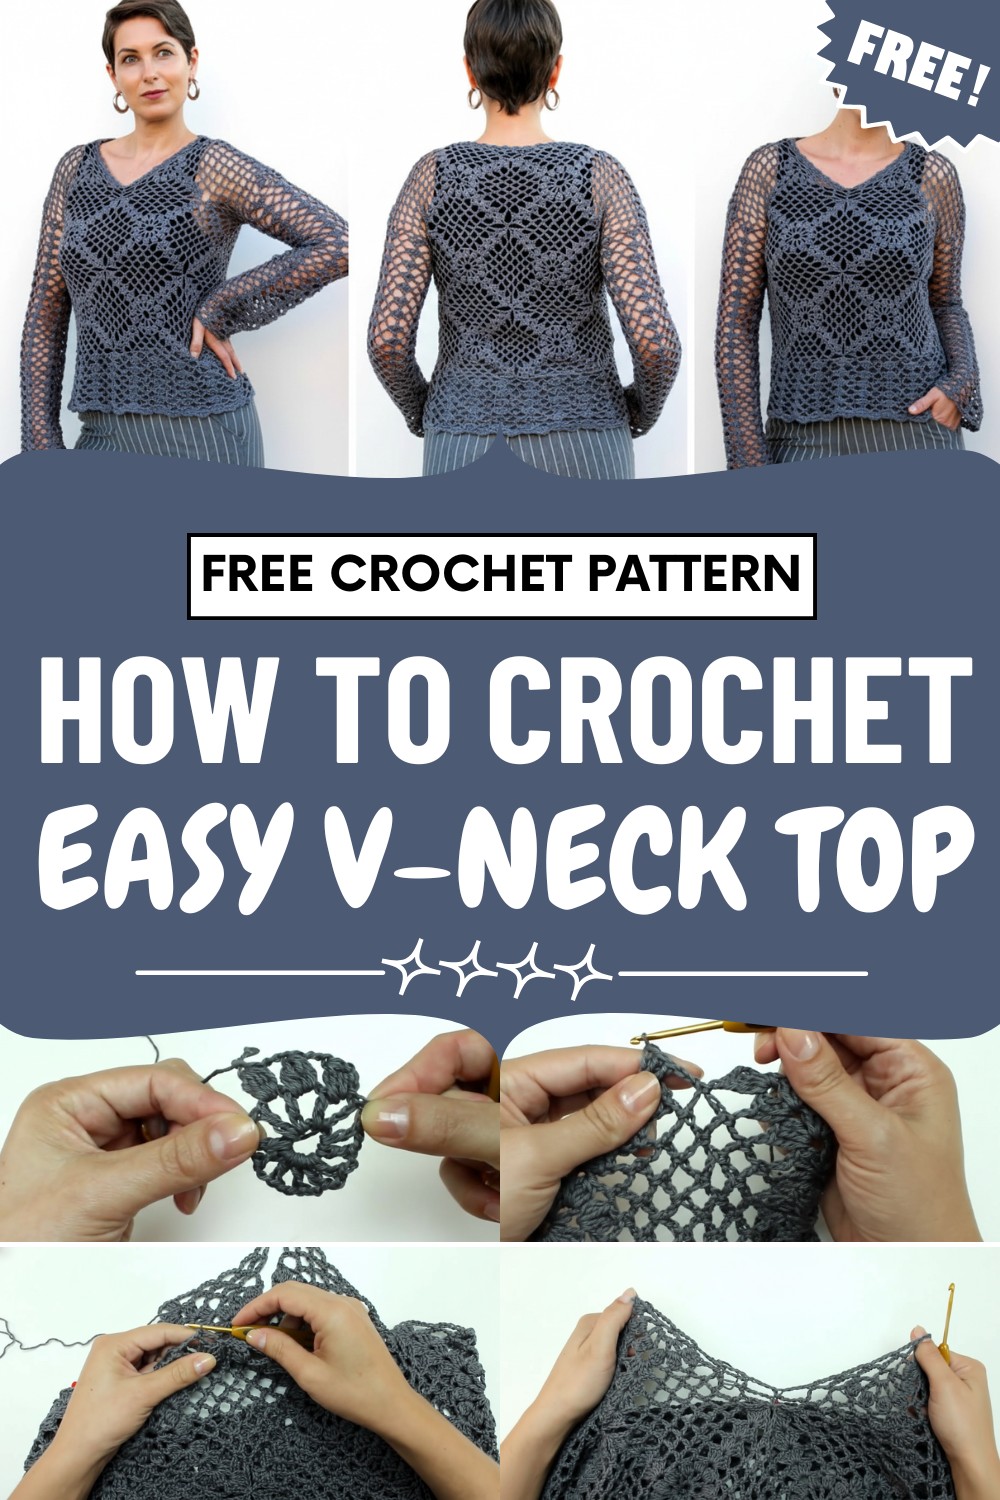
Crocheted with lightweight yarns, the top provides comfort and breathability, ideal for sunny days or casual layering. Creative makers delight in customizing lengths, sleeve styles, and stitch textures to suit their individual tastes. With its enjoyable construction, crocheters experience both relaxation and a sense of accomplishment as the pattern comes together.
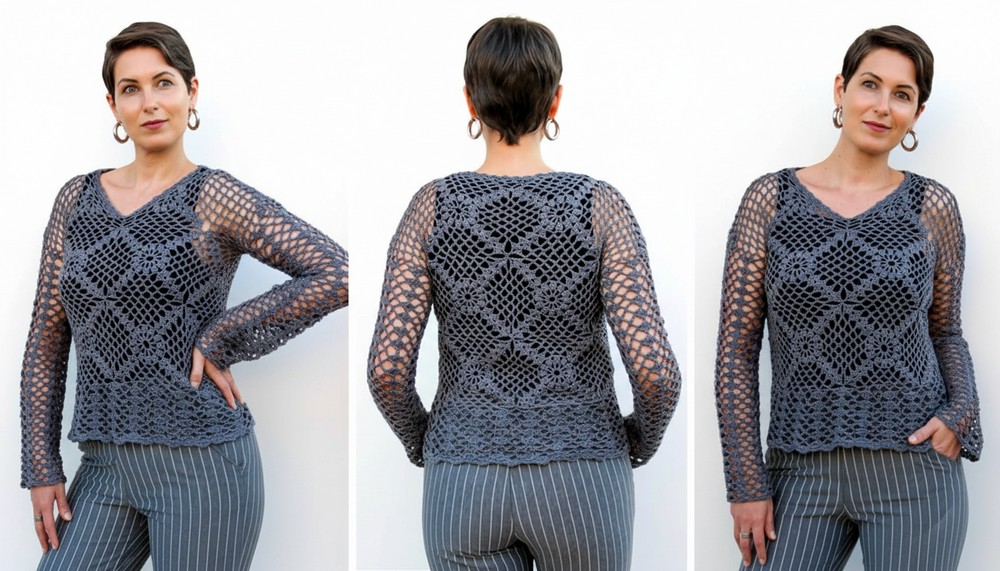
Presently, many appreciate the eco-friendly aspect of handmade wardrobe pieces, making this top both sustainable and stylish. Whether paired with jeans, skirts, or layered beneath jackets, the finished piece offers elegance and a touch of artistry to any ensemble.
Required Materials
-
Yarn: 3 to 5 skeins of Bella by Pingouin (100% mercerized cotton, 150g/405m).
-
Hook: 3.0mm (to ensure a looser, more fluid stitch) [01:00]
-
Notions: Tapestry needle for finishing and scissors [01:04]
Pattern Instructions
1. The Square Motif
-
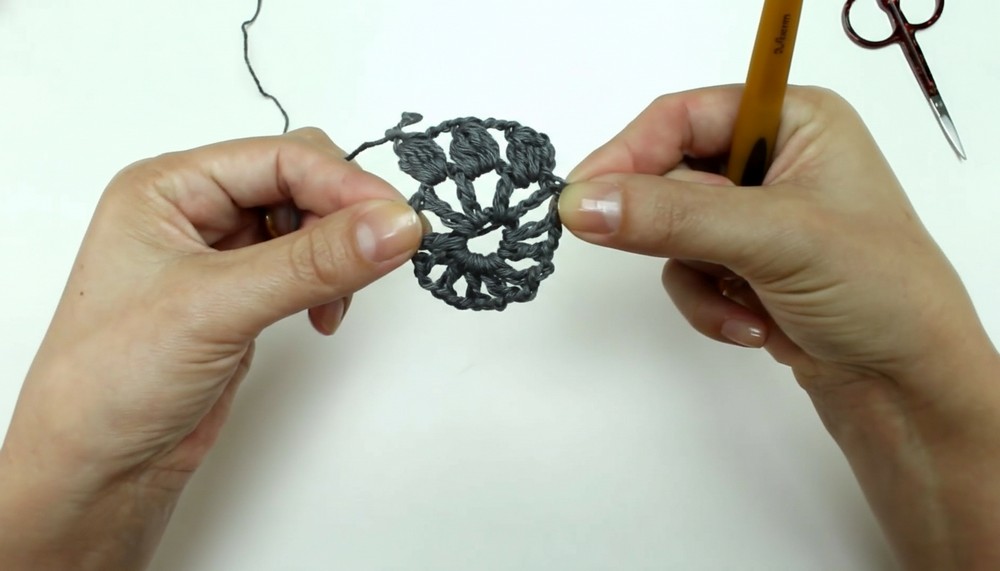
Foundation: Chain 8 and join with a slip stitch to form a ring [02:47].
-
Round 1: Chain 5 (counts as dc + ch-2). 1 dc into the ring, ch 2. Repeat 11 times. Join with a slip stitch (12 dc total) [03:29].
-
Round 2: Slip stitch into the ch-space. Chain 3, then work 4 dc together (5-dc cluster) in the same space. Ch 3 (1 to lock, 2 for space), 5-dc cluster in the next space. Repeat around. Join [04:14].
-
Round 3: Slip stitch to the ch-space. 3 dc, ch 2, 3 dc in one space (corner). Ch 4, sc in next space. Repeat the ch-4 sequence three times between corners [07:21].
-
Rounds 4-6: Continue working corners in corners. For each round, increase the number of ch-4 mesh spaces between corners until you have 6 spaces per side [11:09].
2. Body Assembly
-
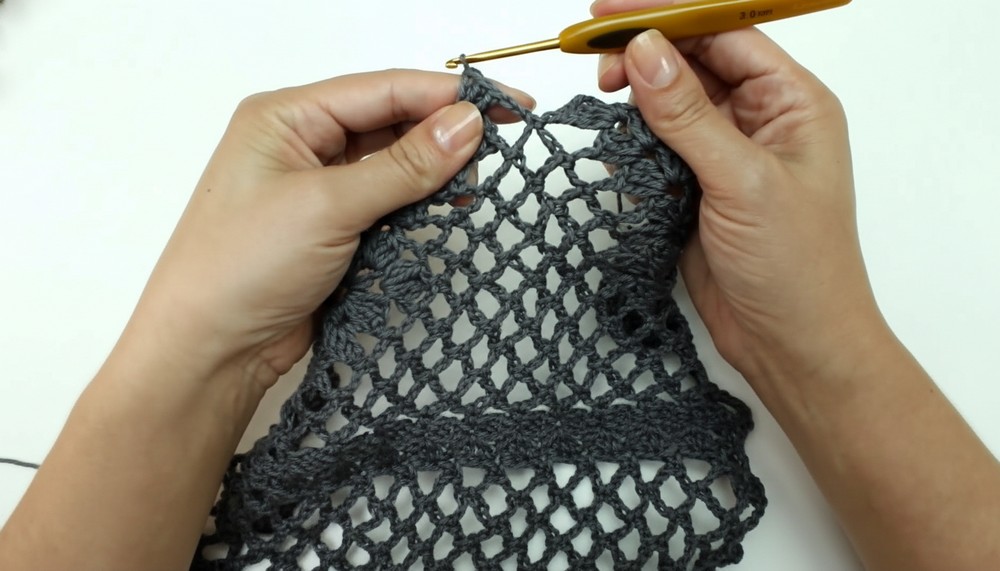
Joining Squares: Connect squares during the final round using the join-as-you-go method. Replace a ch-2 with a ch-1, sc into the adjacent square, ch-1. For the mesh, use ch-2, sc into the adjacent mesh, ch-2 [13:05].
-
Width: Join 6 squares in a circle to form the bust (adjust quantity based on your bust measurement) [27:32].
-
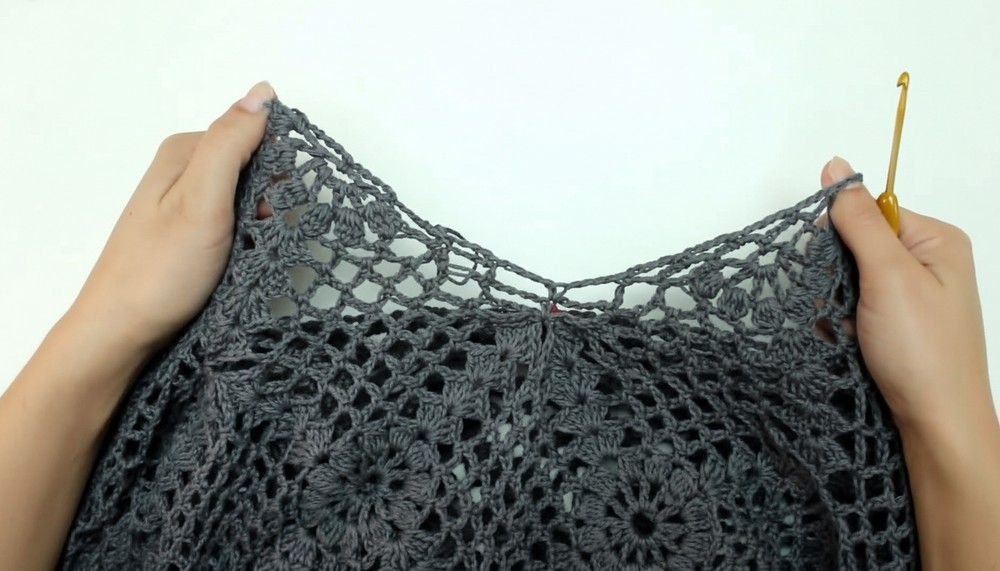
Shoulders: Add 2 full squares for the back shoulders and 2 "Half Squares" for the front to create the V-neckline [40:33].
3. Half Square (For V-Neck & Sleeves)
-
Work the same foundation but only complete 6 sections of the circle instead of 12 [41:41].
-
Turn your work after each row instead of working in rounds to create a triangle shape [41:58].
4. Sleeves and Finishing
-
Sleeve Base: Create a modified half square with double treble stitches at the edges to ensure it doesn't pull at the underarm [55:52].
-
Mesh Pattern: Work a repeating pattern of 4 dc groups followed by ch-5 mesh loops [01:15:30].
-
Hemline: Add 10cm of the mesh pattern to the bottom of the blouse for a finished look [01:28:06].
-
Neckline Edge: Work 3 rounds of decreasing mesh (ch-5, then ch-4, then ch-3) to pull the neckline in, finishing with a small picot or shell border [01:41:48].
5. Professional Touch
-
Blocking: Secure the finished garment with pins and use a steam iron (held 5cm away) to set the stitches and improve the drape [01:45:18].




Leave a Reply