
Stitch up cozy fall favorite with this Crochet Pumpkin Plush Pattern and enjoy simple, beginner-friendly project perfect for seasonal décor.
Bringing a delightful blend of coziness and creativity to any setting, this inviting design offers much more than just a festive touch. A plush pumpkin serves as a versatile decorative piece for autumn table settings, mantel displays, and seasonal vignettes, while also doubling as a heartwarming handmade gift or a comforting toy for children. The project’s accessibility—crocheters of all skill levels can achieve beautiful results thanks to clear instructions and the forgiving nature of plush yarn.
Lovely Crochet Pumpkin Plush Pattern that enhances fall styling

The finished pumpkin is notable for its plump, luxurious texture and charming appearance, instantly beautifying both modern and rustic spaces alike. Uniquely, a maker can personalize the pumpkin with custom colors, playful stems, or unique embellishments, ensuring every piece is one-of-a-kind.
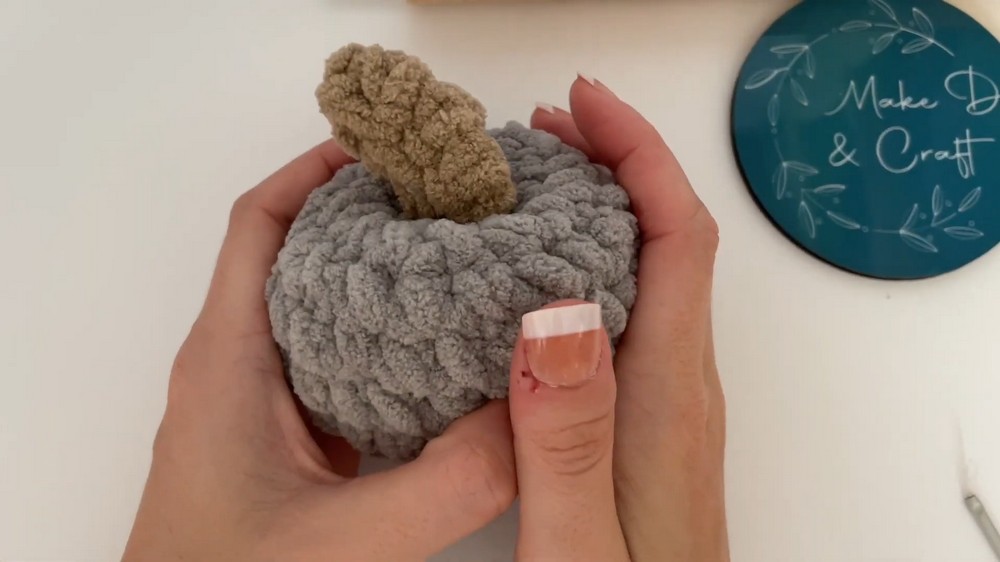
Its specialty lies in the perfect marriage of softness and cheerful design, offering year-round enjoyment and an inviting atmosphere wherever it is displayed.
Special Features
- Worked in the round (not flat) for a smooth, seamless shape
- No ribbing or back loop stitches—just basic single crochet
- Uses invisible decreases for a neater finish
- Plush/chenille yarn for soft, squishy pumpkins
- Quick and customizable (small, medium, and large versions possible)
Level of Difficulty
Beginner-friendly!
If you know single crochet and how to work in the round, you’re good to go. The stitch count is simple and extra tips for working with plush yarn are included.
Tutor's Suggestions
- Use a crochet hook one or two sizes smaller than recommended for your yarn to avoid holes and keep stuffing in.
- Keep stitch markers handy to help count your rounds—especially important with fuzzy yarn.
- Don’t overstuff; a medium-firm fill is perfect for shaping.
- Be gentle when pulling chenille yarn—you want cute pumpkins, not snapped threads!
Uses
- Fall & Halloween décor
- Craft markets or fairs
- Soft toys (no safety eyes—child safe!)
- Gifts and party favors
- Table centerpieces
Materials
- Plush/Chenille/Blanket yarn (Super Bulky/Chunky, any color)
- 8mm crochet hook (use a smaller hook than suggested on the yarn label)
- Yarn needle (for sewing and shaping)
- Scissors
- Toy stuffing
Pattern (Medium Pumpkin, US Terms)
1. Pumpkin Body
Round 1:
Make a magic ring. Work 12 single crochet (sc) into the ring. (12)
Round 2:
[Increase (2 sc in next st), 1 sc in next st] x 6 around. (18)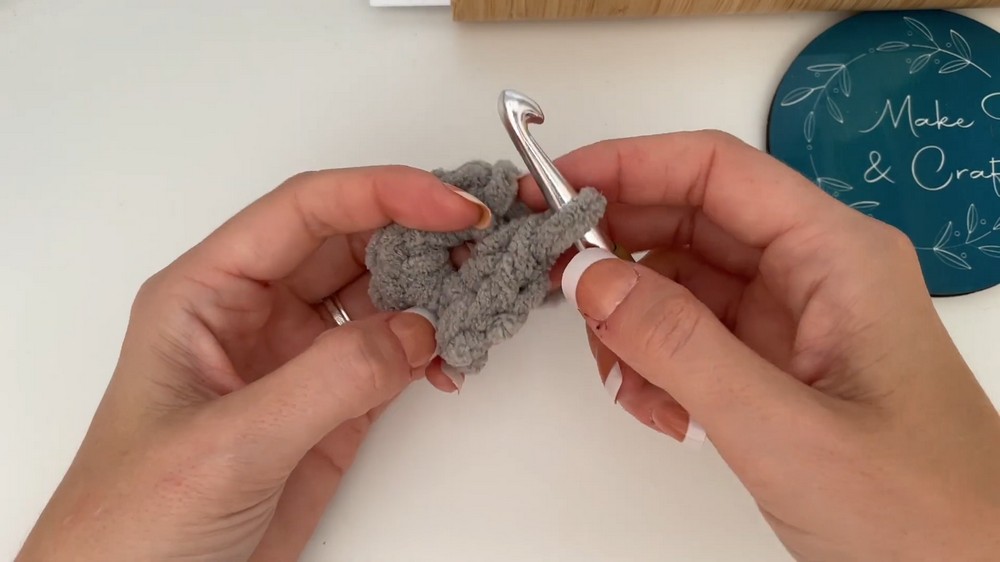
Round 3:
[Increase (2 sc in next st), 1 sc in next 2 sts] x 6 around. (24)
Rounds 4–6:
Sc in each st around. (24 per round)
Round 7:
[Invisible decrease, sc in next 2 sts] x 6 around. (18)
Round 8:
[Invisible decrease, sc in next st] x 6 around. (12)
Stuff pumpkin firmly but not too tight.
Round 9 (Closing):
Use slip stitch decreases for a tighter close:
Insert hook into next two sts, pull up a loop, pull straight through (do not yarn over again), repeat around (6).
Cut yarn, leaving a long tail.
2. Shaping the Pumpkin
- Using the tail and a yarn needle, pass through the center top to bottom (or vice versa) of the pumpkin to create the classic pumpkin indent.
- Gently squeeze and shape the pumpkin as you pull, but do not yank hard—chenille yarn can snap!
- Anchor your tail by catching a stitch inside, secure with a knot, and hide ends.
3. Stalk/Stem
With stem color:
- Chain 5.
- Starting in 2nd chain from hook, sc in next 4 chains. Ch 1, turn.
- Sc in each of next 4 sts across.
- Do not chain, fold the stem lengthwise, and slip stitch across through both sides to close.
- Leave a long tail for sewing.

Attaching:
- Sew the stem to the top of your pumpkin, using the same pass-through and anchoring technique. Secure with a knot and weave in ends.
Conclusion
You just made a snuggly plush pumpkin in record time! This pattern is easy, fast, and perfect for autumn decorations or handmade gifts.
Tip
To avoid seeing stuffing through your stitches, always use a smaller hook and don’t over-stuff! With plush yarn, gentle handling and even tension give the best results.




Leave a Reply