
Sprinkle fruity flair with this Crochet Grape Applique Pattern for cute accents on bags, blankets, pillows, and playful décor projects.
Clusters of small, round shapes and bright purple colors add a fun and sweet touch to many items with the crochet grape applique pattern. Right now, many people use this pattern to decorate kitchen towels, bags, hats, or even children’s clothes, making them look special and cheerful. One big benefit of the crochet grape applique pattern is that it’s quick to make and great for using up leftover yarn.
Colorful Crochet Grape Applique Pattern That Feels Fresh
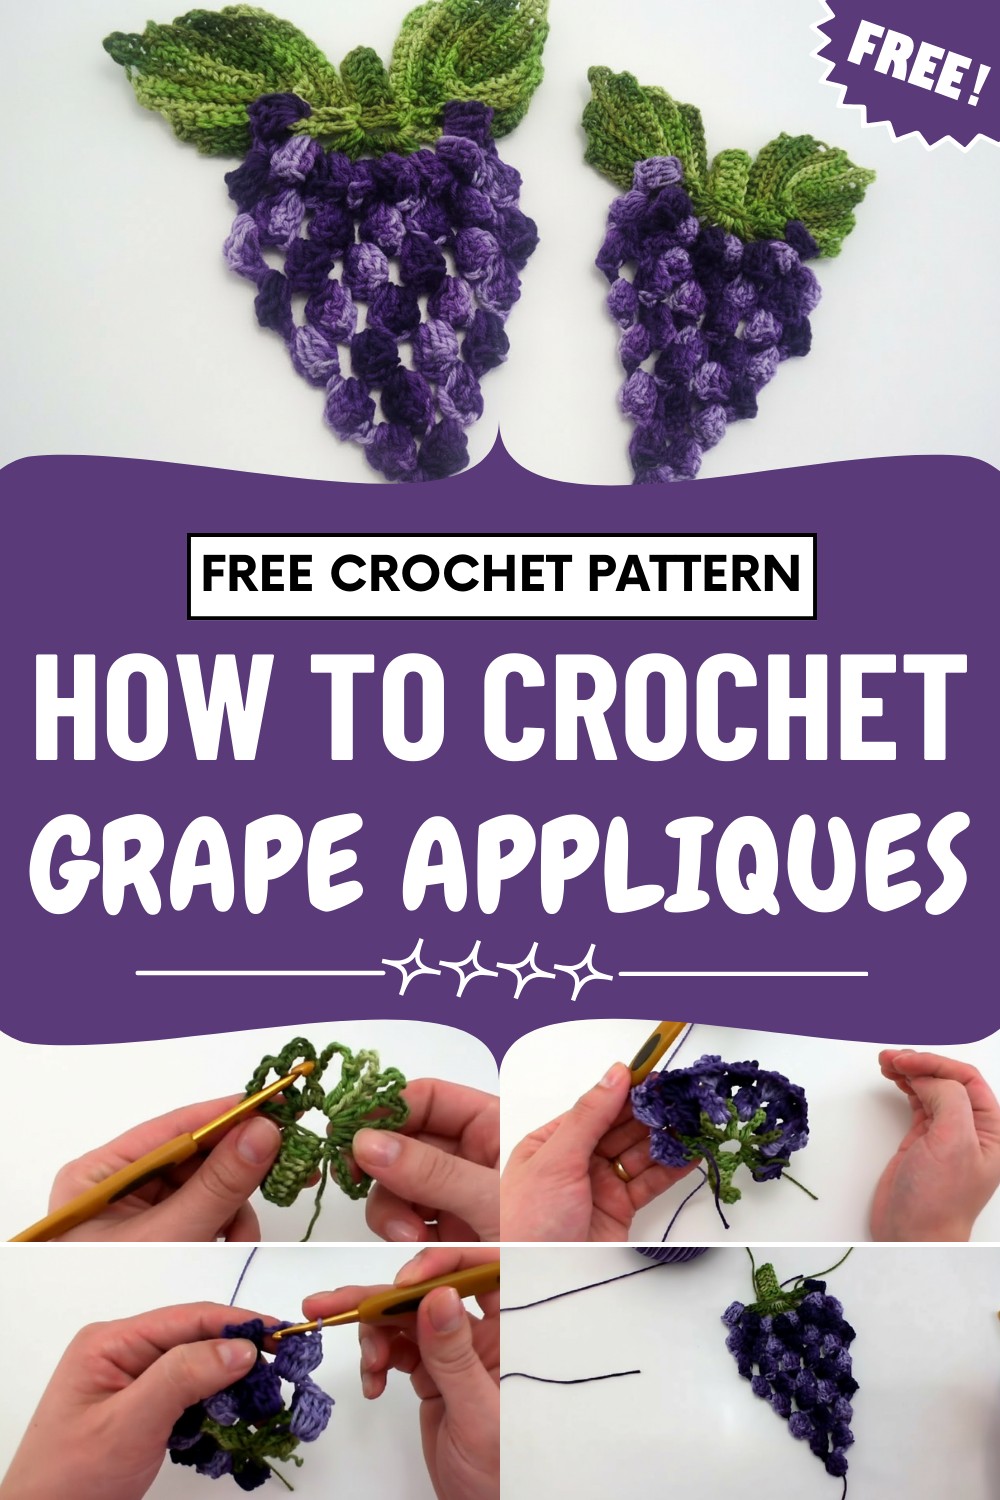
The special thing about this pattern is its soft, raised texture, which feels nice and looks real. It’s easy to attach—just sew or glue it onto whatever you like. You can use it to add a fresh, vineyard style to home décor, gifts, or crochet projects.
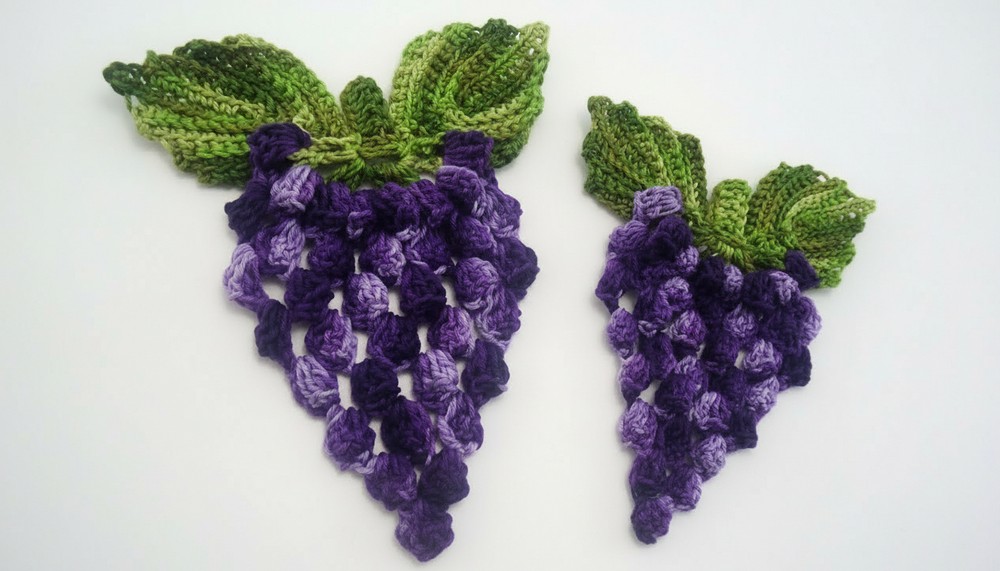
Its bright and playful look makes any item stand out. Because it is simple, colorful, and easy to add anywhere, this pattern is a favorite for making things look extra lovely.
Materials Needed
-
Yarn: 100% Cotton Yarn (Dune or similar). Colors: Green (Stem and Leaves) and Purple (Grapes - variegated looks best).
-
Hook: 3.5 mm crochet hook.
-
Tools: Tapestry needle for assembly and scissors.
Part 1: The Green Stem and Base
-
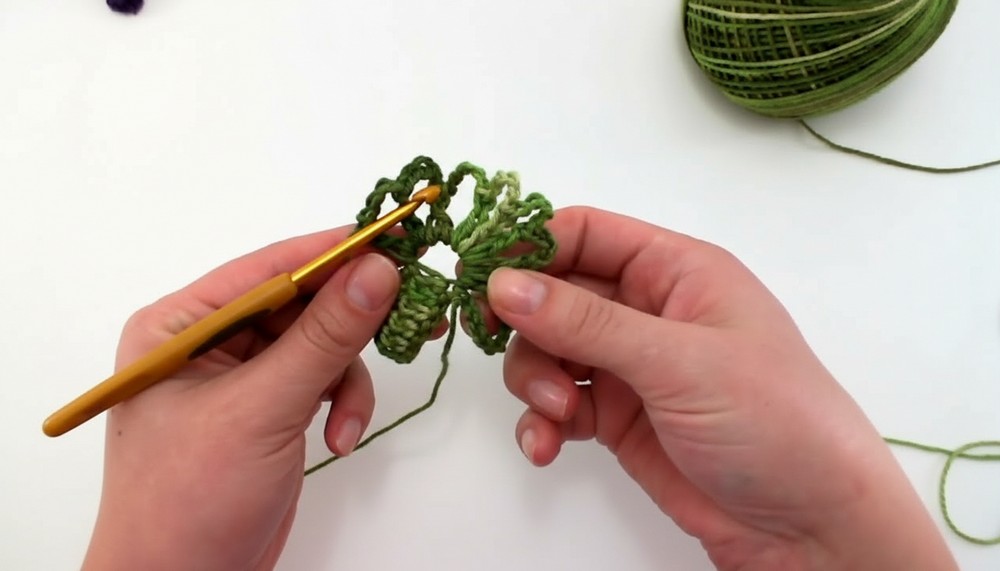
Stem: With green yarn, chain 9.
-
Row 1: Double crochet (dc) in the 4th chain from the hook and in each remaining chain. (Stem complete).
-
Base Ring: Chain 6. Slip stitch (sl st) into the base of the last dc to form a small ring at the end of the stem.
-
Base Mesh: * Ch 3 (counts as dc), then Ch 5 (space).
-
Work 1 dc inside the ring.
-
Ch 5, 1 dc in ring. Repeat from * until you have 8 spaces (9 dc total including the turning chain).
-
-
Fasten off green yarn.
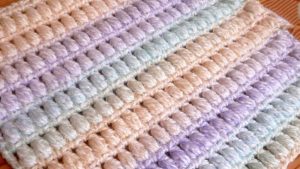
Part 2: The Grape Bunch (Popcorn Stitches)
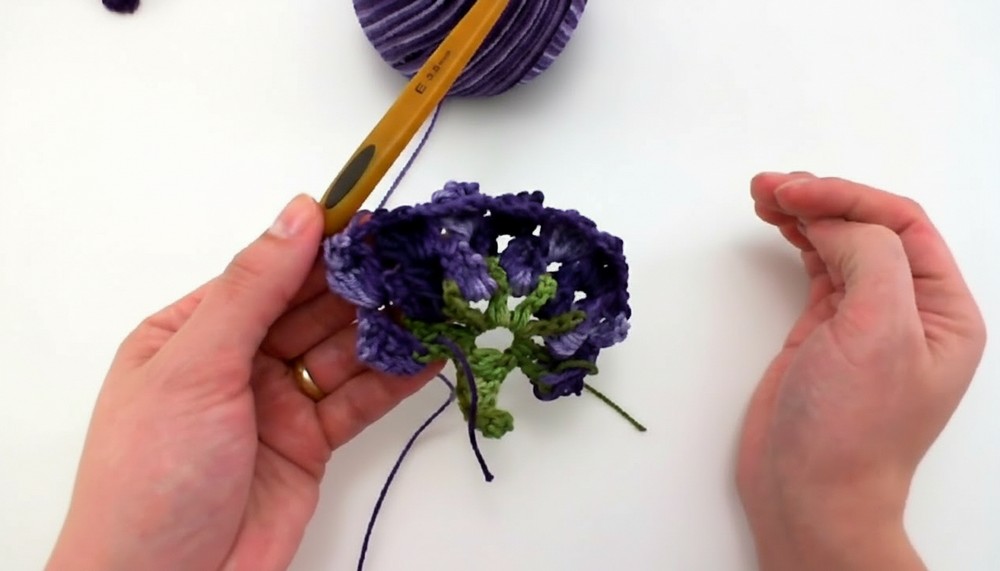
Switch to Purple yarn. The grapes are worked in rows, decreasing by one grape per row to form a triangle.
Row 1 (8 Grapes):
-
Attach purple yarn to the 3rd chain of the first green space.
-
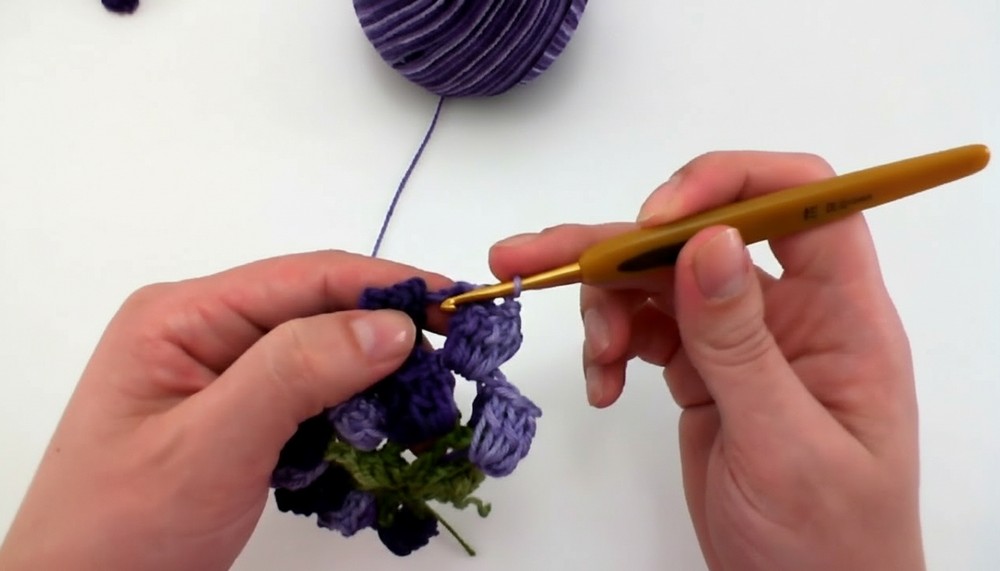
First Grape: Ch 3 (counts as dc). Work 5 dc in the first green space.
-
Form Popcorn: Turn work, sl st into the top of the ch-3. Turn back to front.
-
Ch 2, work 6 dc in the next space, turn, sl st into the first dc of the group, turn back.
-
Repeat across all 8 green spaces. You should have 8 grapes.
Row 2 (7 Grapes) and Beyond:
-
Turn work. sl st across into the first ch-2 space between grapes.
-
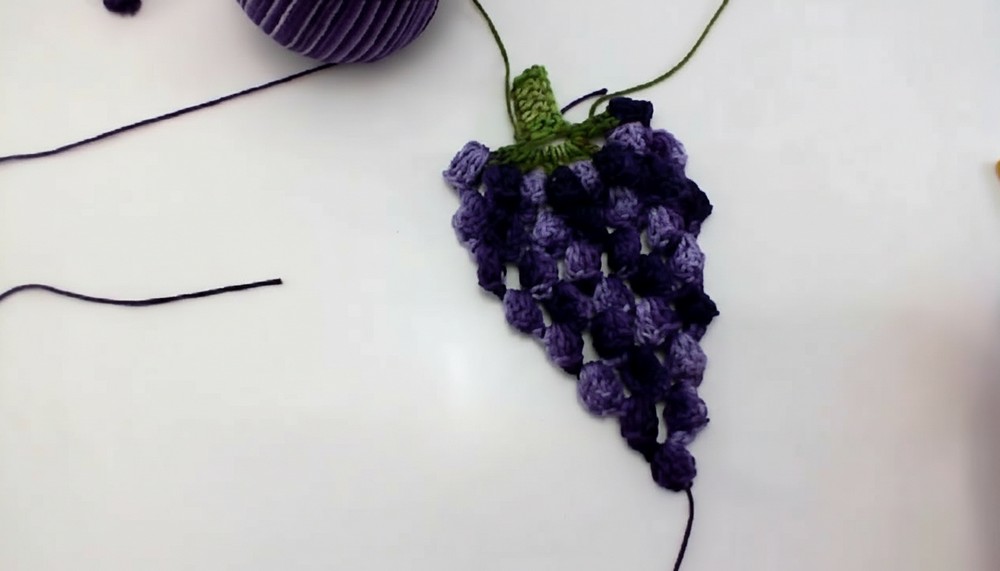
Decrease Rows: In each ch-2 space, work a grape using 5 dc (instead of 6).
-
Continue this logic: Row 3 (6 grapes), Row 4 (5 grapes)... until you finish Row 8 with only 1 grape at the tip.
-
Fasten off and weave in ends.
Part 3: The Embossed Leaves (Make 2)
The leaves use a "staircase" decrease and relief stitches.
-
Foundation: With green yarn, chain 12.
-
Row 1: Skip 2 ch, single crochet (sc) in each chain to the end.
-
Turning the Corner: Ch 2, 1 sc in the same last chain. Work sc back along the opposite side of the foundation chain, but stop 2 stitches before the end (9 sc total).
-
Row 2 (Relief/Ribbing): Ch 1, turn. Work sc in the Front Loop Only (FLO).
-
Note: When you reach the ch-2 tip, work (1 sc, ch 2, 1 sc) inside the space.
-
Work sc (FLO) down the other side, stopping 2 stitches before the end.
-
-
Rows 3–6: Repeat the process, alternating between Back Loop Only (BLO) and Front Loop Only (FLO) to keep the ribbing on the same side. Always leave 2 stitches unworked at the ends of the row to create the "staircase" leaf shape.
-
Fasten off with a long tail.
Part 4: Final Assembly
-
Thread the green tail through a tapestry needle.
-
Position the two leaves at the top of the grape bunch, just below the stem.
-
Stitch the base of the leaves firmly to the first row of grapes and the stem base.
-
Secure with a knot on the back and cut excess thread.
Conclusion
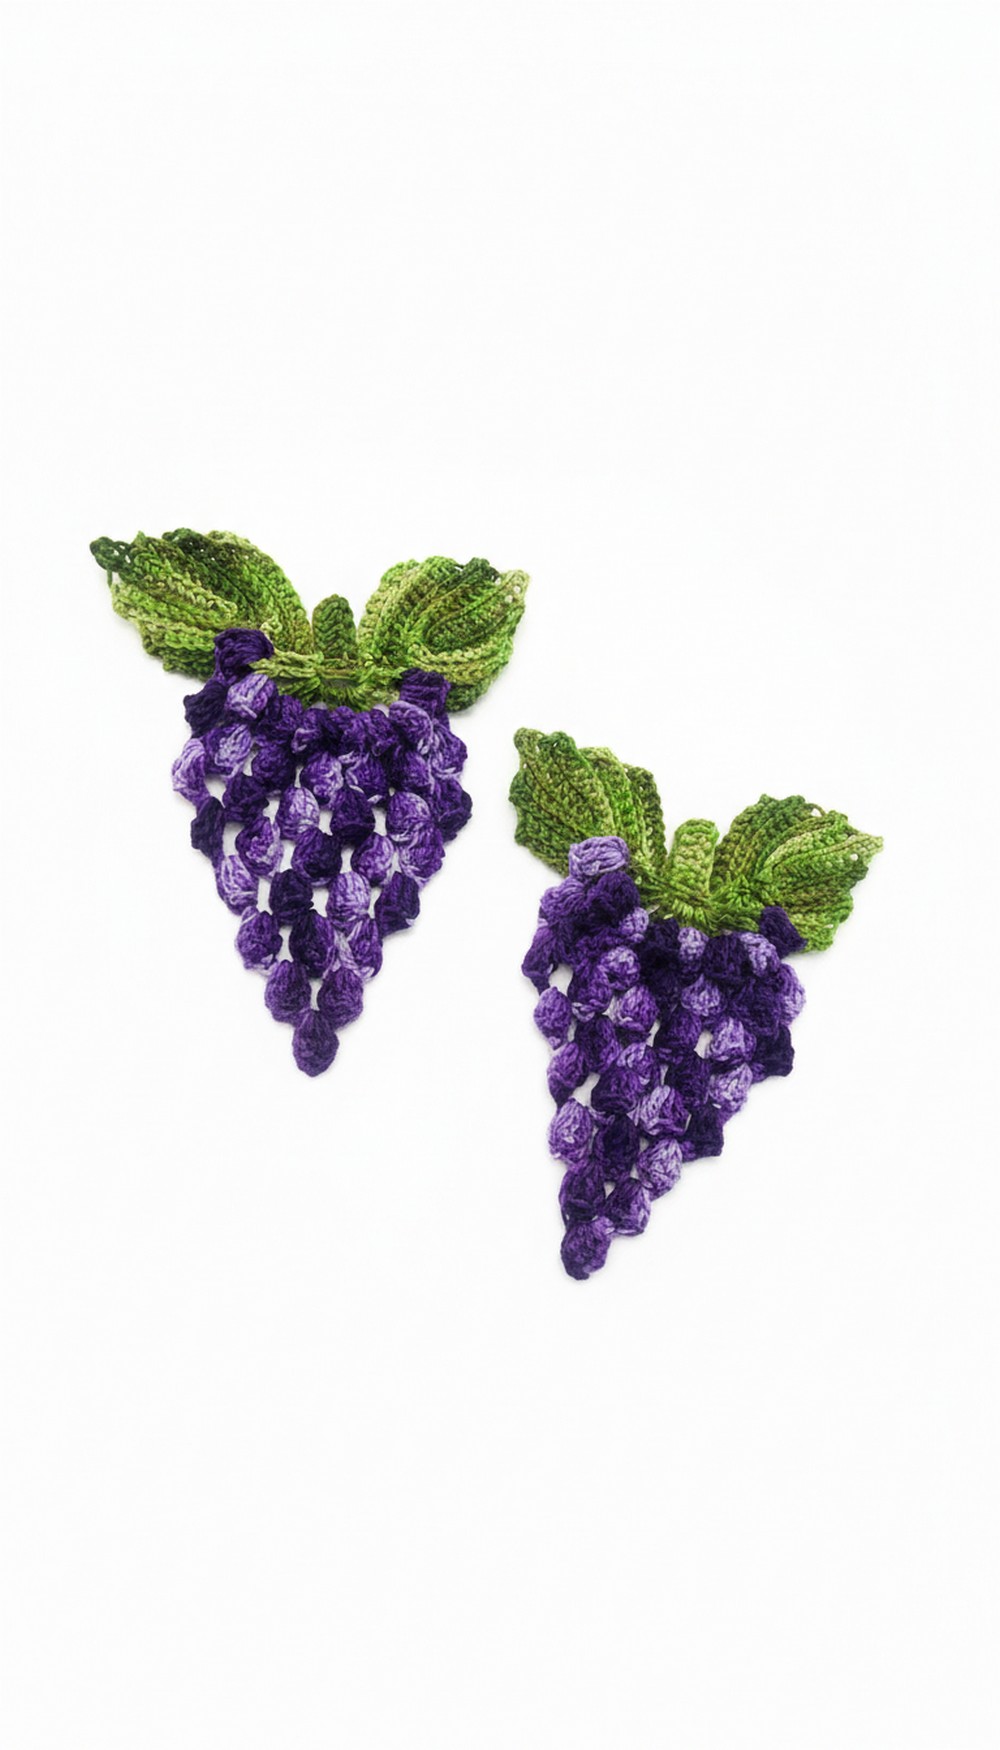
Your 3D Grape Motif is finished! This applique is durable and textured, making it ideal for sewing onto crocheted towels, pot holders, or bags.
Would you like me to find a pattern for a matching textured vine or a strawberry motif to complete your fruit set?
Leave a Reply