
Spread festive cheer this season using this Free Crochet Santa Claus Pattern that's perfect for gifts, ornaments, and lively holiday décor.
Bursting with holiday spirit and tradition through every stitch, this charming project brings warmth and magic into any festive space. With the crochet Santa Claus pattern, you can crochet a delightful figure featuring a classic red suit, fluffy beard, and sparkling eyes that instantly embody the joy of the season. This pattern not only serves as a satisfying creative outlet, but also becomes a cherished keepsake—ideal for gifting, decorating, or adding a personal touch to holiday décor.
Cozy Crochet Santa Claus Pattern That Brings Magic Home
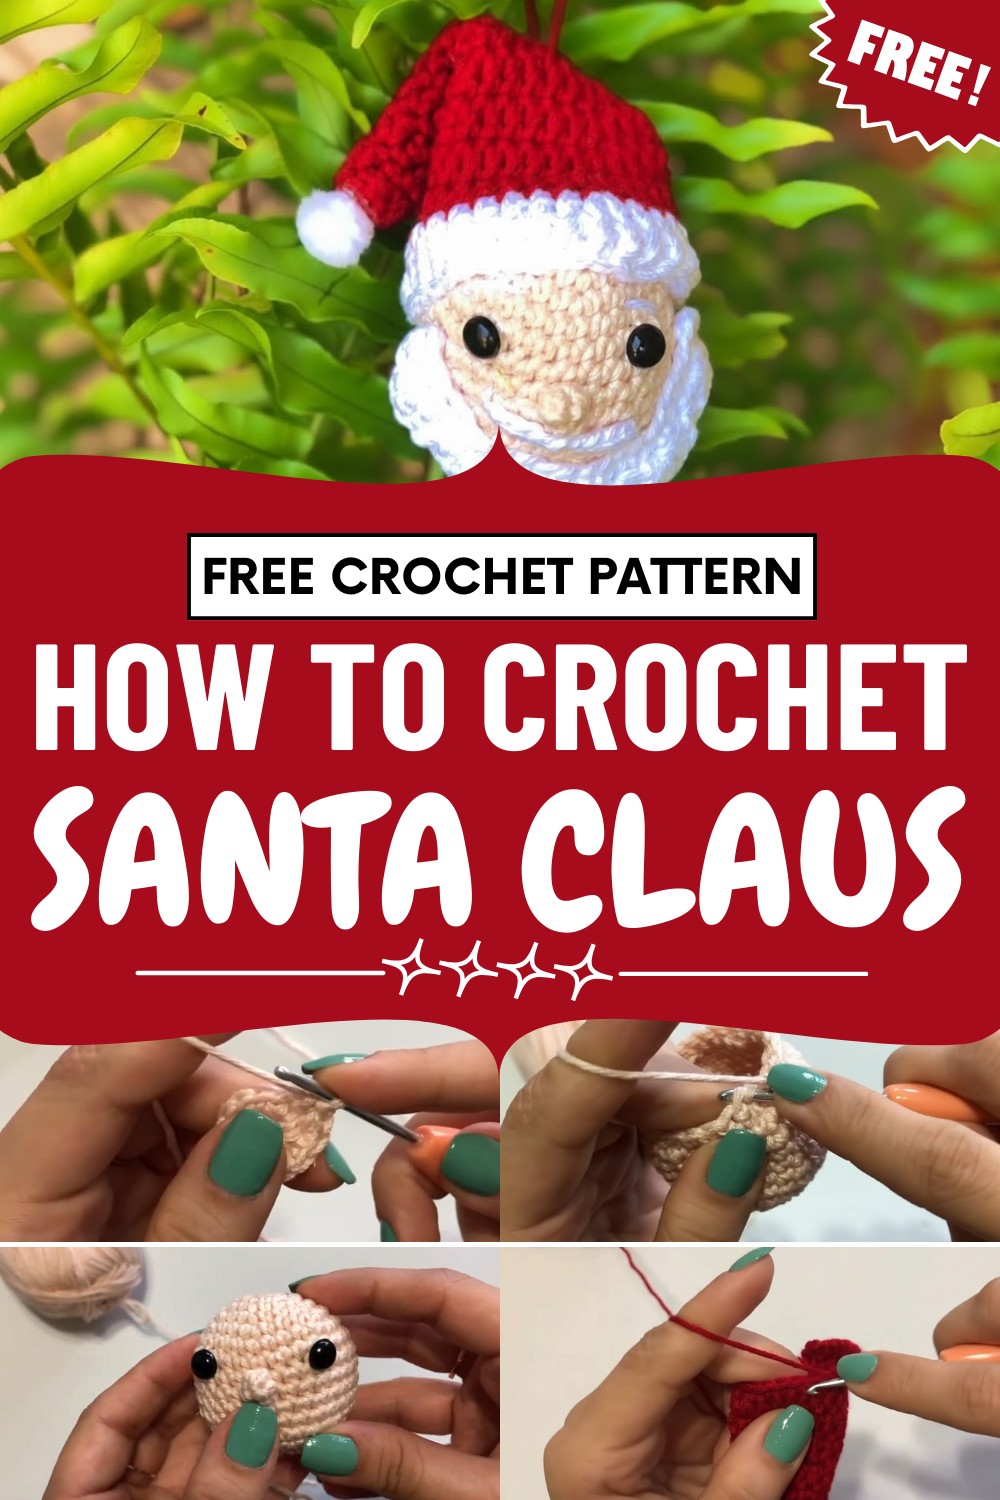
Its versatile design allows for easy customization, making it suitable for ornaments, mantel displays, or unique additions to gift baskets. The process offers relaxation and a meaningful way to share handmade cheer with loved ones.
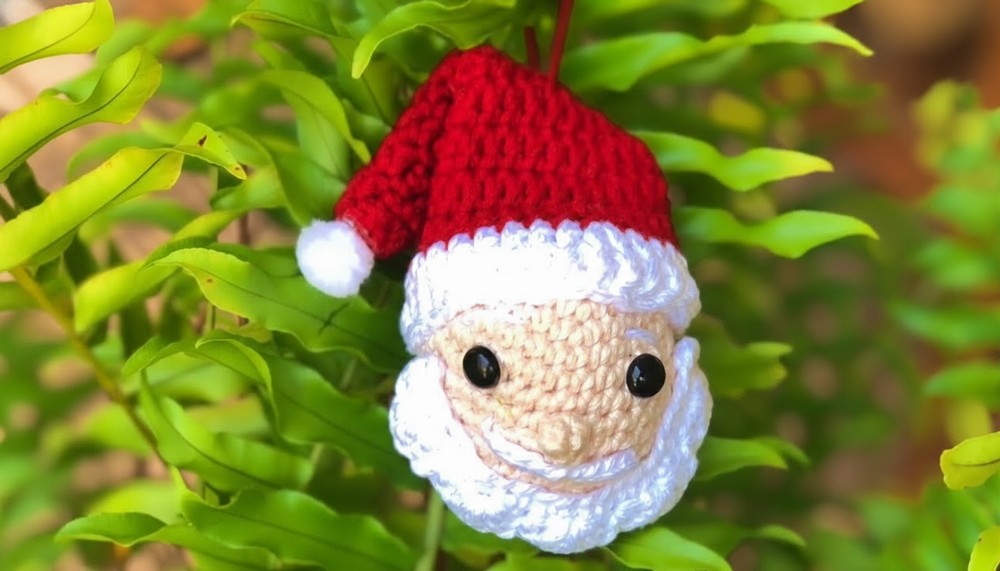
Year after year, your finished creation brings smiles and festive flair to any home, establishing itself as a treasured part of your holiday celebrations.
Special Features
- Classic round Santa head with expressive safety eyes
- Sculpted nose, textured beard, and a separate mustache
- Signature red hat with a white brim and pom-pom
- Uses basic amigurumi techniques and easy assembly steps
Difficulty Level
Beginner to Easy
This project is suitable for anyone who knows basic stitches (single and double crochet), increases, and decreases. Perfect for new amigurumi makers.
Tutor's Suggestions
- Stuff the head firmly for best shape.
- Use safety eyes for a neat and secure finish.
- When sewing facial pieces, position them carefully for a cute expression.
- Add blush with a bit of soft pink yarn or fabric paint for extra personality.
Uses
- Christmas ornaments
- Keychains
- Small gifts or stocking stuffers
- Table or tree decorations
Materials
- Walnut-colored yarn (for the head)
- Red and white yarn (for hat and beard)
- Small amount of pink/beige yarn (for nose)
- Black safety eyes (2 pieces)
- Yarn needle, stitch marker, scissors
- Fiberfill stuffing
- 3.0-3.5 mm crochet hook
- Optional: white pom-pom
Step-by-Step Instructions
Head
- Magic Ring:
With walnut-colored yarn, make a magic ring.
Round 1: Work 6 single crochets into the ring. - Round 2:
Make an increase in each stitch around (12 single crochets). - Round 3:
[1 single crochet, increase in next stitch] – repeat around (18 single crochets). - Round 4:
[2 single crochets, increase in next stitch] – repeat around (24 single crochets).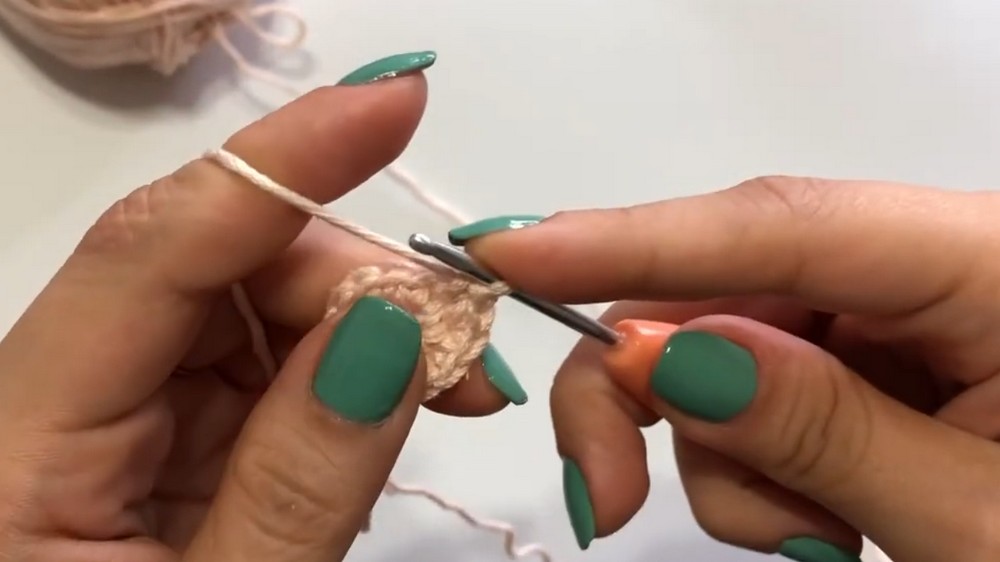
- Round 5:
[3 single crochets, increase in next stitch] – repeat around (30 single crochets). - Rounds 6-12:
Work one single crochet in each stitch for 7 rounds (30 single crochets per round). - Begin Decreases:
[3 single crochets, invisible decrease] – repeat around (24 single crochets).
(Invisible decrease: insert hook through the front loop of next 2 stitches, yarn over and pull through, finish as a single crochet.) - Add Eyes:
Insert safety eyes between Rounds 7 and 8, leaving 6 stitches between them. - Continue Decreases:
[2 single crochets, invisible decrease] – repeat around (18 single crochets).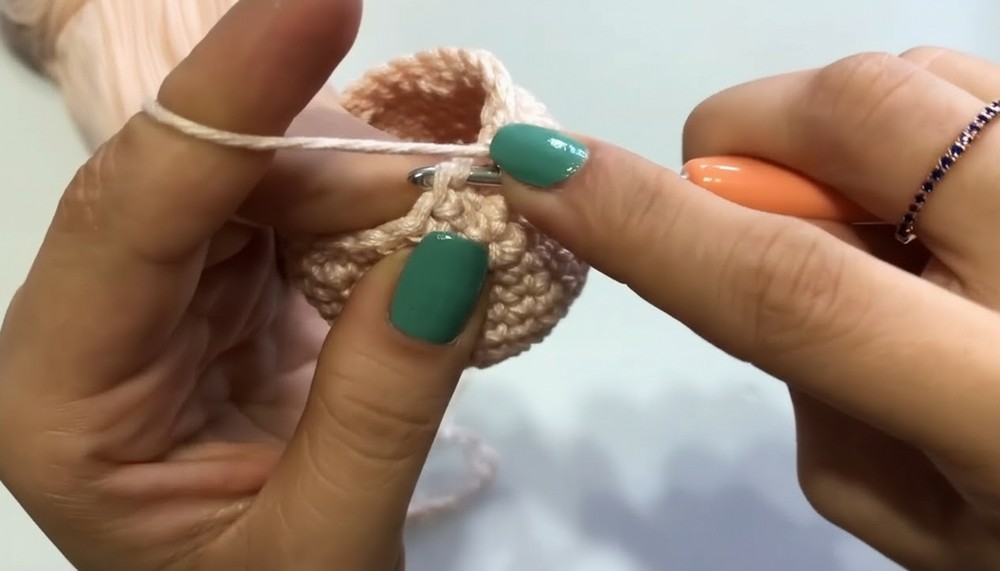 Stuff firmly as you go.
 - [1 single crochet, invisible decrease] – repeat around (12 single crochets).
- Last Round: Invisible decrease in every stitch (6 single crochets).
- Fasten off, leaving a tail. Use a yarn needle to thread through the front loops of last 6 stitches, pull tight to close, knot and hide the thread end inside the head.
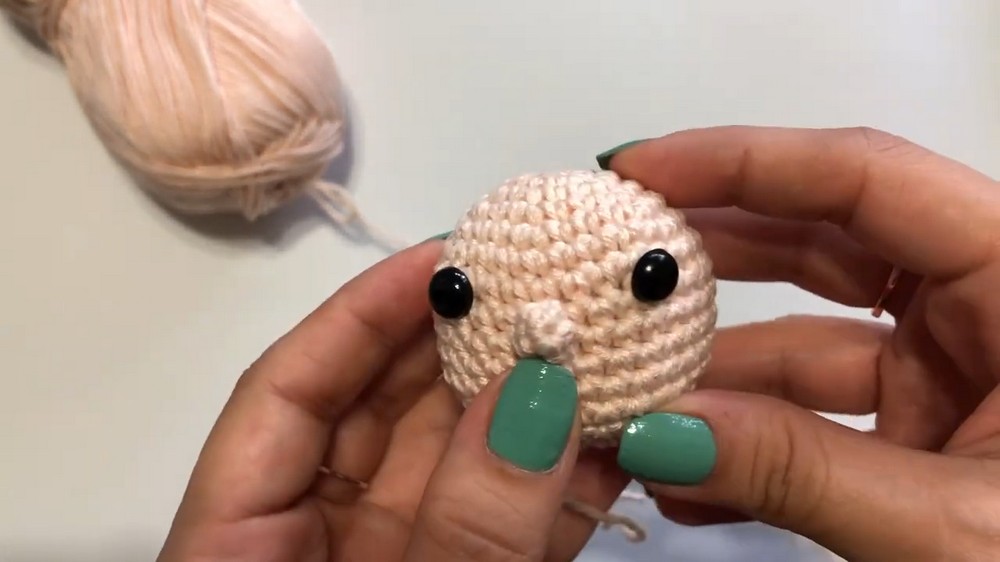
Nose
- With pink/beige yarn, make a magic ring.
- Work 4 single crochets into the ring.
- Slip stitch in each stitch around (4 stitches).
- Fasten off, leaving a tail for sewing. Place and sew the nose between the eyes.
Beard
- With white yarn, make a slip knot and chain 22.
- Start in the second chain from hook; single crochet in each chain (21 single crochets).
- Chain 1, turn.
- [In first stitch: single crochet, skip next stitch, in next stitch: 3 double crochets] – repeat across. You should end with a single crochet.
- Fasten off, leaving long tail to sew to head.
- Place beard at eye height (round 7) and sew in place.
Mustache
- With white yarn, make a slip knot and chain 12.
- Fasten off, leaving a tail.
- Position and sew the mustache above the beard, right under the nose.
Hat
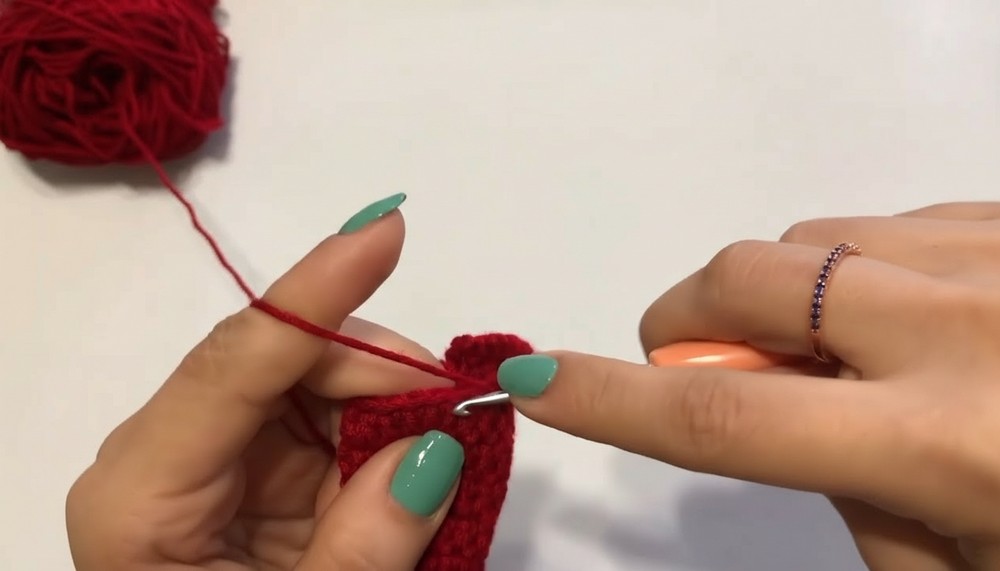
- With red yarn, make a magic ring and chain 3.
- Into the ring: work 6 double crochet.
- Slip stitch in third chain to join round.
- Increasing Rounds:
- Each round, chain 3 to start (counts as first double crochet).
- Work pattern as follows, joining each round with slip stitch at top of chain 3.
- Round 2: [1 double crochet in next stitch, increase in next] – repeat (8 stitches)
- Round 3: [3 double crochet, increase] – repeat (10 stitches)
- Round 4: [4 double crochet, increase] – repeat (12 stitches)
- Round 5: [5 double crochet, increase] – repeat (14 stitches)
- Round 6: [6 double crochet, increase] – repeat (16 stitches)
- Round 7: [7 double crochet, increase] – repeat (18 stitches)
- Round 8: [8 double crochet, increase] – repeat (20 stitches)
- Round 9: [9 double crochet, increase] – repeat (22 stitches)
- Round 10: [10 double crochet, increase] – repeat (24 stitches)
- Round 11: [11 double crochet, increase] – repeat (26 stitches)
- Brim & Pom-pom:
- Switch to white yarn.
- Next round: [12 double crochet, increase] – repeat (28 stitches).
- Last round: Work 1 double crochet in each stitch, using back loops only to make a slight ridge.
- Fasten off, leaving a tail.
- Sew hat to head and attach a pom-pom to the tip.
Assembly
- After all parts are made, sew beard and mustache to face.
- Secure nose between eyes.
- Sew hat onto top of head, angle as desired.
- Add white pom-pom to the tip.
Conclusion
This amigurumi Santa head is a fun, easy project that brings instant holiday cheer. Its cute details and soft texture make it a perfect keepsake, ornament, or little gift.
Tip
For extra cuteness, lightly blush Santa’s cheeks using pink yarn or soft fabric paint. This small detail really brings him to life.

Leave a Reply