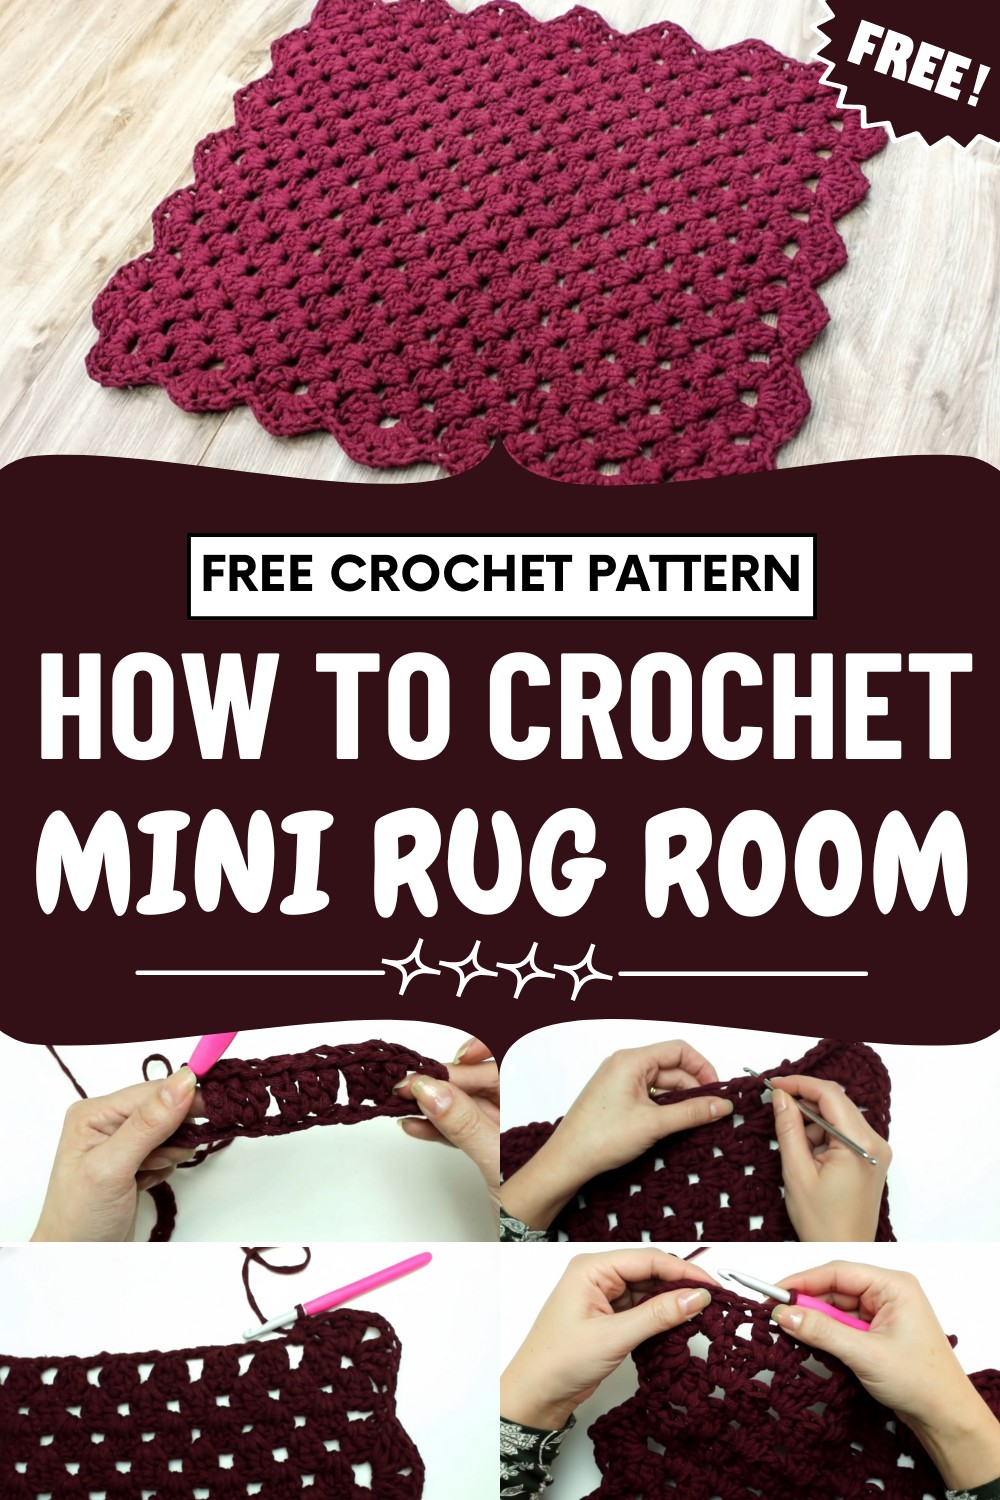
Refresh home floors with this Free Crochet Rug Pattern adding cozy texture, sturdy style, and welcoming charm for everyday living spaces.
Inviting warmth and texture enhance any living space when this stylish home accent is introduced. The crochet rug pattern offers a blend of practicality and visual appeal, serving as both a functional floor covering and a decorative focal point. Present interior design trends celebrate such unique, tactile pieces for their ability to soften hardwood or tile, while adding a splash of color or elegant neutrals underfoot.
Comfortable Crochet Rug Pattern Made for Everyday Living
The opportunity to tailor size, shape, and hue makes each rug effortlessly adaptable to diverse settings—from cozy bedrooms to lively entryways. Durability stands as a key benefit, as sturdy stitches and quality fibers ensure longevity even in high-traffic areas.

Beyond comfort and utility, this piece provides an easy way to refresh décor with something both timeless and on-trend. The finished look radiates both coziness and style, effortlessly pulling together furnishings for an inviting, cohesive atmosphere.
Material Essentials
-
Yarn: One 700g cone of Fial fabric strips in Wine (color 84). This material is 85% cotton and known for its uniformity and lightweight feel [00:00].
-
Hook: 8mm crochet hook [00:16].
-
Tools: Tapestry needle for finishing and scissors [10:36].
Construction Guide
Foundation and Initial Rows
-
Base Chain: Create a slip knot and work 37 chains, which should measure approximately 39 cm [01:22].
-
Row 1: Skip 4 chains from the hook. In the 5th chain, work a group of 3 double crochets. Skip 2 chains and work another group of 3 double crochets in the next chain. Repeat this pattern across the row. Finish by skipping 1 chain and placing 1 double crochet in the very last chain [01:41].
-
Row 2: Chain 3 and turn. Work 2 double crochets in the first space (before the first group). Continue across by working 3 double crochets in each space between the groups of the previous row. End the row with a group of 3 double crochets (2 in the space and 1 in the top of the turning chain) [03:30].

Growing the Rug
-
Interlocking Pattern: Alternate between the “1 double crochet start/end” row (like Row 1) and the “3 double crochet group start/end” row (like Row 2) [05:24].
-
Total Length: Continue this alternating pattern until the rug reaches a length of 60 cm [06:12].

Decorative Border
-
Side Finishing: Start with a chain stitch and work a shell stitch (3 double crochets, 2 chains, 3 double crochets) in a side space. Skip one row space and secure with a single crochet in the next. Repeat this around the entire perimeter [06:43].
-
Corners: The shell stitches naturally round the corners without needing extra increases [08:23]. Aim for 5 shell “peaks” on each short end of the rug [09:23].

Final Polish
-
Seamless Join: Finish the border with a slip stitch into the first chain [10:03].
-
Fastening Off: Cut the yarn and use a tapestry needle to weave the tail through the back of the stitches, ensuring it is completely hidden and secure [10:36].

Project Details
-
Special Features: The rug features a classic textured “granny cluster” body and a robust shell-stitch border. It uses specialized “knit strips” which are lighter and more consistent than standard t-shirt yarn.
-
Level of Difficulty: Beginner Friendly. The stitches are basic, and the alternating row logic is easy to memorize.
-
Tutor’s Suggestions: Hold your crochet hook like a “knife” rather than a “pencil” when working with thick material like knit strips; this provides better leverage and prevents hand fatigue. [09:03]
-
Uses: Perfect as a bathroom mat, a kitchen runner, or a durable bedside rug.
-
Materials: * 1 cone (700g) of Fial knit strips (color 84 Wine).
-
8mm crochet hook.
-
Tapestry needle and scissors. [00:16]
-
Conclusion
Finishing your Wine Crochet Rug provides you with a high-quality home essential that showcases your mastery of stitch consistency. By combining the sturdy knit strips with an elegant shell border, you have created a piece that is as practical as it is visually appealing. Once you weave in the final threads, your handmade rug is ready to add warmth and style to any room.
Pro Tip: If your rug feels too stiff, try using a slightly larger 9mm hook to allow the clusters more “breathing room,” making the final fabric softer and more flexible.
Leave a Reply