
Enjoy a burst of cuteness with this Crochet Teddy Bear Keychain Pattern that's perfect for personalizing your keys and gifting lovable charm.
Looking for a charming way to add personality and warmth to your everyday accessories? This delightful miniature teddy bear creation offers more than just cuteness—it’s a functional keychain, a whimsical bag charm, and a heartfelt handmade gift all in one. Its compact design makes it an ideal project for crocheters who want quick results and personalized touches, while its plush softness and adorable expression are sure to bring smiles wherever it goes.
Pocket-Sized Crochet Teddy Bear Keychain Pattern That Melts Hearts

Whether you’re crocheting for yourself, preparing thoughtful gifts for friends, or building stock for a small business, this versatile project fits every occasion. Suitable for all skill levels, it combines simple stitches with creative flair, allowing endless possibilities for color and customization.
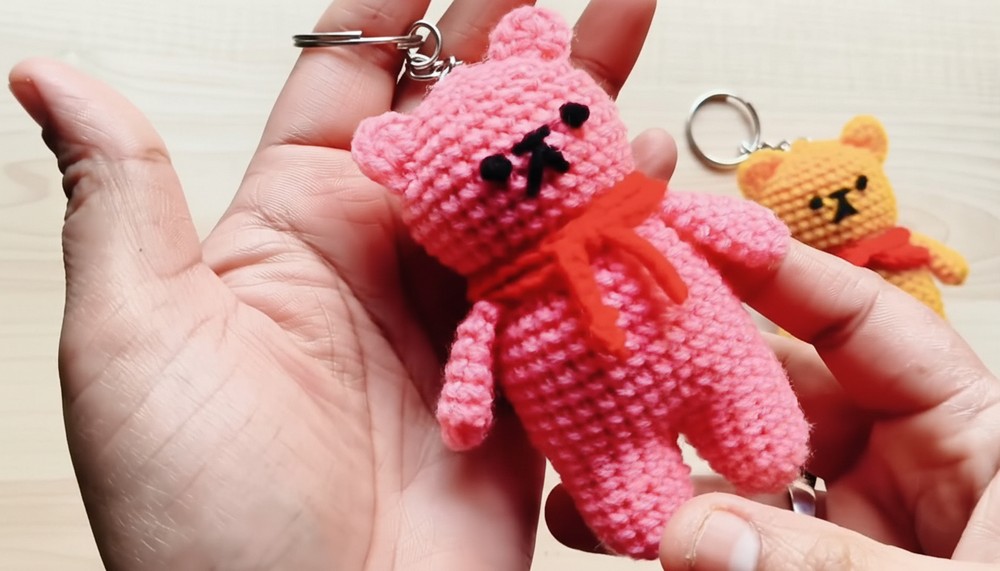
Both decorative and durable, this lovable accessory stands out as a keepsake that delivers comfort, charm, and the joy of handmade artistry to bags, keys, or car mirrors in the present day.
Special Features
- Beginner-Friendly: Straightforward stitches and simple construction.
- Seamless Design: Legs, body, and head are constructed in one piece.
- Personalizable: Customize colors for holidays, themes, or to match your style.
- Compact: Ideal for quick projects and easy gifting.
- Highly Sellable: Great for craft fairs and gifting.
Materials Needed
- 4-ply acrylic yarn (e.g., pink, red for scarf, black for facial details)
- 2.5 mm crochet hook
- Small amount of black thread/yarn or embroidery floss (for face)
- Keychain ring and connector
- Polyfiber/cotton stuffing
- Yarn needle
- Scissors
- Pliers (for attaching the ring)
- Stitch markers (optional)
Level of Difficulty
Beginner – Uses only basic crochet stitches (single crochet, increase, decrease) and easy finishing techniques.
Uses
- Keychain or bag charm
- Cute car hanging
- Gifts for all ages
- Handmade items for selling or craft fairs
Pattern: Step-by-Step Instructions
1. Arms (Make 2)
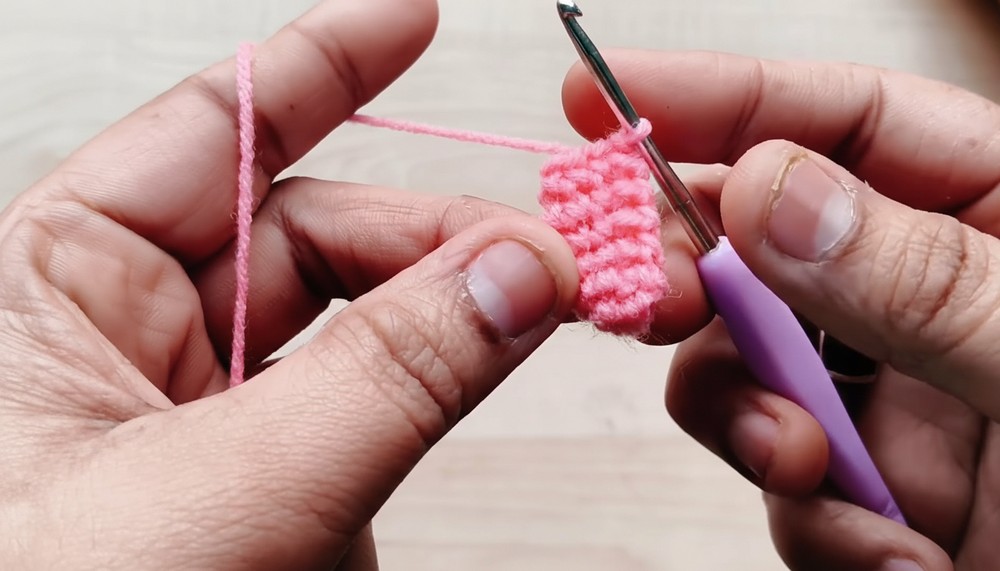
- Magic Ring: Make a magic ring.
- Round 1: 8 sc into the ring. Pull tight, join with sl st (8 sc).
- Round 2–6: 1 sc in each st around, join with sl st (8 sc each round).
- Round 7: Fold the arm in half, working through both sides, sc across to close (4 sc). Leave a long tail for sewing.
2. Legs (Make 2)
- Magic Ring: Make a magic ring.
- Round 1: 6 sc into ring. Pull tight, join with sl st.
- Round 2: 2 sc in each st around (12 sc).
- Round 3–7: 1 sc in each st around (12 sc).
- First leg: Fasten off, leaving a long tail (used to sew both legs together).
- Second leg: Do not fasten off—move to body construction.
3. Body & Joining Legs
- Joining Legs (Round 8):
- With the second leg still on your hook, chain 1.
- Make 12 sc around the second leg.
- Without joining, work 12 sc around the first leg (using the same yarn), forming a circle (24 sc total).
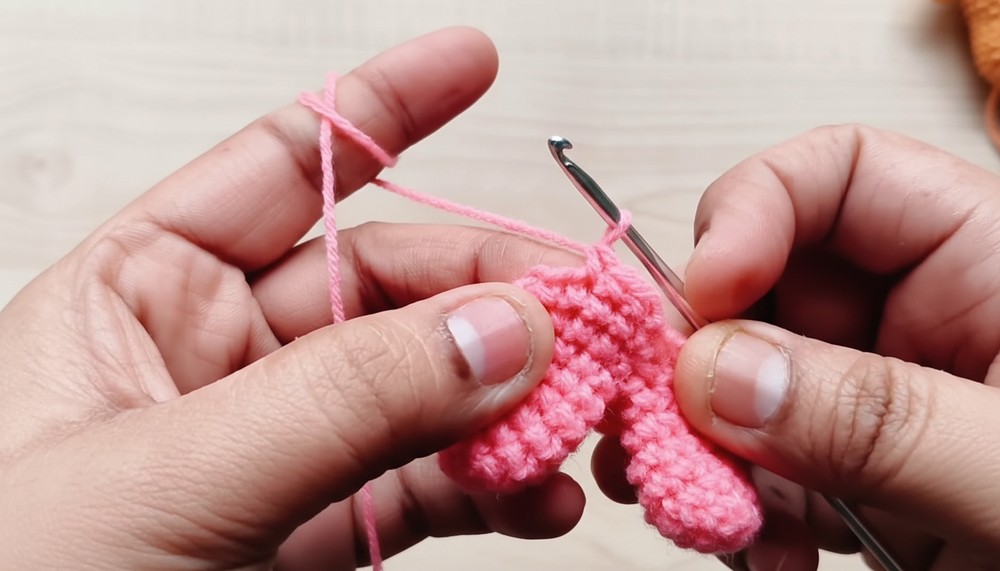
- Join with sl st.
- Use the tail from the first leg to sew up any gaps between the legs.
- Round 9: 1 sc in each st around (24 sc). Join with sl st.
- Round 10: Sc in next 3, inc (2 sc in next st), repeat *6 times around (30 sc). Join.
- Round 11–17: 1 sc in each st around (30 sc each round). Join.
- Round 18 (“Neck” shaping): Sc in next 3, dec (sc2tog), repeat *6 times (24 sc). Join.
- Round 19: 1 sc in each st around (24 sc). Join.
- Stuff feet and body firmly with cotton/polyfiber stuffing.
4. Head
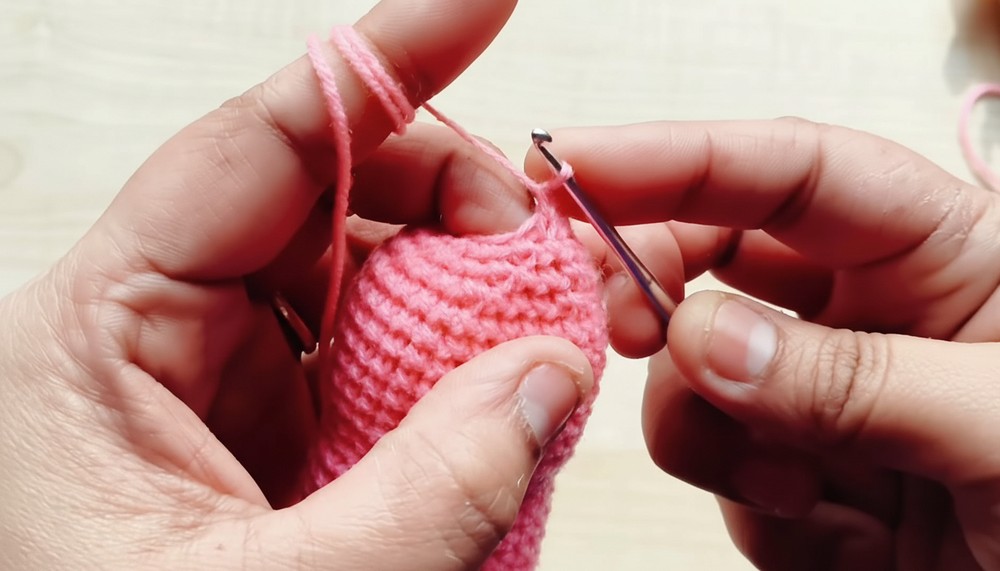
- Round 20: In front loops only: Sc in next 3, inc (2 sc in next st), repeat *6 times (30 sc). Join.
- Round 21–27: 1 sc in each st around (30 sc each round). Join.
- Round 28: Sc in next 3, dec (sc2tog), repeat *6 times (24 sc). Join.
- Round 29: Sc in next 2, dec (sc2tog), repeat *6 times (18 sc). Join.
- Stuff head firmly before opening becomes too small.
- Round 30: Sc in next st, dec (sc2tog), repeat *6 times (12 sc). Join.
- Round 31: Dec in each pair around (6 sc). Join. Fasten off, leaving a tail.
- Use needle to thread the yarn through remaining front loops to close the opening. Secure and hide end.
5. Ears (Make 2)
- Magic Ring: Make magic ring.
- Work 8 sc into ring, do not join in a circle. Pull tight and leave a long tail for sewing. Keep the piece slightly open.
6. Assembly
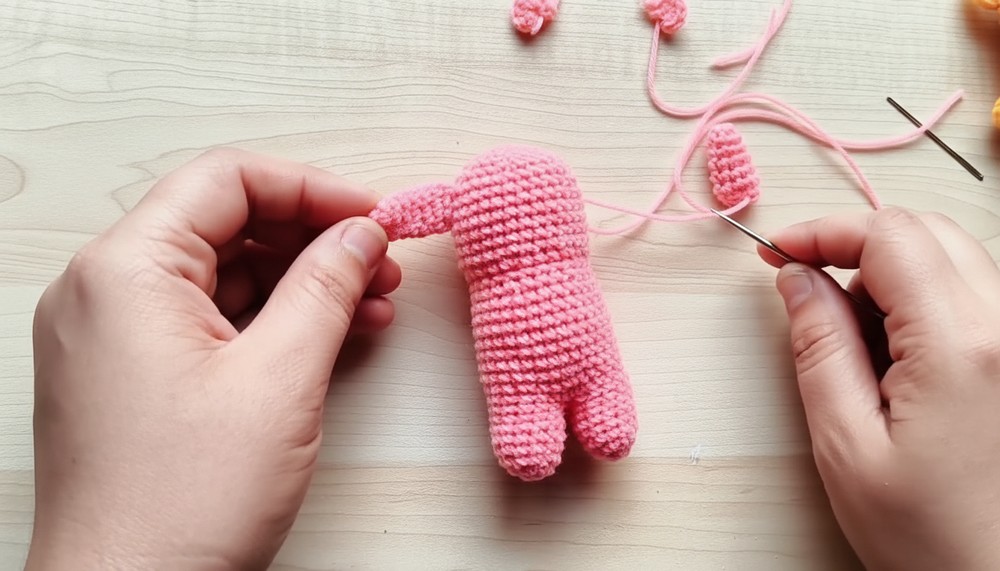
- Arms:
Sew each arm to the side of the body (around round 18), matching 4 stitches from both arm and body for secure attachment. Pull thread through to the back, tie both threads together, and hide inside. - Ears:
Sew each ear to the head, leaving 3 rounds of space from the top. Fix both ears symmetrically on either side. - Secure and hide all loose ends inside the head/body.
7. Face Embroidery
- Eyes:
- Use black thread/floss. Insert needle at the 8th/9th round, 4 stitches apart.
- For each eye: Wrap black floss around the needle 5–6 times, pull through to form a knot/dot (French knot), repeat for other eye.
- Nose:
- Between the eyes, make a horizontal oval/line with thread over 2 stitches.
- Mouth:
- Below the nose, stitch a small loose downward arch (smile) spanning 2 rounds.
8. Scarf
- For a double-wrap scarf: Chain 65–75 (adjust to fit).
- For a single-wrap scarf: Chain 50.
- Slip knot to start and finish, cut and secure ends.
- Wrap around the neck and sew in place with a needle and small piece of matching thread. Hide threads inside.
9. Attach the Keychain
- Use a connector and ring. Insert through the top of the head near the magic ring and close securely with pliers.
Conclusion
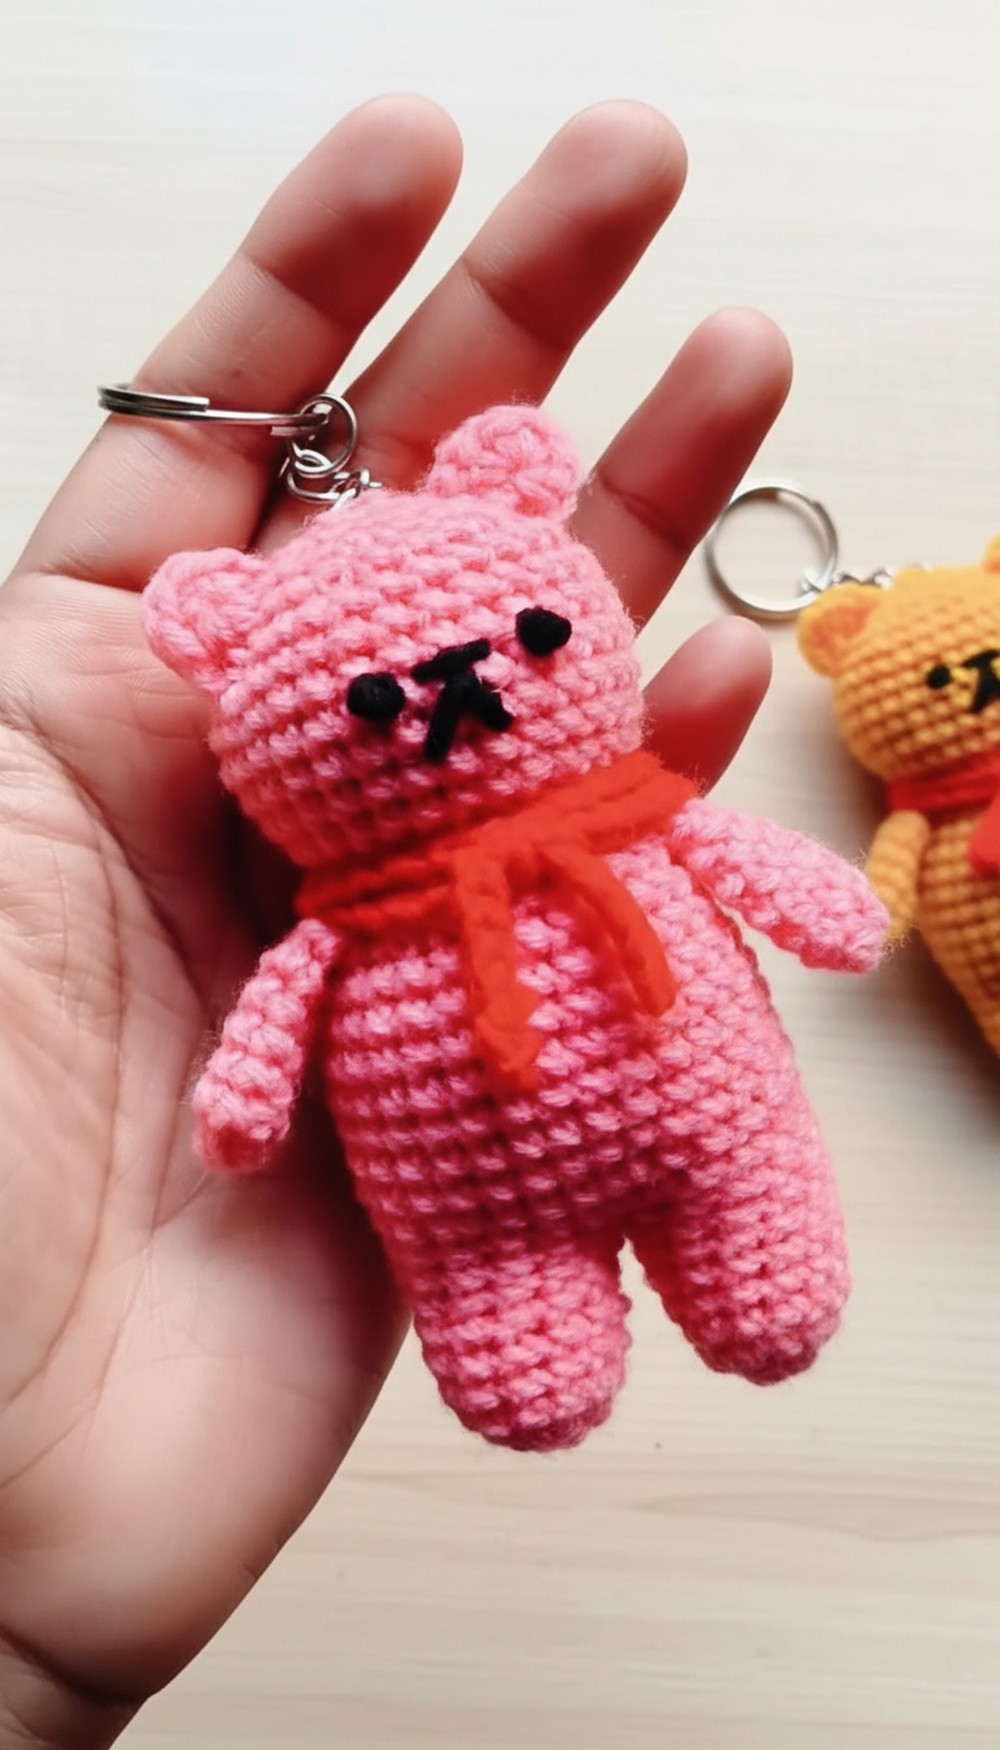
Your charming crochet teddy bear keychain is ready to dangle from your bag, car mirror, or gift wrap! Its seamless design, adorable look, and personalized colors make it a favorite for gifting, hanging, or selling.
Tutor’s Suggestions
- Choose yarn colors that contrast for scarf and body.
- Stuff the limbs and body firmly for a plush look.
- Double-check stitch counts for a round, neat teddy.
Quick Tip
Before assembly, secure and hide all knot tails inside the bear for a clean finish and longer-lasting keychain.




Leave a Reply