
Crochet Cute Mini Dog Pattern for a Stylish Handmade Touch
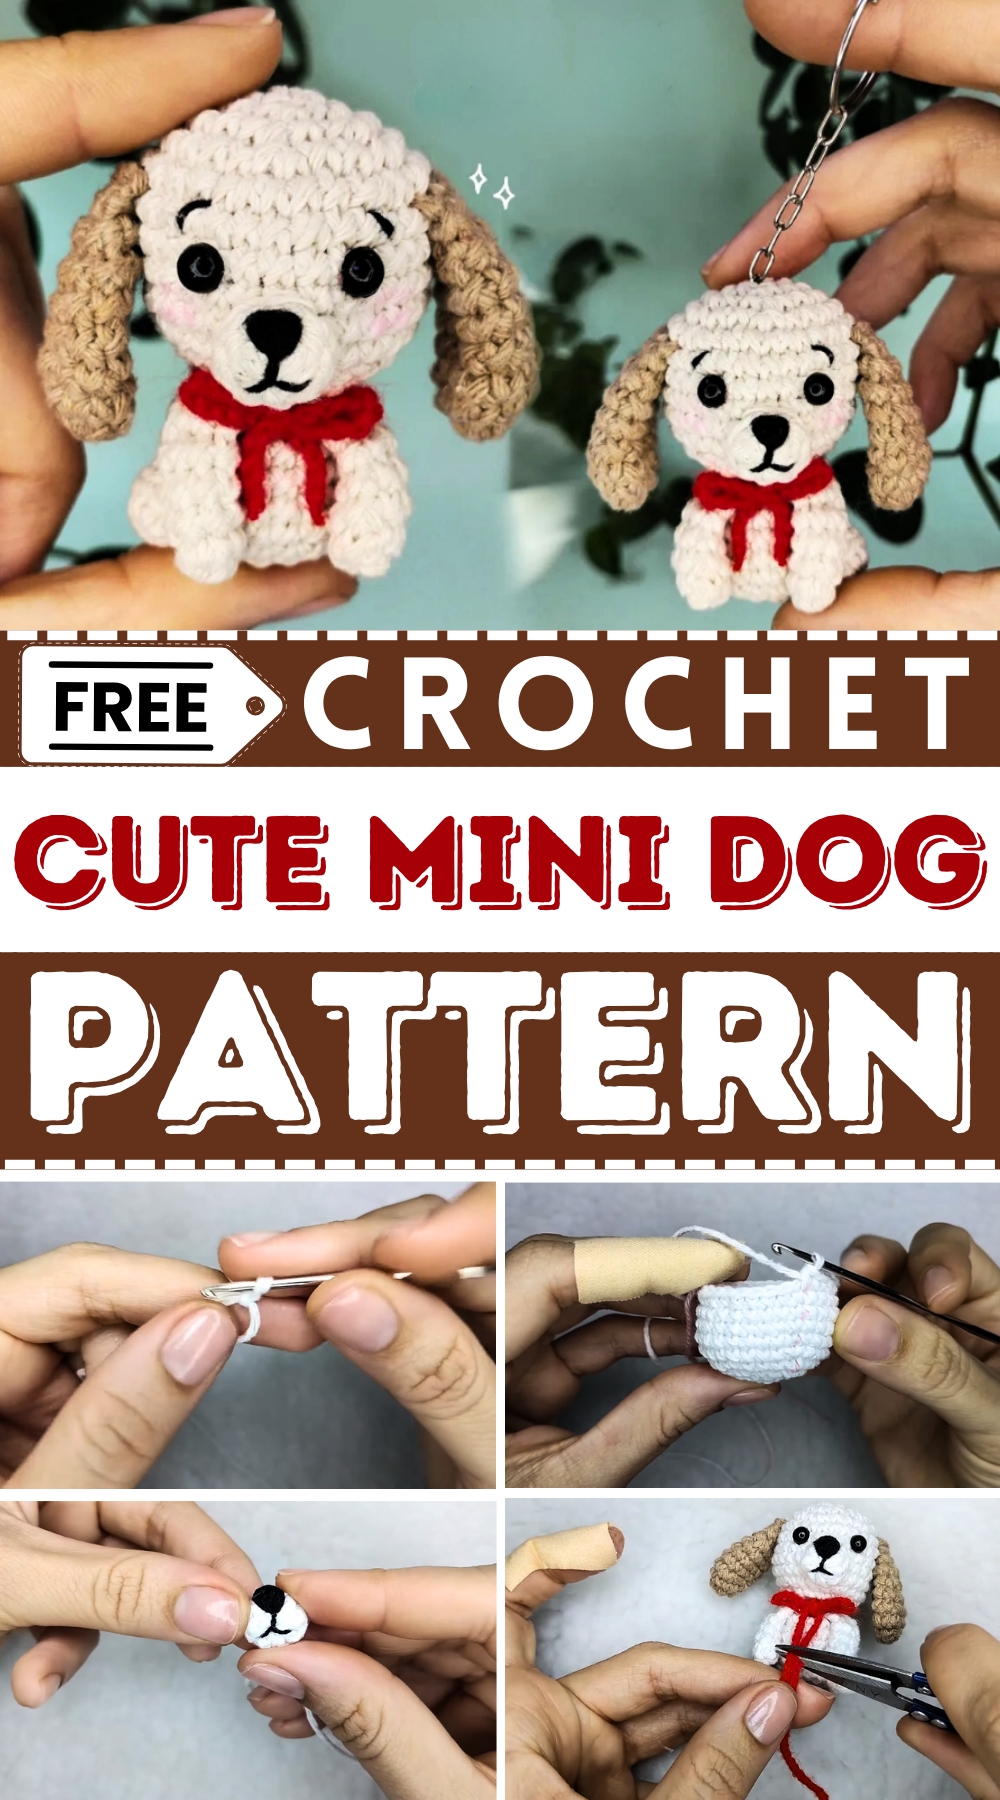
With clear, beginner-friendly instructions, this pattern is accessible to a wide range of skill levels. It requires only a few basic materials, such as yarn, a crochet hook, stuffing, and some simple tools. Using different colors and personal touches like embroidered details or bows allows you to make each mini dog truly unique. The straightforward yet engaging process also encourages mindfulness, making it as relaxing as it is rewarding.
This mini dog crochet pattern is not only a satisfying project to work on but also a way to build practical skills while producing something meaningful. Whether you’re looking to surprise a loved one or just add a little charm to your everyday life, this versatile and thoughtful design is the perfect choice for any occasion.
Materials Needed
- Yarn: DK-weight yarn in white for the body and additional colors for the bow and cheeks.
- Hook: 2 mm crochet hook.
- Stuffing: For filling the dog’s head and body.
- Tools: Yarn needle, stitch marker, scissors.
- Details: Black embroidery thread for the nose and mouth, optional pink yarn for the cheeks, and keychain rings (if making a keychain).
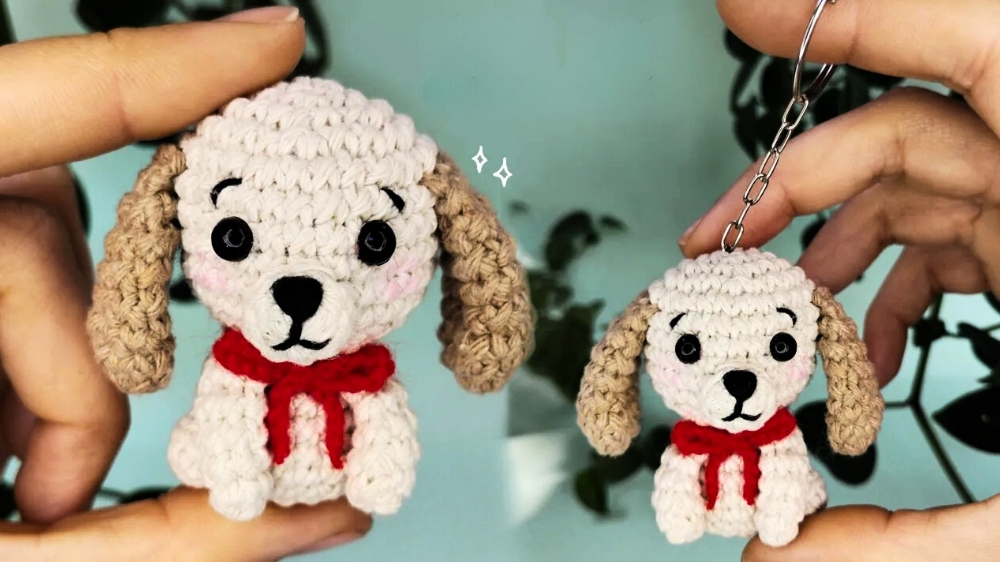
Special Features of the Mini Dog
- Adorable Design: The finished mini dog features tiny details like a cute snout, ears, and a bow, making it ideal as a small gift or personal accessory.
- Beginner-Friendly: The tutorial is simple and guides you through step-by-step with clear instructions, which are easy for even novice crocheters to follow.
- Versatile Use: It can be used as a keychain, a bag charm, or even part of a collection of crocheted animals.
- Scalable Pattern: You can adjust the yarn and hook size to create larger or smaller versions of the design.
Step-By-Step Instructions
Head and Body
- Create a magic ring and crochet six single crochets in the first round.

- Round 2: Make six increases (two single crochets in each stitch) to get 12 stitches.
- Round 3: Alternate one single crochet and one increase six times, ending with 18 stitches.
- Round 4: Make two single crochets and one increase six times (24 stitches).
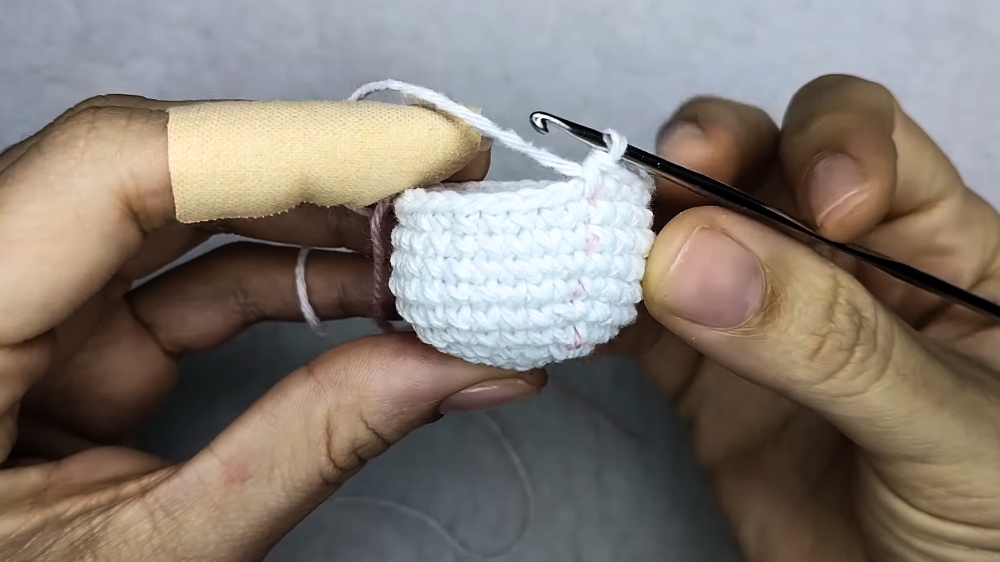
- Round 5: Crochet three single crochets and increase six times (30 stitches).
- Rounds 6-10: Work 30 single crochets in each round.
- Begin decreasing from Round 11, alternating three single crochets and one decrease, reducing gradually until Round 22, where only eight stitches remain.
- Use a needle to thread the leftover yarn through the front loops to close the hole, then secure and hide the tail.
Legs
- Front Legs: Start with a magic ring and crochet six single crochets per round for five rounds. Fold the work in half and make three single crochets to close. Leave yarn for sewing.
- Back Legs: Begin with seven half-double crochets in a magic ring, leaving yarn for attaching.
Ears
- Magic ring with six single crochets.
- Increase to 12 stitches in Round 2.
- Work 12 single crochets in Rounds 3-6.
- Gradually decrease in Rounds 7-8, leaving six stitches.
- Fold the ear in half and crochet three single crochets to close. Leave yarn for sewing.
Snout
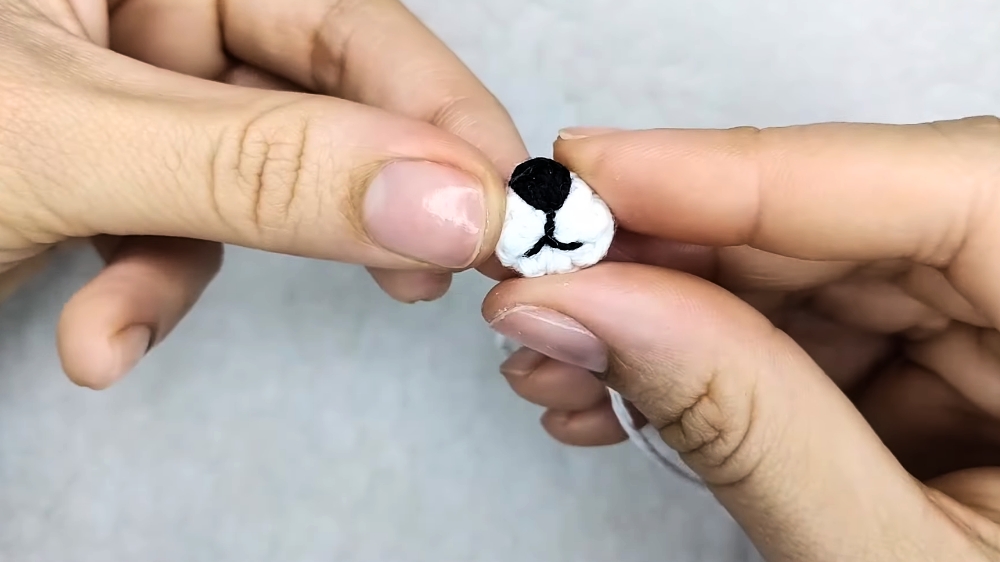
- Make a magic ring, chain two, and work seven double crochets inside the ring. Leave yarn for sewing. Embroider the nose and mouth using black thread.
Tail
- Chain 10, skip the first chain, and work nine slip stitches back. Leave a tail for sewing.
Assembly
- Front Legs: Attach between Rounds 14 and 15, leaving two stitches between them. Sew the base of the legs to the body and secure the yarn.
- Back Legs: Attach between Rounds 18 and 20 using only the back loops for a clean finish.
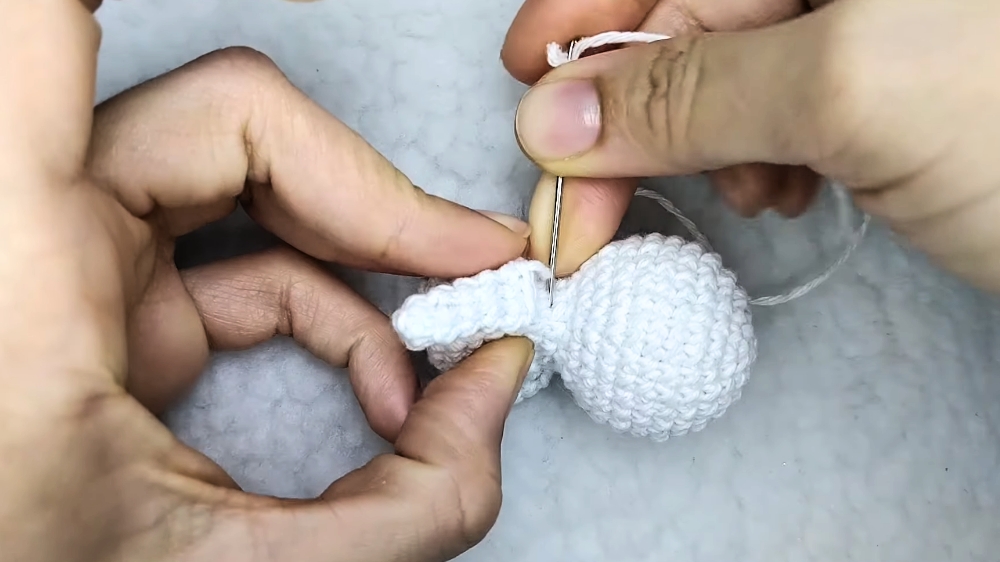
- Snout: Sew between Rounds 8 and 10.
- Ears: Attach between Rounds 5 and 6 with 12 stitches between them.
- Tail: Sew it onto the back of the body.
- Eyes: Embroider or attach eyes on Round 7, leaving three stitches between them.
- Bow: Use red yarn to make a chain cord and tie a bow around the dog’s neck.
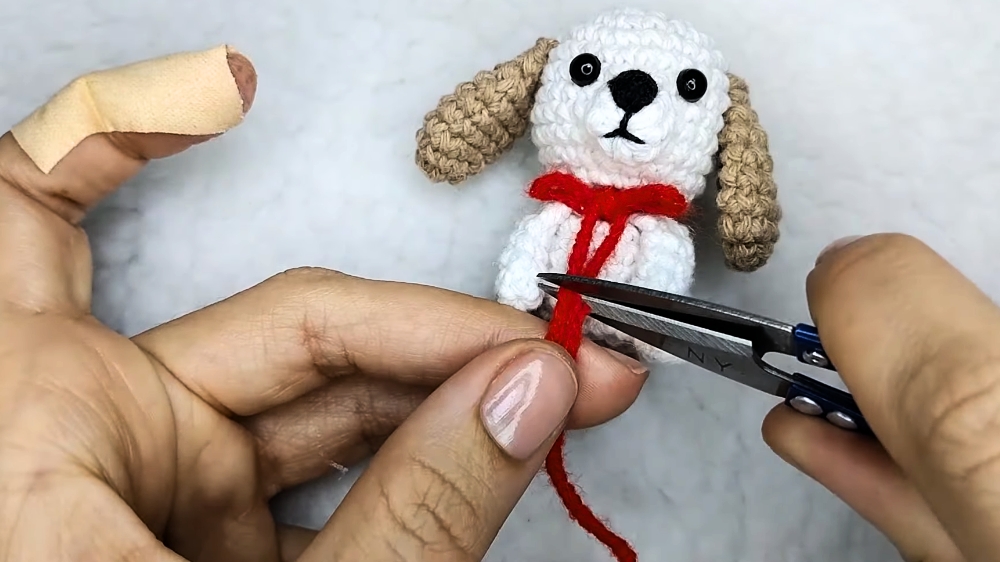
- Keychain Ring: If desired, attach the ring to the top of the head.
Tutor's Tips
- Mark the last stitch of every round with a stitch marker to avoid confusion.
- Maintain even tension throughout to ensure a smooth, professional look.
- Block the finished dog lightly to shape the ears and body perfectly.
Conclusion
This mini dog is a delightful crochet project that combines charm with utility. Whether used as a keychain, a collectible, or a gift, it’s sure to bring a smile to anyone’s face. Step-by-step guidance makes it accessible for beginners, and with a bit of creativity, you can personalize the design with different colors or accessories. Try it out to add some handmade charm to your day.
Final Tip
For a polished finish, always sew pieces securely and hide yarn ends neatly to avoid loose threads.




Leave a Reply