
Sprinkle some fun into your decor or gift baskets by stitching this Free Crochet Carrot Pattern that's quick, easy, cute and totally adorable.
Nestled beside blooming tulips and fresh spring grass this playful crochet carrot pattern seems to have leapt straight from a storybook garden into your hands. Its rich orange body and leafy green top instantly brighten up a child’s play space, a festive basket, or a cheerful kitchen corner. Crocheting one brings both seasoned and beginner crafters a sense of accomplishment, as the project comes together quickly with just a few basic techniques.
Whimsical Crochet Carrot Pattern Magic for Spring Decor
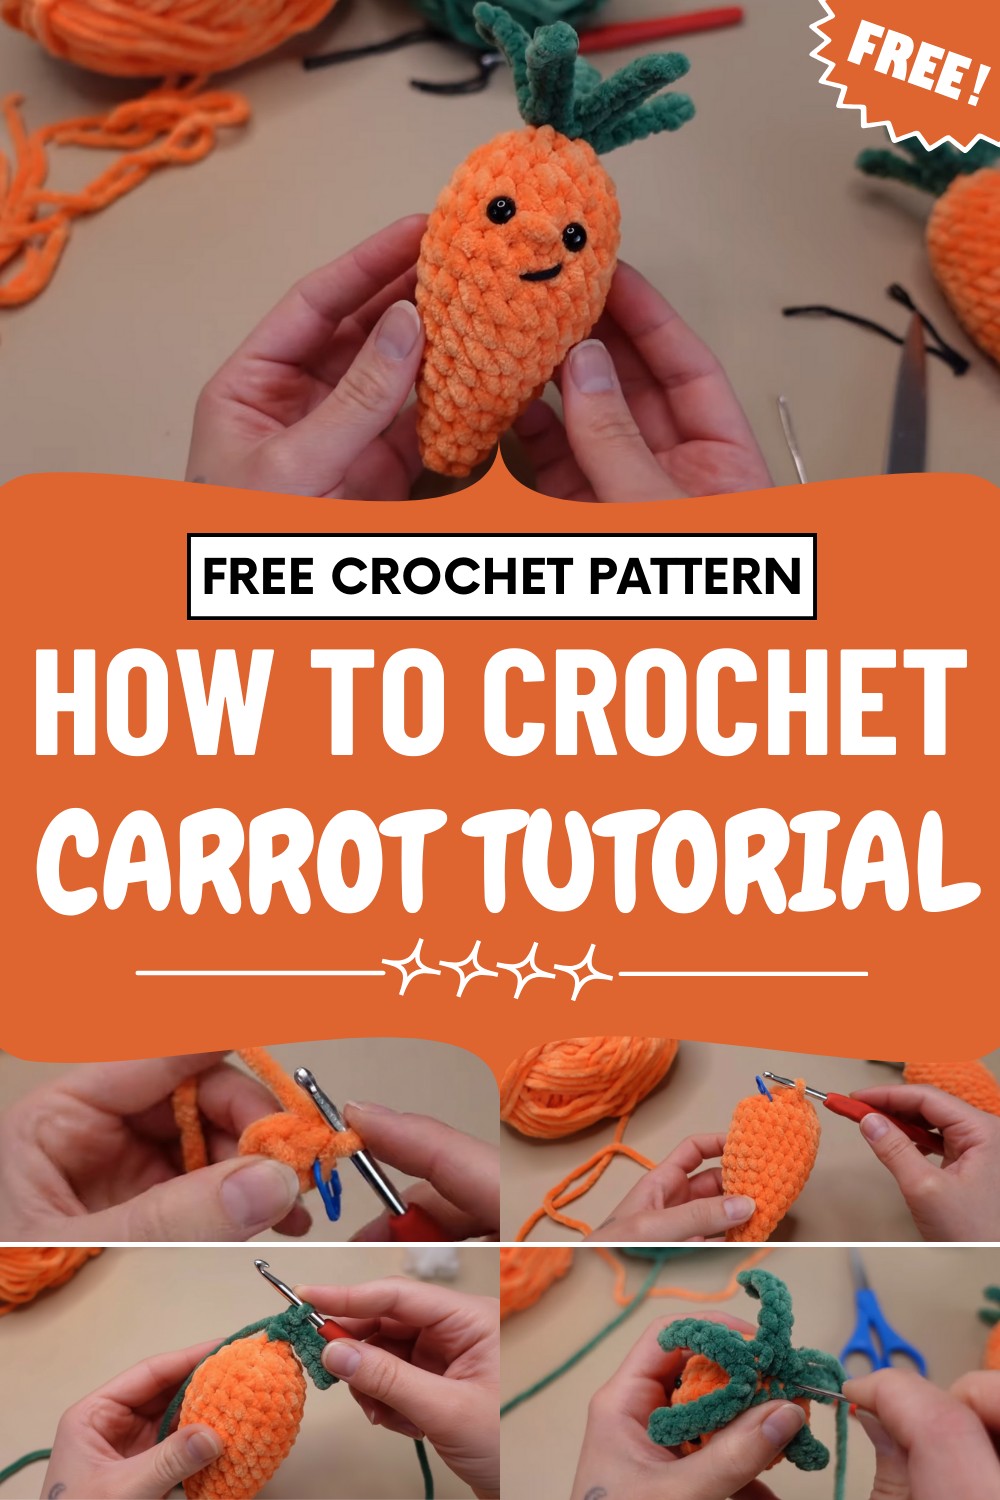
The plush softness of this carrot makes it an ideal whimsical toy, a thoughtful gift, or a colorful accent for any season. The customizable design lets you experiment with different yarns, sizes, and features—perhaps adding a stitched smile or keeping it charmingly simple.
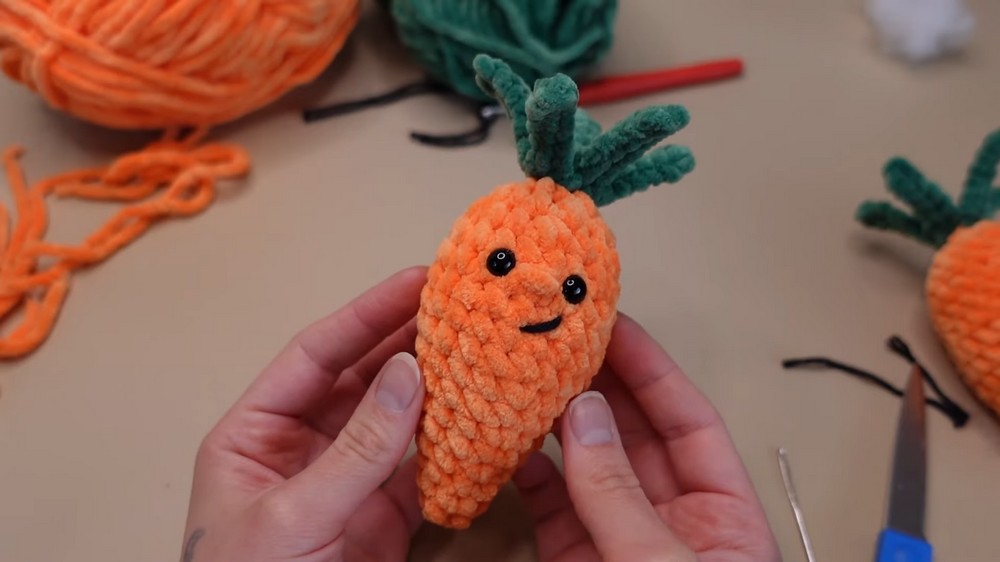
Whether gifting to a friend, sprucing up your table, or adding a sprinkle of handmade magic to your shop display, this crocheted carrot carries a story of creativity and joy, delicately crafted to leave a lasting impression.
Special Features
- No-sew design: All pieces are crocheted and directly attached—no separate sewing required.
- Beginner friendly: Basic stitches and clear instructions throughout.
- Customizable: Add safety eyes, embroider a face, or leave it plain.
- Cute, compact plushie: Great for gifts, desk decor, or market stalls.
Materials
- Orange yarn (for carrot body)
- Green yarn (for leaves)
- 3-4 mm crochet hook
- Stuffing
- Safety eyes (optional, for face)
- Scissors
- Stitch marker
- Darning needle
- Embroidery needle/yarn (for nose or mouth)
Skill Level
Beginner. The pattern uses simple stitches—single crochet, increasing, and decreasing. The magic ring technique and no-sew color changes are explained in detail.
Uses
- Plushie toy for kids or adults
- Cute decoration for your space
- Market stall or craft fair item
- Beginner amigurumi practice
Tutor’s Suggestions
- Use quality safety eyes if gifting to young children or selling.
- Stuff firmly but not too tight—this makes crocheting the closing rounds easier.
- Choose fun yarn colors for a playful look.
Step-by-Step Pattern
Carrot Base
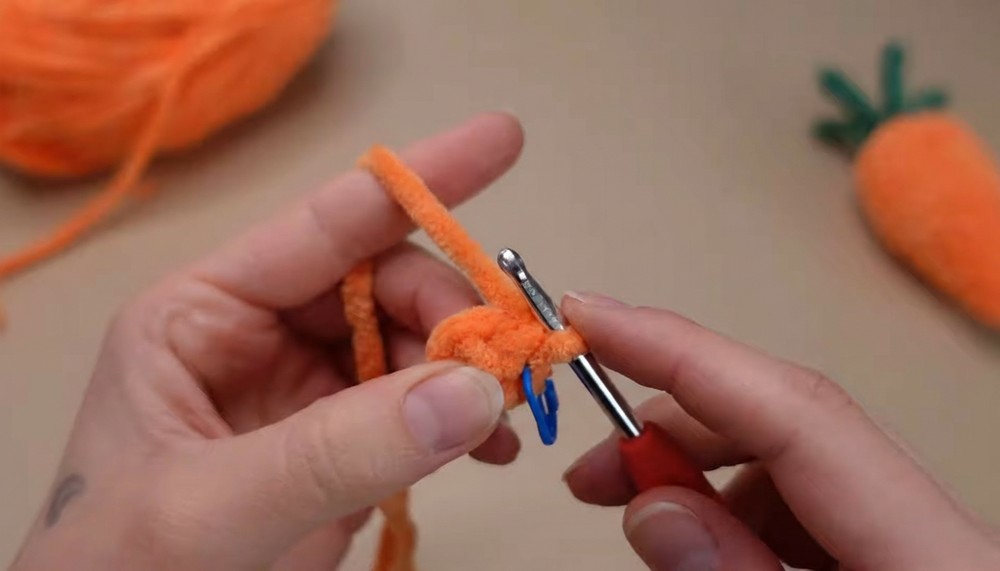
1. Magic Ring
- Hold the yarn and wrap it around your two fingers, forming an "X" on the front.
- Take your hook, go under the side of the X closest to you, and grab the second piece of yarn.
- Pull it under the first piece and twist towards you.
- Hold this loop, yarn over, and pull through to secure.
- You’ve made a magic ring.
2. Round 1: Single Crochet into Ring
- Crochet 4 single crochet (sc) stitches into the ring.
- Pull the yarn tail to close the ring tight.
3. Round 2: Increase Round
- Place stitch marker in the first stitch of the round.
- Work 2 sc in each stitch around (4 increases, total 8 sc at end).
4. Round 3: Plain Round
- 1 sc in each stitch around (8 sc).
5. Round 4: Single Crochet and Increase
- (1 sc, 1 inc) repeat 4 times around (Total: 12 sc).
- "Inc" means work 2 sc in the same stitch.
6. Round 5: Plain Round
- 1 sc in each stitch around (12 sc).
7. Round 6: Two Single Crochet, One Increase
- (2 sc, 1 inc) repeat 4 times around (Total: 16 sc).
8. Round 7: Plain Round
- 1 sc in each stitch around (16 sc).
9. Round 8: Three Single Crochet, One Increase
- (3 sc, 1 inc) repeat 4 times around (Total: 20 sc).
10. Rounds 9-13: Plain Rounds
- 1 sc in each stitch around (20 sc).
- Work 5 simple rounds.
Begin Shaping (Decreases)
11. Round 14: Two Single Crochet, One Decrease
- (2 sc, 1 dec) repeat 5 times around (Total: 15 sc).
- "Dec" = single crochet 2 stitches together.
Safety Eyes Option
- Add safety eyes between Rounds 12 and 13 with three stitches apart.
- Place backings if desired.
12. Round 15: One Single Crochet, One Decrease
- (1 sc, 1 dec) repeat 5 times around (Total: 10 sc).
- Pause halfway to add stuffing.
13. Round 16: Only Decreases
- 5 decreases around (sc 2 together 5 times) (Total: 5 sc).
- Pause after third decrease to finish stuffing.

14. Color Change to Green (Carrot Top)
- During the last decrease, pull green yarn through the loops to change color.
- Cut orange yarn.

Carrot Top (Leaves)
15. Round 17: Leaf Construction
- Work in front loop only of each stitch in the round.
- For each leaf (repeat 5 times):
- Slip stitch in the front loop only.
- Chain 7.
- Skip the first chain, slip stitch in next 6 chains.
- Connect back to carrot with a slip stitch in the next front loop.
- With each slip stitch, begin the next leaf.

16. Finish Last Leaf
- Slip stitch into the same stitch as the first slip stitch to finish.
17. Fasten Off and Close Hole
- Leave a tail, cut yarn, then pull tail through last loop.
- Thread yarn onto darning needle.
- Sew the small hole at carrot top closed using the back loops from Round 16 (not previously worked in).
- Add a few stitches to cover any orange showing.
- Tie knot and weave in ends.
Embroider Face (Optional)
- Use orange yarn to embroider a cute nose over one stitch (make 3 neat loops).
- Use black yarn to embroider a mouth—smirky smile looks adorable!
- Start and end embroidery at the back, tie a knot, and weave in ends so the knot disappears.
Conclusion
Your cute crochet carrot plushie is ready! You can customize it with embroidered details, safety eyes, or leave it plain for a classic look. This project is an excellent choice for beginners and yields a joyful, squishy plushie—great for gifts or personal collection.
Tip
When closing holes or embroidering details, pull your yarn gently—too much tension squashes the plush or hides your embroidery.
Leave a Reply