
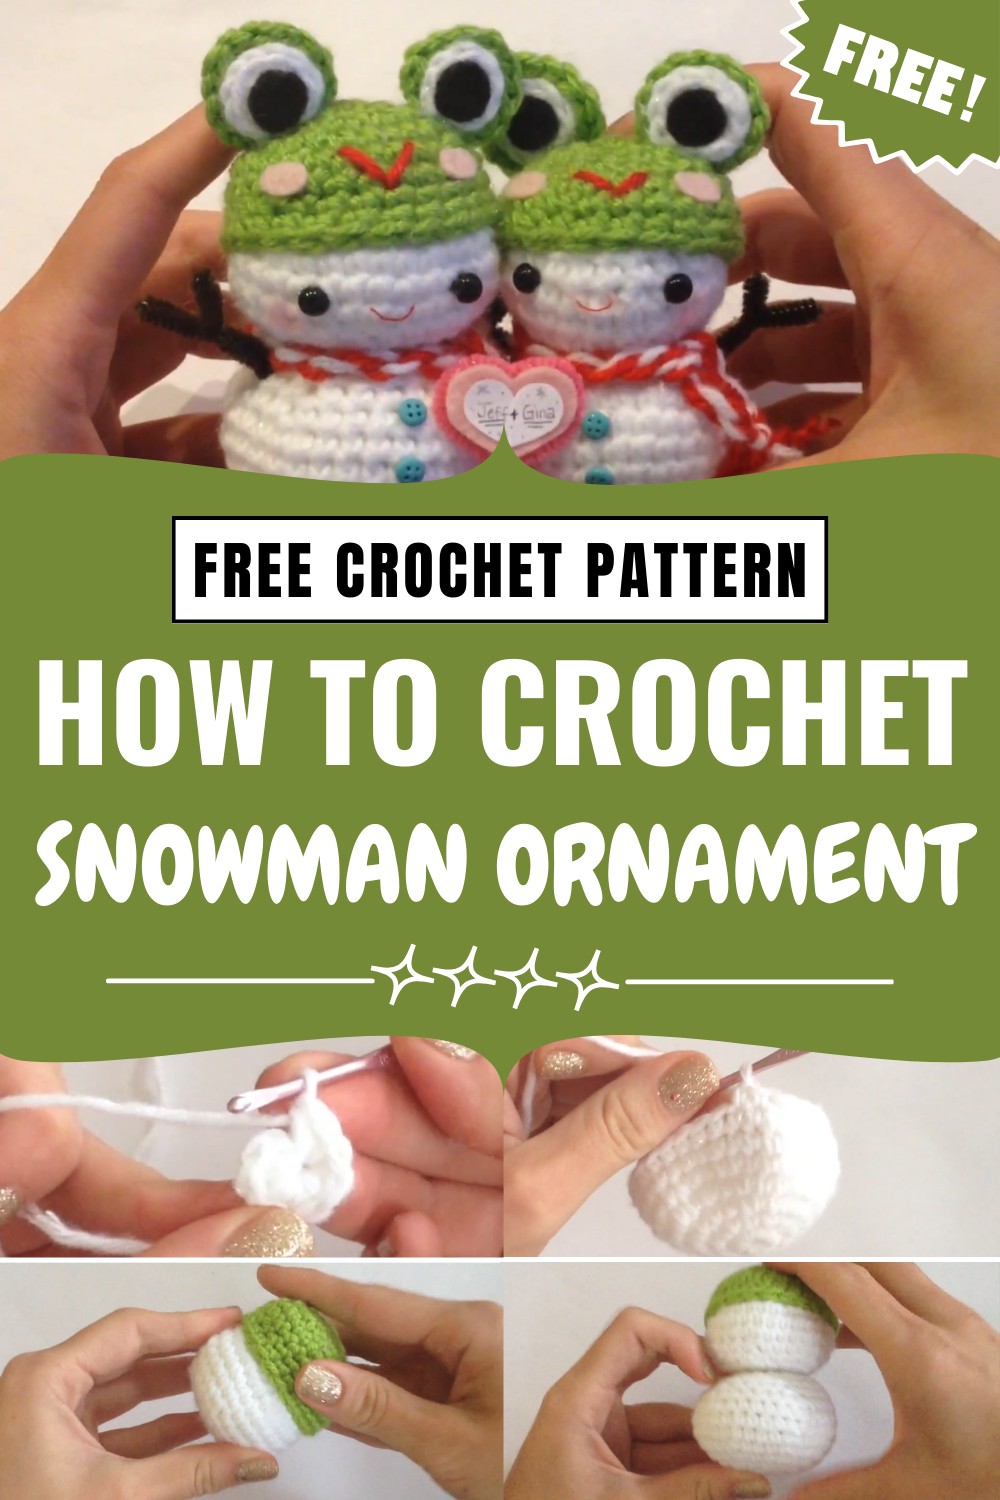
Enjoy festive charm with Crochet Snowman Ornament Pattern that's perfect for heartwarming decoration that fills your home with holiday cheer.
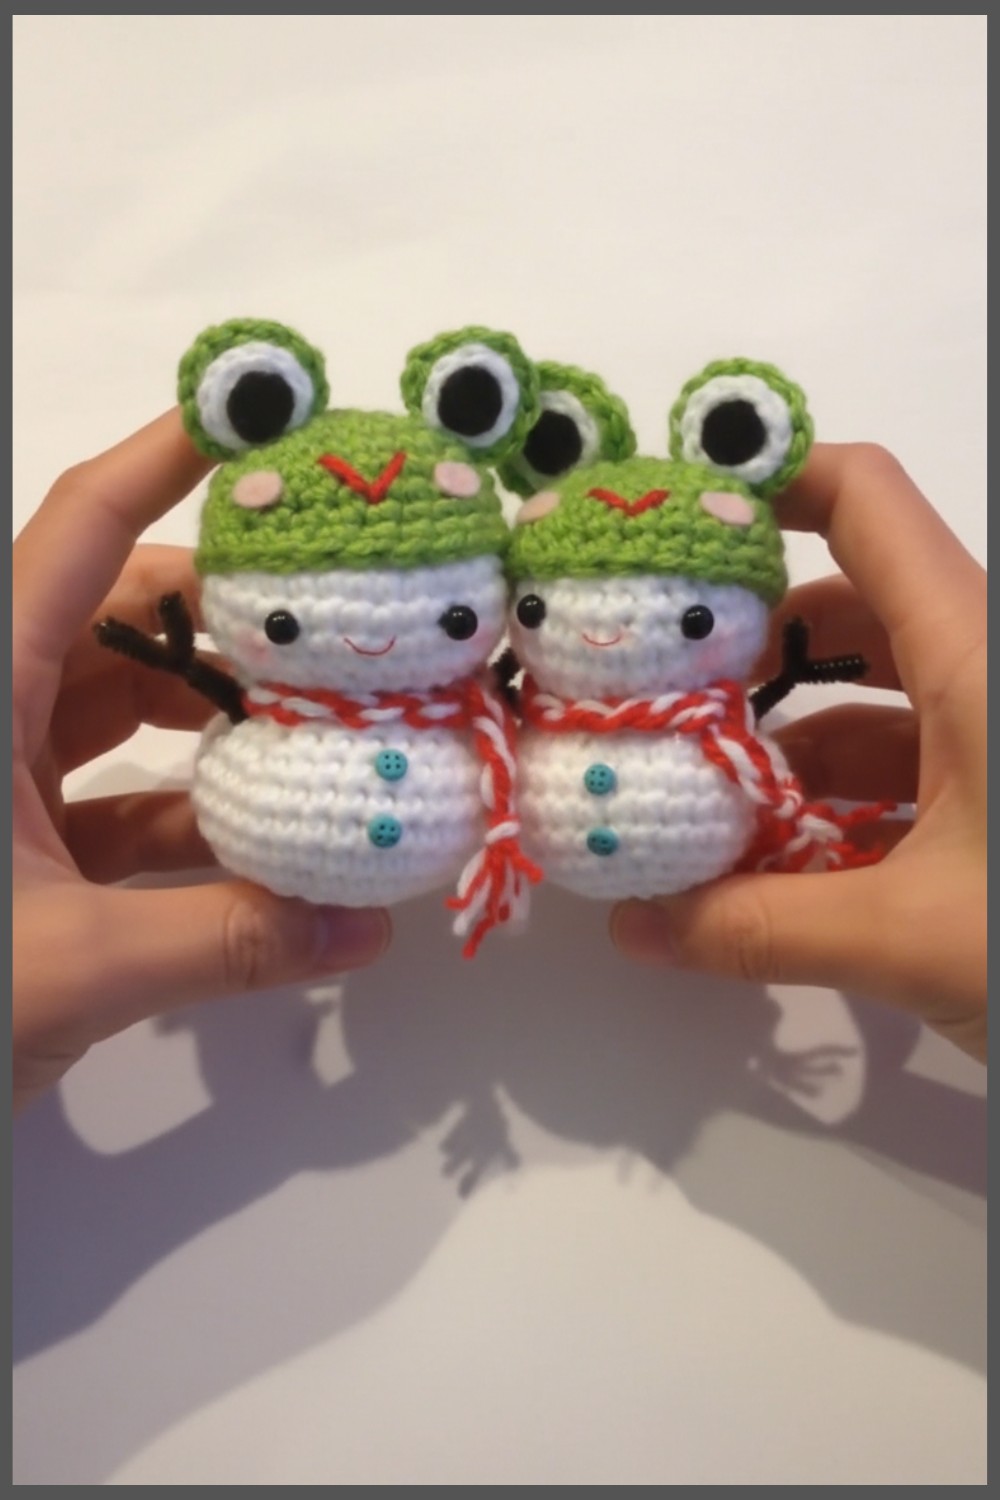
Bring the magic of winter to life with a cheerful snowman that’s perfect for decorating your home. This Crochet Snowman Ornament Pattern is designed to look just like a happy snowman, with a big smiling face, a cute carrot-shaped nose, and a cozy scarf wrapped around its neck. The soft texture and handmade look make it feel special and full of warmth, instantly adding charm to any space.
Adorable Crochet Snowman Ornament Pattern for Tree Decor
You can hang it on your Christmas tree, use it as a decoration for your table, or even gift it to someone you care about. Its playful design makes it ideal for brightening up holiday gatherings and spreading joy with a simple touch of creativity.
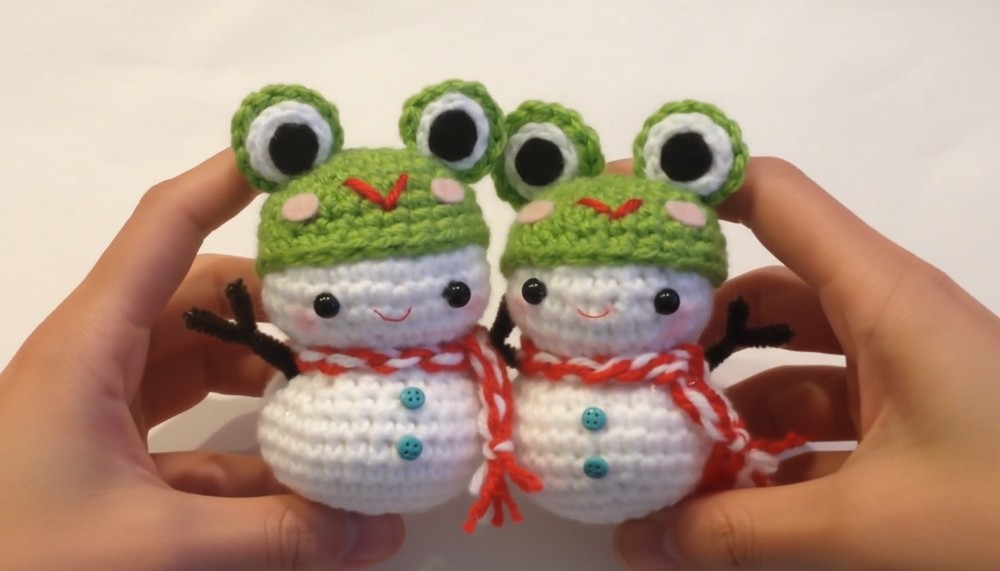
Whether you’re decorating your house or giving it as a thoughtful present, this snowman is sure to make everyone smile. Easy to use and full of fun, it’s a heartwarming addition to your festive celebrations.
Crochet Snowman Ornament Pattern
Materials
- Yarn:
- White (for the snowman body)
- Green (optional, for a beanie)
- Red (optional, for a scarf or smile)
- Pink felt (optional, for blush cheeks)
- Black felt (for snowman buttons and pupils)
- Hook Size: 2.7 mm crochet hook or similar
- Stuffing: Polyester fiberfill (or pillow stuffing)
- Safety Eyes: Small animal eyes or black beads
- Pipe Cleaners: Brown (for arms)
- Polymer Clay: Optional for creating small decorative buttons
- Tapestry Needle: For weaving in ends or sewing features
- Scissors
- Hot Glue Gun: For attaching parts (or use needle and thread)
- Eyeshadow/Blush: For adding soft pink cheeks
- Felt: Black (for features) and optional white/pink
Abbreviations
- ch: Chain
- st: Stitch
- sl st: Slip stitch
- sc: Single crochet
- inc: Increase (2 stitches in 1 stitch)
- dec: Decrease (combine 2 stitches into 1)
- MR: Magic ring
Pattern Instructions
Snowman Sphere (Body or Head)
Smaller Sphere (Head):
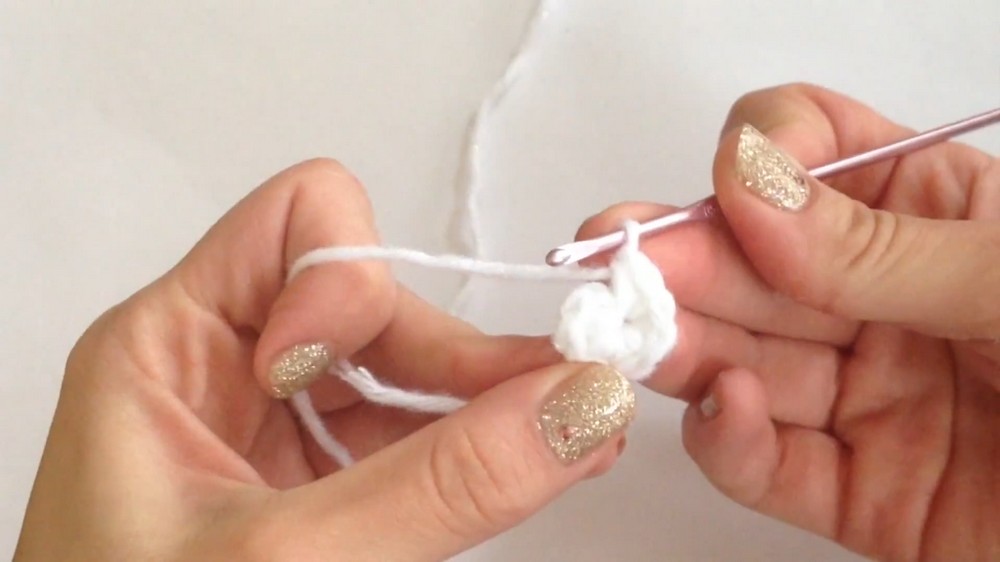
- Start with a Magic Ring:
- Form a magic ring with white yarn.
- Round 1:
- Ch 1, work 8 sc into the magic ring.
- Pull yarn tail to close.
- Sl st into the first sc to join.
- Round 2:
- Ch 1, work 2 sc in each st around (inc).
- Total: 16 sc.
- Sl st into the starting sc.
- Round 3:
- Ch 1, work 1 sc in the first st, 2 sc in the next st (inc).
- Repeat [1 sc, inc].
- Total: 24 sc.
- Sl st to join.
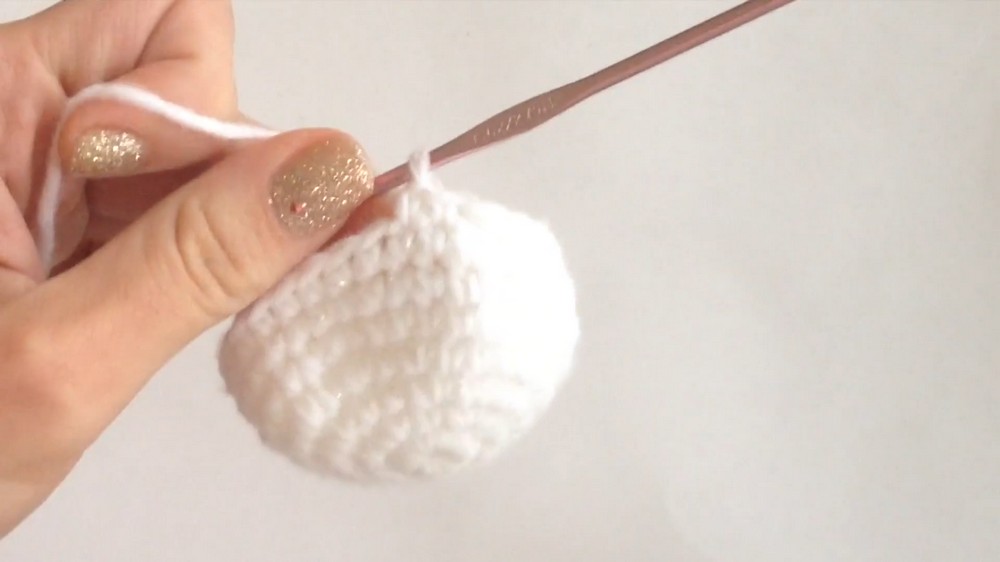
- Rounds 4–6:
- Ch 1, work 1 sc in each st around (no increases).
- Total: 24 sc per round.
- Sl st to join.
- Rounds 7–9:
- Begin decreasing to form a sphere shape.
- For each round: sc 1, dec.
- Continue decreasing evenly until the top closes slightly but leaves enough room for stuffing.
- Stuff the Head:
- Use pillow stuffing or fiberfill to firmly stuff the head as the opening gets smaller.
- Final Round:
- Dec every st until the opening closes.
- Cut the yarn, pull through the last loop, and weave in the ends.
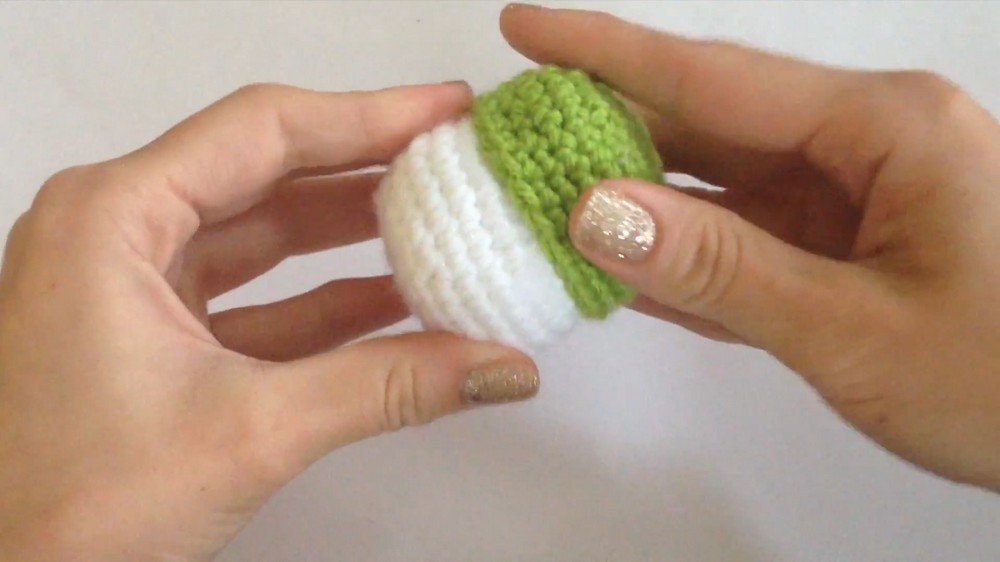
Larger Sphere (Body):
- Follow steps 1–6 of the smaller sphere but add one additional expansion round in the middle (e.g., Round 4 will include a [2 sc, inc] repeat).
- Make the body larger: Continue expanding evenly for an additional 1–2 rounds to create a bigger sphere.
- Stuff and Close the Body following steps 7–8 of the smaller sphere.
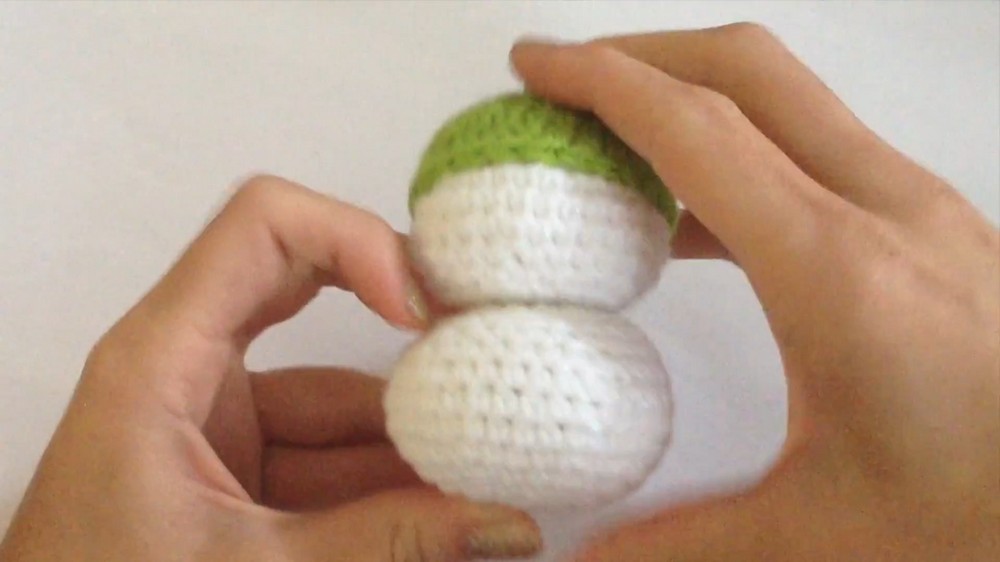
Froggy Beanie (Optional Accessory)
- Create Half Sphere:
- Follow the steps to create the smaller sphere, but stop after 6–7 rounds.
- The half-sphere should curve slightly to sit neatly on the snowman’s head.
- Frog Eyes (Optional):
- Make two small circles:
- Green layer: Work 2 rounds (magic ring + 1 round of sc inc) in green yarn.
- White layer: Work 1 round of sc in white yarn slightly smaller than the green base.
- Attach the white circle to the green circle to form the whites of the eyes. Hot glue or sew them onto the beanie.
- Make two small circles:
- Finish Eyes:
- Cut small black felt circles for pupils and glue them onto the center of the white part. Position the eyes laterally on the frog hat.
Scarf
- Twirl Yarn:
- Take red and white yarn. Tie them together at one end.
- Twist the two strands together until taut, then allow them to loop naturally to form a double-layered twirl.
- Tie a knot at the other end and trim the edges.
- Finish Edges:
- Unravel the yarn tips with a crochet hook to add frayed ends for texture.
- Attach:
- Tie or glue the scarf securely around the snowman’s neck.
Arms and Buttons
- Arms:
- Take two brown pipe cleaners and shape them into a Y-shape for each arm.
- Attach them to the sides of the body near the neck using hot glue or sew them securely.
- Buttons:
- Use teal polymer clay or small felt circles for buttons.
- Attach them vertically down the front of the body.
Details
- Add Eyes: Insert safety eyes or glue/sew small black felt circles onto the head for facial features.
- Smile: Use red thread or yarn to sew or glue a small smile onto the snowman.
- Cheeks: Dab light pink eyeshadow/blush underneath the eyes for a rosy effect.
Customization Ideas
- Add a Santa hat or reindeer antlers instead of the froggy beanie for a festive twist.
- Play with yarn colors to dress your snowman in unique outfits for different themes.
- Use embroidery to create advanced facial expressions or patterns on the body.
Conclusion
This crochet snowman is a delightful handmade gift or decorative ornament for the holiday season. With a few additions, you can turn this snowman into a couple or personalize it with accessories. These thoughtful and charming crafts are sure to make someone smile this Christmas!
Pattern Correction and Tips
- Tip: Use your stitch markers to ensure accurate rounds, especially when increasing or decreasing.
- Correction: If the sphere doesn’t shape properly, check that your increases and decreases are evenly spaced. Adjust to achieve a symmetrical look.
Leave a Reply