Sip in style and stay hydrated on the go with this charming crochet water bottle bag pattern, blending convenience, creativity, and durability seamlessly.
Carrying a water bottle doesn’t always have to be ordinary. With crochet water bottle bags, practicality meets charm in a way that transforms your everyday hydration companion into a stylish accessory. These handmade holders are perfect for keeping your water bottle secure and accessible, whether you’re heading to the gym, exploring the outdoors, or simply strolling through town. They’re lightweight, flexible, and can be easily customized to suit any bottle size or personal preference.
Stylish Crochet Water Bottle Bags You Need to Try

Beyond their visual appeal, these bags offer convenience and sustainability. Styled to be worn over the shoulder or as a crossbody, they free up your hands while ensuring your bottle stays close by perfect for outdoor adventures or busy routines. Additionally, they encourage eco-friendly practices by keeping reusable water bottles at the forefront of your daily habits.
Ideal for all skill levels, crochet water bottle bags make thoughtful handmade gifts or rewarding self-care projects. Their functional design ensures durability, while the added aesthetic brings a touch of personality to your accessories. Whether you’re using vibrant colors or neutral tones, these bags effortlessly combine comfort and style, proving that something as simple as carrying water can turn into a delightful and practical solution for everyday life.

Special Features
- Practical and Stylish Design: The crochet pattern creates a snug-fitting water bottle holder with an optional strap, allowing you to carry the bottle hands-free.
- Customizable Size: You can adjust the holder’s dimensions to fit your specific water bottle by measuring as you go.
- Compact and Portable: The finished product isn’t just functional—it adds personality to your favorite water bottle.
Material Requirements
To make this crochet water bottle holder, you’ll need:
- Yarn: Leftover yarn (Burnout Pop brand used in the tutorial).
- Crochet Hook: 4.5 mm crochet hook.
- Scissors
- Darning Needle
- Stitch Marker
Step-by-Step Instructions
Step 1: Create the Base
- Start with a magic ring: Wrap the yarn around your fingers, insert the hook, pull up a loop, and chain one.

- Row 1: Crochet 12 single stitches into the ring. Tighten the yarn, close the loop, and insert your stitch marker.
- Row 2: Begin with 2 single crochets in the first stitch, followed by single crochets in the next two individual stitches. Repeat this pattern all the way around. You should end with 16 stitches.
- Row 3: Start with 2 single crochets in the first stitch, followed by single crochets in the next three individual stitches (pattern: 2–1–1–1). By the end of this round, you’ll have 20 stitches.

- Continue increasing: For subsequent rows, increase the number of single crochets between sets of “2 in the same stitch.” Use the following progression:
- Row 4: 24 stitches
- Row 5: 28 stitches
- Row 6: 32 stitches
- Stop increasing and measure the diameter of your bottle’s base to ensure it fits.
Step 2: Form the Body
- First row: Chain one and make single crochets all around the base’s edge. This step creates the base’s upward walls.
- Rows 2 and onward: Transition into double crochet stitches (chain two between stitches). Follow this pattern: Two double crochets in each chain gap until you form uniform rows.
- Desired height: Continue crocheting until your bottle’s height matches the holder. For reference, 8 rows of double crochet were used for the demonstrated Mana bottle.

Step 3: Add Final Single Crochet Rows
- To stabilize the top of the holder, add 3-4 rows of single crochet stitches. These help strengthen the rim while creating a neat finish.
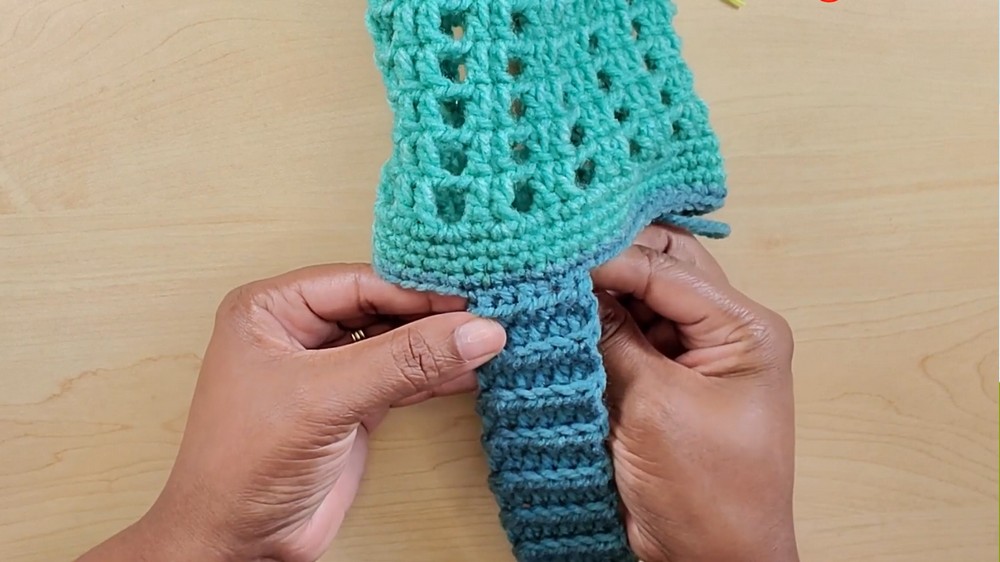
Step 4: Create the Strap
- Start the strap: Chain 7 to create the foundation. Crochet half-double stitches across the chain, then continue with back-loop-only half double crochets until the strap reaches your desired length. (30 rows were used for the tutorial.)
- Attach the strap: Use the stitch marker to position and sew the strap onto the holder using your darning needle. Be sure to securely stitch the edges for durability.
Tutor Suggestions
- Increase Rows Strategically: As your base grows, always increase by four stitches per row. This method ensures even rows without tedious counting.
- Measure Frequently: Keep measuring your bottle’s dimensions to ensure a snug and accurate fit.
- Personalize the Strap: You can make the strap longer or shorter based on your preference.
Uses of the Crochet Water Bottle Holder
This holder is versatile and useful in multiple ways:
- Outdoor Activities: Ideal for hikes, walks, or picnics when you need a hands-free solution to carry your bottle.
- Kids’ Bottles: Custom-sized holders for school or playdates.
- Gifting: A thoughtful handmade gift that is both functional and stylish.
Level of Difficulty
- Beginner-Friendly: The project primarily uses basic stitches—magic ring, single crochet, double crochet, and half-double crochet.
- Customizable: Beginners can easily follow and adjust the pattern as needed.
Pro Tip
When setting the strap dimensions, use safety pins as placeholders to test how it feels and looks before sewing it on. This allows you to preview the strap’s fit without committing to stitching.
Conclusion
This crochet water bottle holder is a simple yet practical project designed for beginners. With clear instructions and easy-to-follow patterns, you’ll have a functional accessory that showcases your crocheting skills.
Leave a Reply