
Design a playful and versatile crochet shoulder bag that's perfect for daily use, carry your essentials in style, and make every day a little brighter.
Everyday accessories deserve a touch of individuality, and a crochet shoulder bag fits the bill perfectly. Designed for practicality without compromising style, this bag effortlessly complements your daily routine. From running errands to casual outings, it’s a trusty companion with enough room for essentials and a design that stands out.
Minimalist Crochet Shoulder Bag Pattern You Must Try
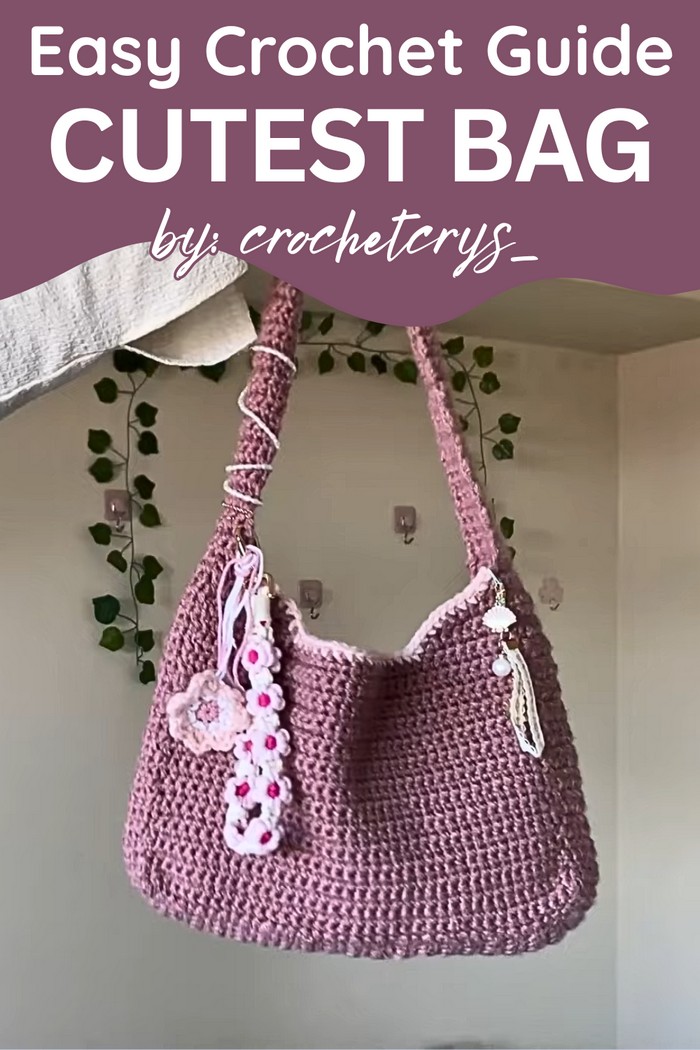
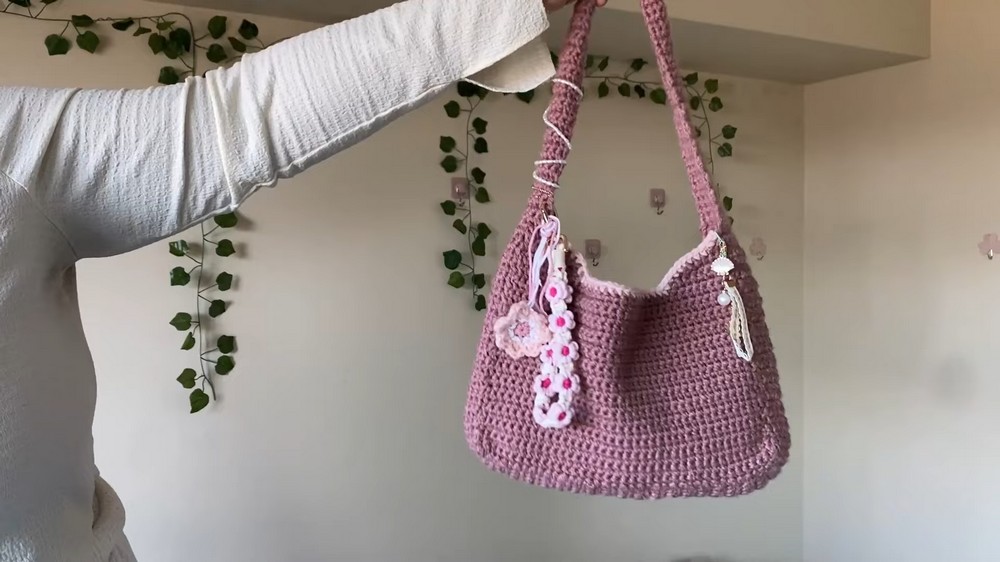
With its lightweight construction, this shoulder bag is easy to carry even during long errands. The durable crochet material ensures longevity, so you can rely on it day after day without worrying about wear and tear. Its versatility makes it suitable for casual outfits, whether you're heading to the market or grabbing coffee with friends.
Easy customization is one of its standout benefits. You can choose your preferred colors, textures, and accents, resulting in a bag that reflects your personality. The unique handmade appeal makes it an ideal gift for friends, family, or even yourself cherished for its personal touch.
Materials Required:
- Yarn KnitIt! Weight 3 Dollarama yarn (has no colour name)
- Hook size: 5mm
Step-by-Step Process
1. Creating the Gauge Swatch
- Start by selecting your yarn.
- Crochet a swatch of 13 stitches by 4 rows using a single crochet stitch.
- Measure the swatch. Crystal found that 13 stitches measured approximately 4 inches. Adjust this based on your desired bag size.
- Calculate the number of stitches required for the width and length of the front panel. For this project, 38 stitches were used.
2. Front and Back Panels
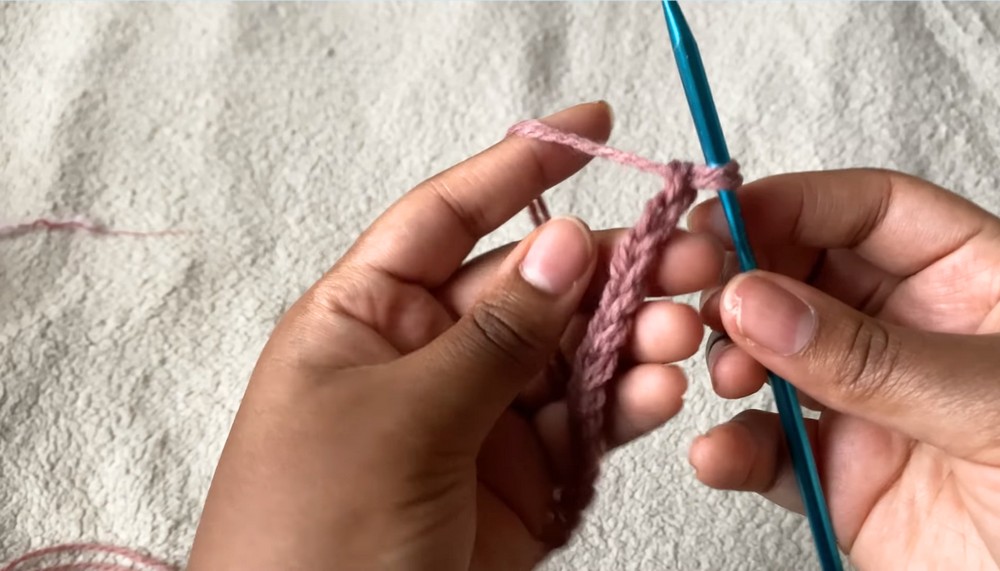
- Begin with a slip knot and chain 39.
- Turn the chain to reveal the bumps, skipping the first bump, and single crochet into the second bump onward.
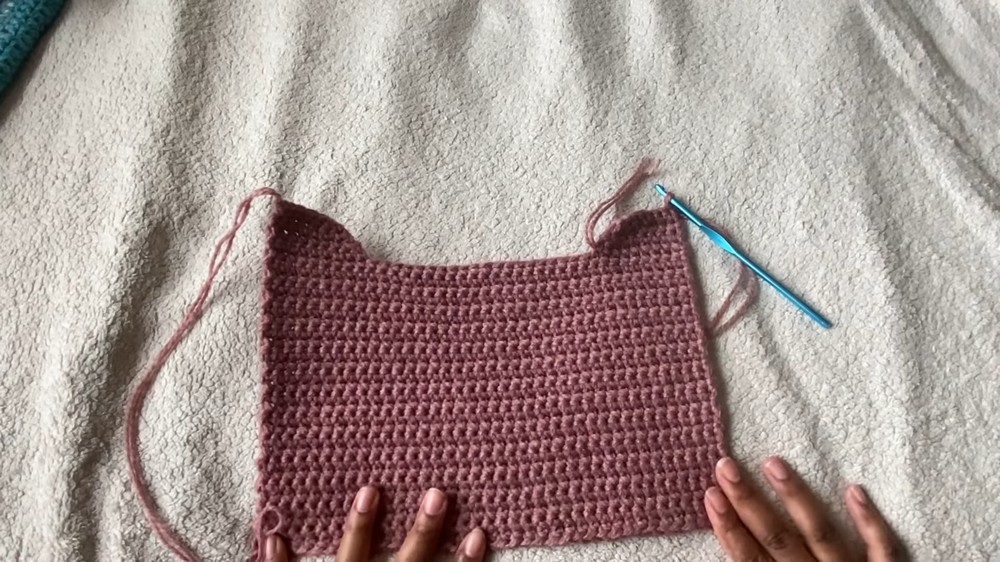
- Complete single crochets across 38 stitches for a total of 27 rows, with a chain-1 at the end of each row.
- To shape the top of the panels, perform decreases in the last four rows.
- For each row, decrease by using the single crochet decrease technique (crocheting two stitches together) until you have fewer stitches.
- For each row, decrease by using the single crochet decrease technique (crocheting two stitches together) until you have fewer stitches.
3. Side Panel
- Estimate the total length of the side panel by adding the total number of rows from both panels and the base. For this project, Crystal calculated 102 rows.
- Crochet the width of the strap with a chain of 8 (or adjust based on preference). Work single crochet rows, ensuring the width stays consistent.
4. Sewing the Panels Together
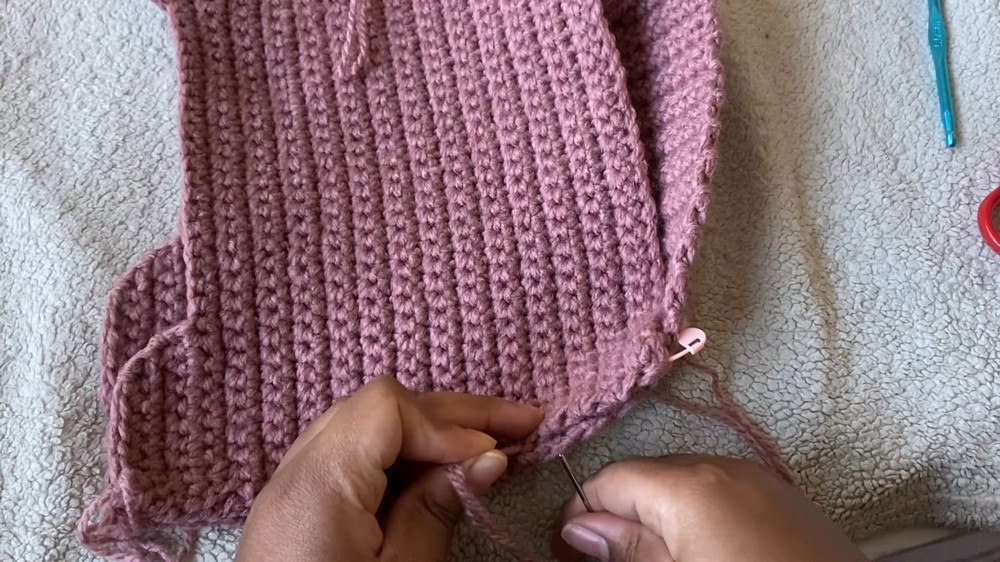
- Use a tapestry needle to sew together the finished panels and strap.
- Start by lining up the first panel with the side panel, ensuring rows are aligned evenly, and sew through each corresponding stitch in an in-and-out pattern.
- Repeat the sewing process for the back panel, ensuring both panels are symmetrical and securely attached.
5. Creating the Strap
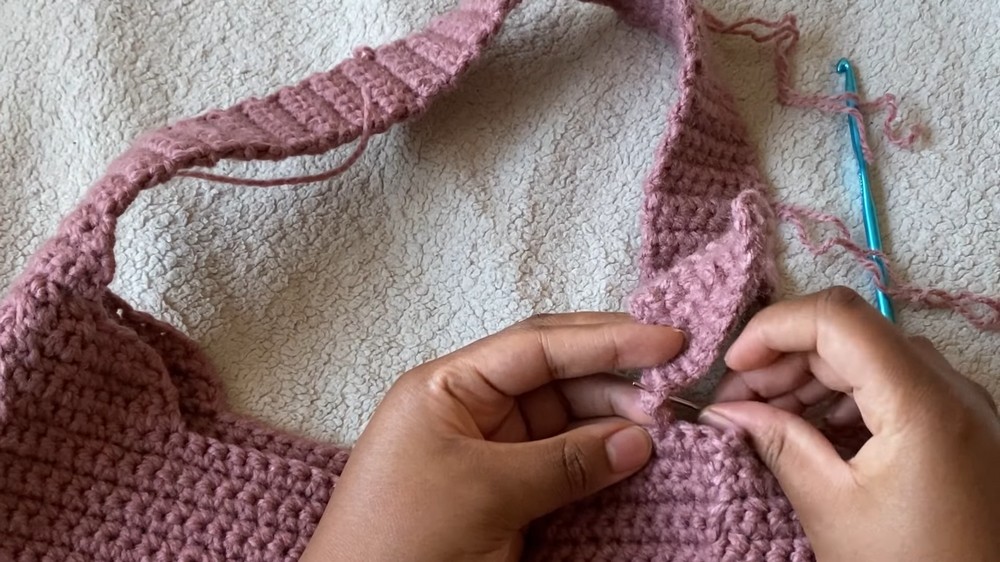
- Attach the yarn to the panel and chain the desired length. Crystal worked 64 rows of single crochet for a sturdy strap.
- Perform increases in the last few rows of the strap to ensure the width matches the original chain width.
6. Decorative Touches
- Add charms, flowers, or beads for personalization.
- Crystal used a magic circle to freehand crochet a flower and sewed beads onto the back panel for decoration.
- Optionally, you can add lining to the bag for extra durability, although the crochet fabric in this project was sturdy enough to skip it.
Conclusion
This crochet pattern equips you with detailed steps to crochet a functional and beautiful shoulder bag while allowing room for personalization. By following the instructions for gauge swatches, panels, and strap creation, you can design a bag that matches your style and desired dimensions. From functional use to creative embellishments, this versatile project is both practical and enjoyable.



Leave a Reply