
Fill your home with holiday cheer using this Free Crochet Christmas Tree Pattern and enjoy a charming mini decoration that sparks festive joy.
Perfect for brightening up holiday décor and inspiring creativity, this charming project brings together festive tradition and contemporary style in a delightful way. Presently, enthusiasts everywhere enjoy transforming simple yarn into cheerful ornaments and personalized gifts that elevate the holiday atmosphere. The crochet Christmas tree pattern adds not only a decorative touch but also warmth and individuality to any space, easily tailored to complement different color palettes or themes.
Lovely Crochet Christmas Tree Pattern for Simple Holiday Touches
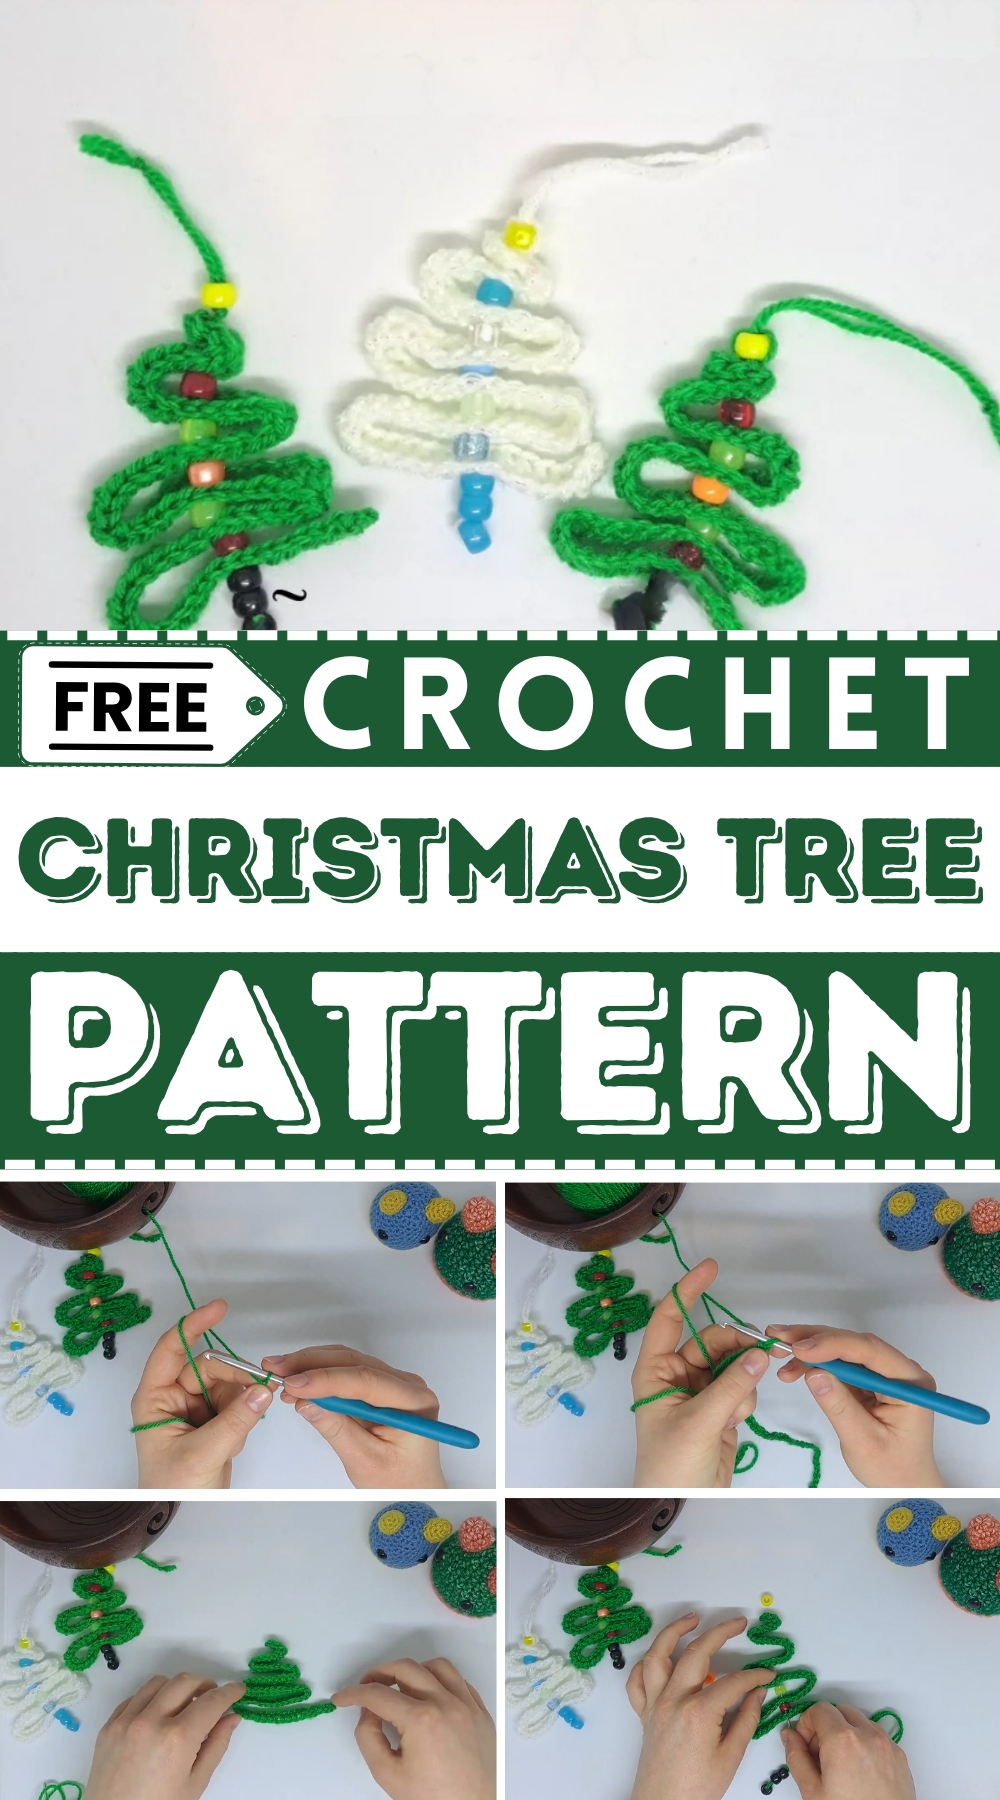
With its whimsical yet elegant design, the finished result often resembles a miniature evergreen tree adorned with sparkling accents, colorful beads, or tiny festive embellishments. This versatile decoration suit a variety of uses—from adorning Christmas tree to enhancing tabletops, gift packages, or seasonal garlands.
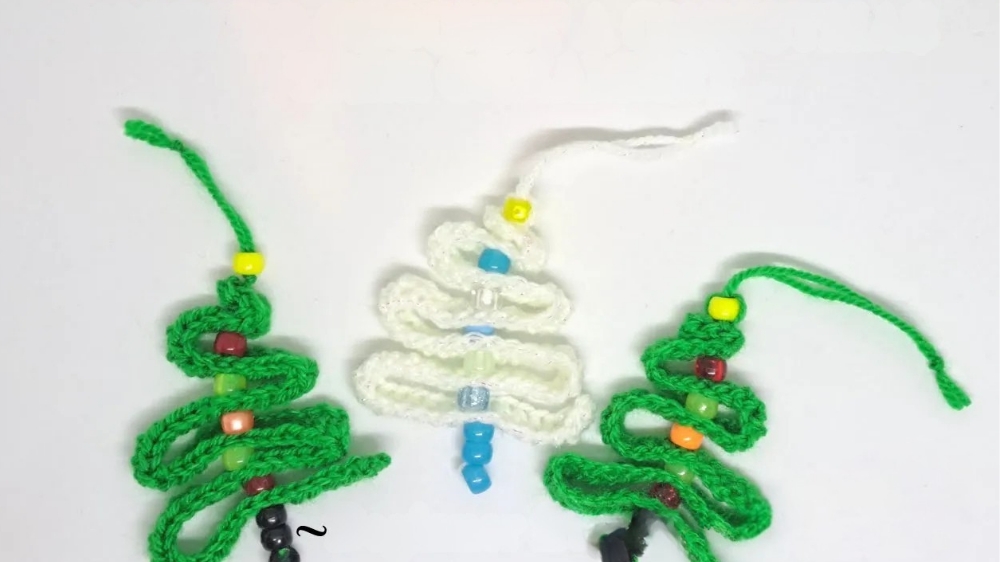
Engaging in this enjoyable and relaxing pastime offers moments of accomplishment and joy, filling the season with meaningful keepsakes and cherished memories for family and friends alike.
Special Features
- Super quick to finish: Ideal for last-minute decorations.
- Beginner level: Only basic stitches needed.
- Uses minimal yarn: Perfect project for scraps.
- Customizable: Switch up colors for different festive effects.
- Fun bead accents: Pony beads add a sparkling touch.
Level of Difficulty
🟢 Very Easy / Beginner
If you can chain and half double crochet, you’re ready for this ornament!
Uses
- Tree ornament
- Holiday gift tag
- Kids’ craft
- Classroom or office decor
- Stocking stuffer
Materials Needed
- 4 mm crochet hook (G)
- Scissors
- Yarn needle
- Pony beads
- 3 black (for the pot)
- 1 bright yellow (star/top)
- 5 assorted colors (lights/decorations)
- Green yarn (or any color of your choice)
- Optional: Sparkly or contrasting yarn for unique tree styles
Tutor’s Suggestions
- Keep your chain tension even for best results.
- Experiment with yarn colors and bead combinations.
- Go for scruffy or neat—both styles look great!
- Pony beads are a fun way to use up extras in your craft stash.
Step-by-Step Crochet Pattern
1. Make the Tree Base
- Start with a slip knot.
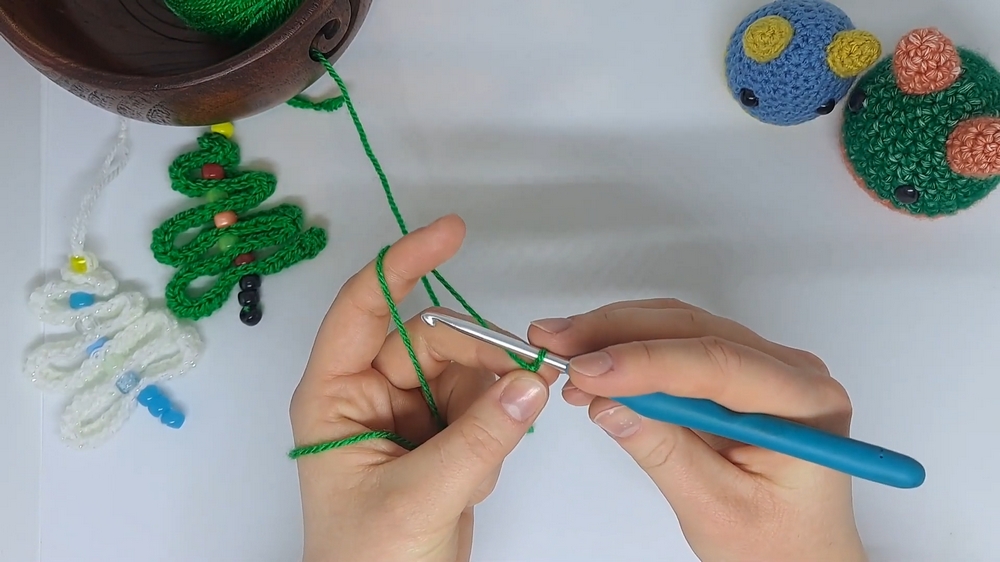 Chain 71.
- Keep your tension even—avoid tight or loose chains.
- Work a half double crochet (hdc) into the 2nd chain from the hook.
- Half double crochet: Yarn over, insert hook into stitch, yarn over, pull through (3 loops on hook), yarn over and pull through all 3 loops.
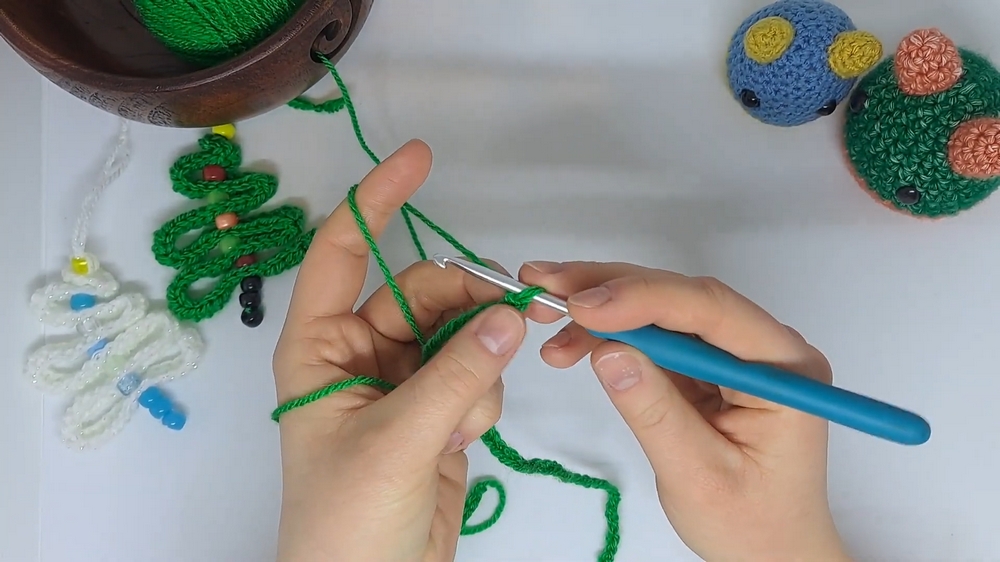 Continue half double crochet across the rest of the chain.
- You’ll have 70 hdc at the end.
- Cut the yarn, leaving two tails.
- Tie the two tails together. Use your yarn needle to weave in the ends for a tidy finish.
2. Shape the Tree
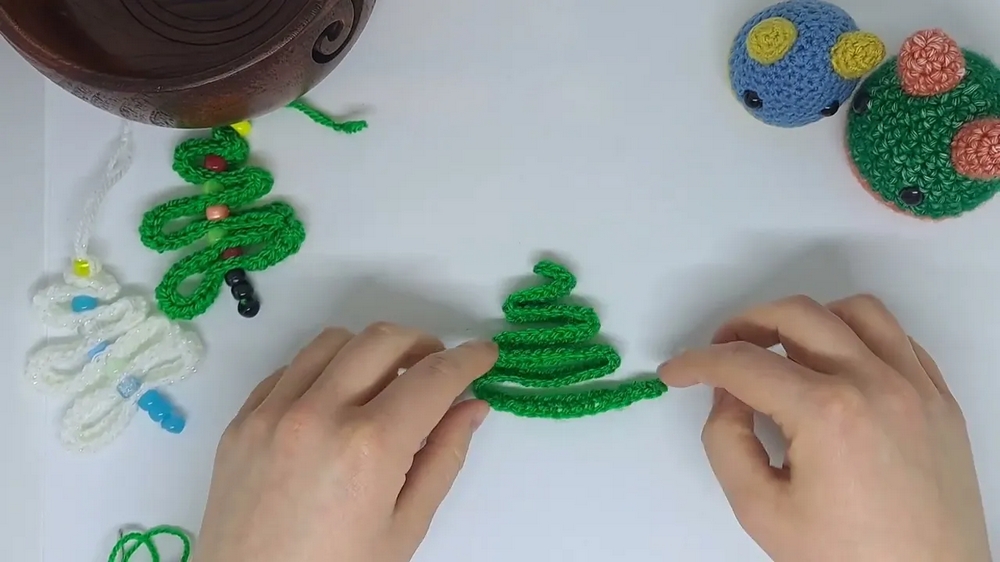
- Take a long piece of green yarn and thread your yarn needle.
- Lay out your foundation strip and arrange it in a zigzag pattern to resemble a tree (starting at the top and working downward).
- Adjust until you’re happy with the shape.
3. Add the Pot
- Take 3 black pony beads, thread them onto the needle (with yarn tail).
- Feed them down to the base of the tree.
- Loop the yarn back through two of the beads to anchor them and form the tree pot.
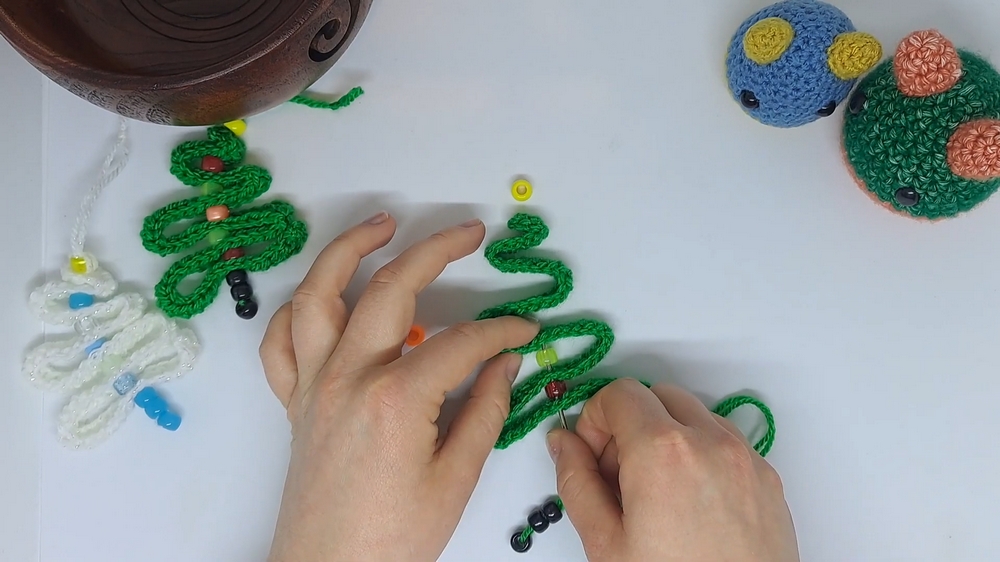
4. Add Beads for Lights
- Thread your yarn needle with the other tail.
- Plan bead placement—red, yellow, orange, etc.—to suit your tree design.
- Begin threading beads in the middle of the tree’s width, using the middle of half double crochet stitches.
- Pull the needle through the tree and bead, repeat with different colors as desired, moving up the tree.
5. Secure the Star (Top Bead)
- Thread the top yellow bead onto the yarn at the peak of the tree.
- Tie it securely with a few knots to prevent slipping.
- Optionally, thread back through the bead a couple of times for extra stability.
6. Make the Hanging Loop
- Use the yarn ends to tie a knot at the top for hanging.
- Trim excess yarn.
Conclusion
Enjoy your delightful Christmas tree ornament! Fast and easy to make, these decorations add a cheerful touch to any setting and use up craft supplies you already have at home. Customize each one for a special look. Great for families, classrooms, or for gifting to friends.
Tip at the End
Keep your chain and stitches relaxed for a smooth, even tree that folds beautifully. If you’re using beads, experiment with placement and color combos for a unique effect every time.

Leave a Reply