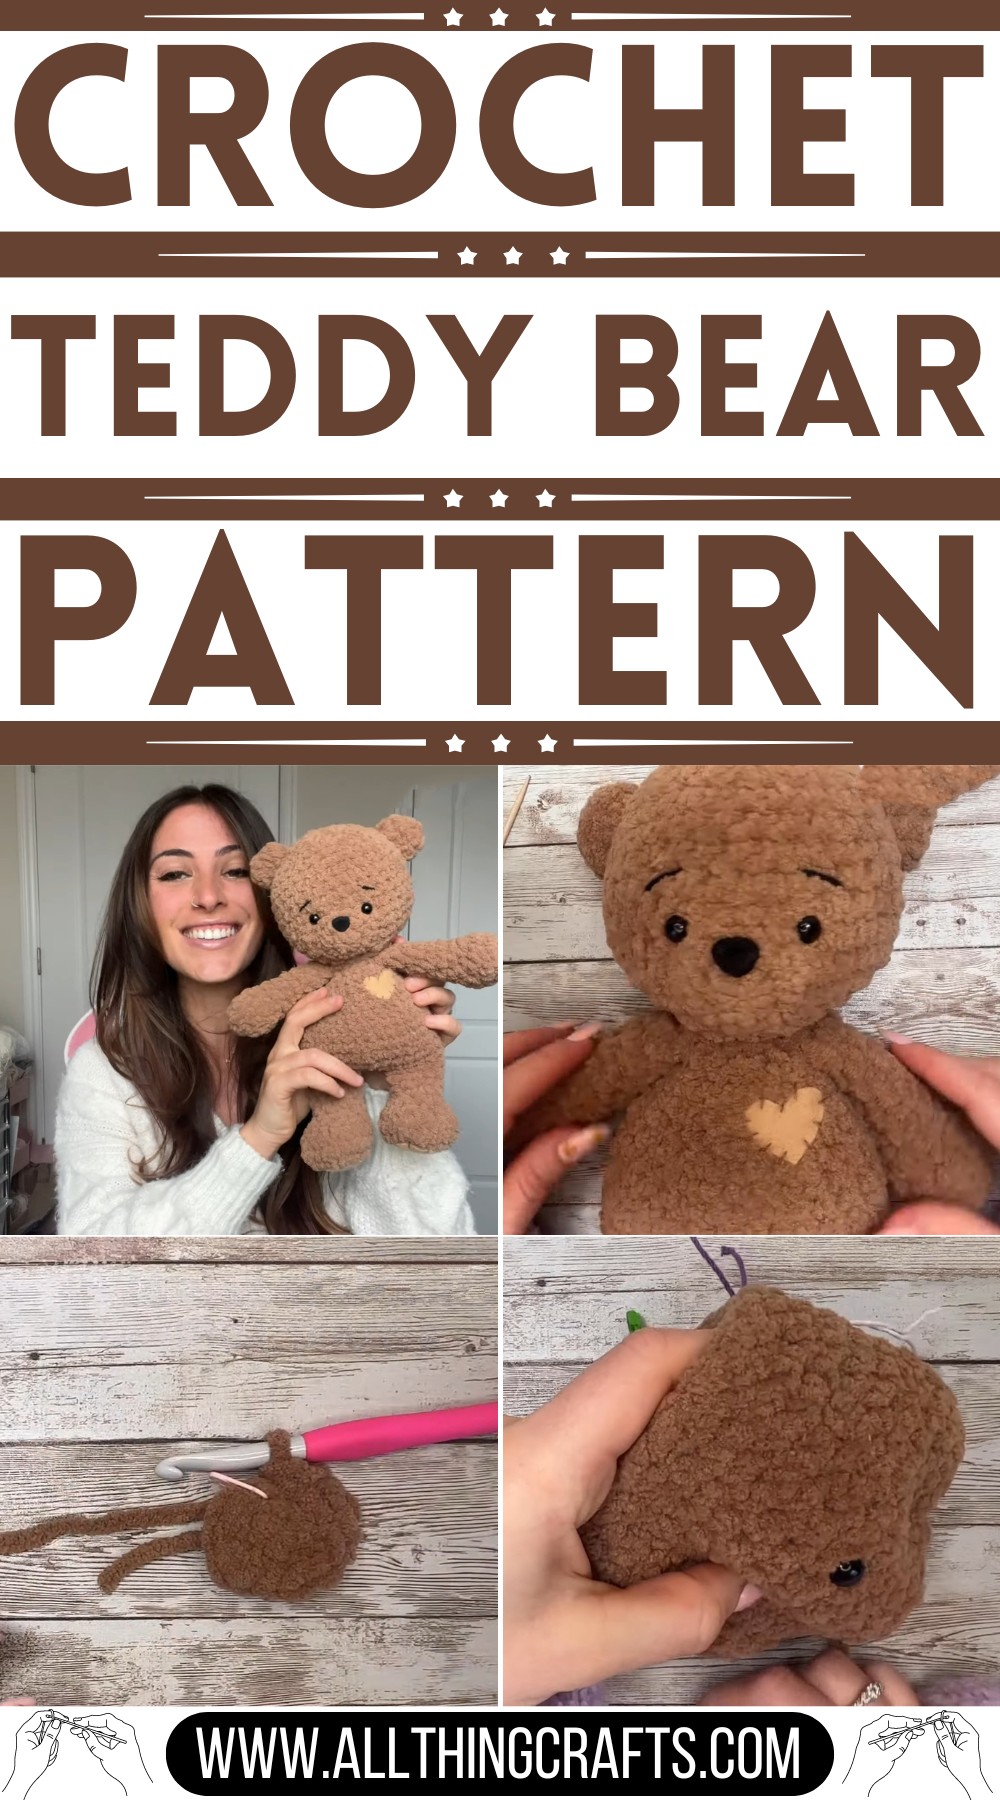
Delight your loved one this Valentine's Day with an adorable handmade gift using our Crochet Teddy Bear Tutorial, ideal for crocheters of all levels.
Are you looking for a heartwarming gift for Valentine's Day? How about making a crochet teddy bear filled with love! With an easy-to-follow tutorial, you can create a cuddly bear that holds all the warmth of your heart. Imagine the smile on your loved one's face when they hug this special teddy, knowing it was made just for them.
Crochet Teddy Bear Tutorial Valentine's Day
Appearance and Look
Crocheting this teddy bear is not just about giving a gift; it's about sharing a piece of your heart. Let's spread some love this Valentine's Day with a handmade teddy bear!
Key Features:
- Sentimental Value: More than just a gift, it’s a heartfelt token of affection.
- Perfect for Valentine's Day: Ideal for creating a memorable and personal gift.
Materials Needed:
- Yarn: Compatible with an 8 mm hook. Choose any color you prefer.
- Hook: 8 mm crochet hook.
- Stuffing: Polyester stuffing works well for giving the bear its shape.
- Felt: Tan felt is recommended for adding decorative patches.
- Needle: A thin curved needle for precise sewing of patches.
- Scissors: Essential for cutting yarn and felt.
- Stitch Markers: Helpful for keeping track of your stitches.
- Sewing Clips: Useful for holding pieces together while sewing.
Special Details:
- Handmade Touch: Adds a personal, handmade charm that’s perfect for expressing love.
- Customizable Colors: Choose yarn colors to match the recipient's preferences.
- Interactive Design: Involves various materials and techniques, making it a fun and engaging project.
By gathering these materials and following the tutorial, you'll be able to crochet a charming teddy bear that’s sure to warm the heart of your Valentine.
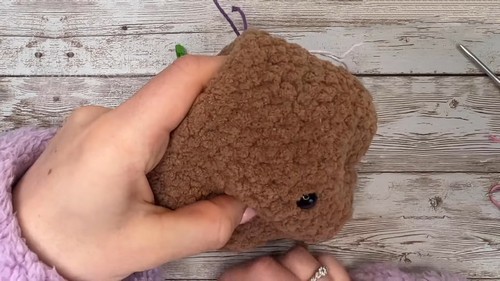
Body and Head:
Making the Arms:

Start: Create a magic ring and make 6 single crochet in the ring.
- Round 2: Make 1 increase, 3 single crochet in the same stitch, 2 increases, another 3 single crochet in the same stitch, and end with an increase. (14 stitches total)
- Round 3: Single crochet in each stitch around.
- Round 4 - 12: Continue with specified increases and decreases. After round 6, add stuffing to the end of the bear arm and make an invisible finish. Maintain stitch count as instructed for each round.
- Repeat identical steps for the second arm.
Making the Legs and Joining Them:
Leg 1: Begin with a magic ring and 6 single crochet in the ring, followed by rounds of increases and decreases as stated in the pattern. (10 stitches total at the end of final round of adjustments)
- Leg 2: Replicate leg 1 exactly but continue with stitching from the last remaining stitch.
- Round 11: Connect both legs with a chain, then single crochet to merge them into one piece forming the body base.
Finishing the Body:
Round 12 - 23: Proceed with single crochets, increasing and decreasing at intervals specified.
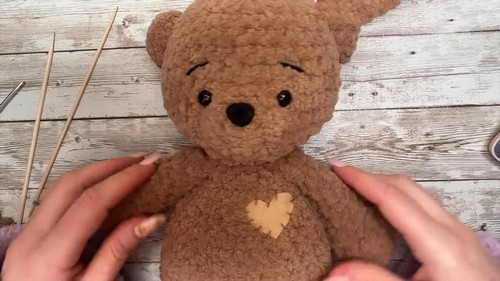
- Round 24: Integrate arms using slip stitches and prepare for attaching the head by retaining a long yarn tail.
Final Assembly:
Attaching the Patches:
- Create Patches: Cut out felt pieces as described (two larger circles and a smaller heart-shaped one).
- Attach Patches: Sew each piece onto the designated spot on the teddy bear—two under the feet and the heart on the body.

Sewing the Head to the Body:
- Using the retained long tail of yarn, sew around the head circumspectly, ensuring alignment.
Additional Tips:
- Ensure you use the appropriate hook size for the yarn.
- Regularly count stitches each round for accuracy.
- Opt for lighter stuffing for a squishy feel.
- Customize your bear with unique yarn colors or felt patch shapes.


Leave a Reply