
Warm up tiny toes with this Crochet Baby Booties Pattern that's perfect for giving a snug and comfy set of shoes to a sweet little infant.
Designing a miniature set of footwear is a wonderful way to celebrate a new life while practicing your stitching skills. By using a Crochet Baby Booties Pattern, you fashion a flexible and breathable covering that protects little feet without being too tight. These adorable items are known for their classic style, often featuring cute ribbons or wooden buttons that make them look high-end.
Precious Crochet Baby Booties Pattern For Baby Shower Gifts
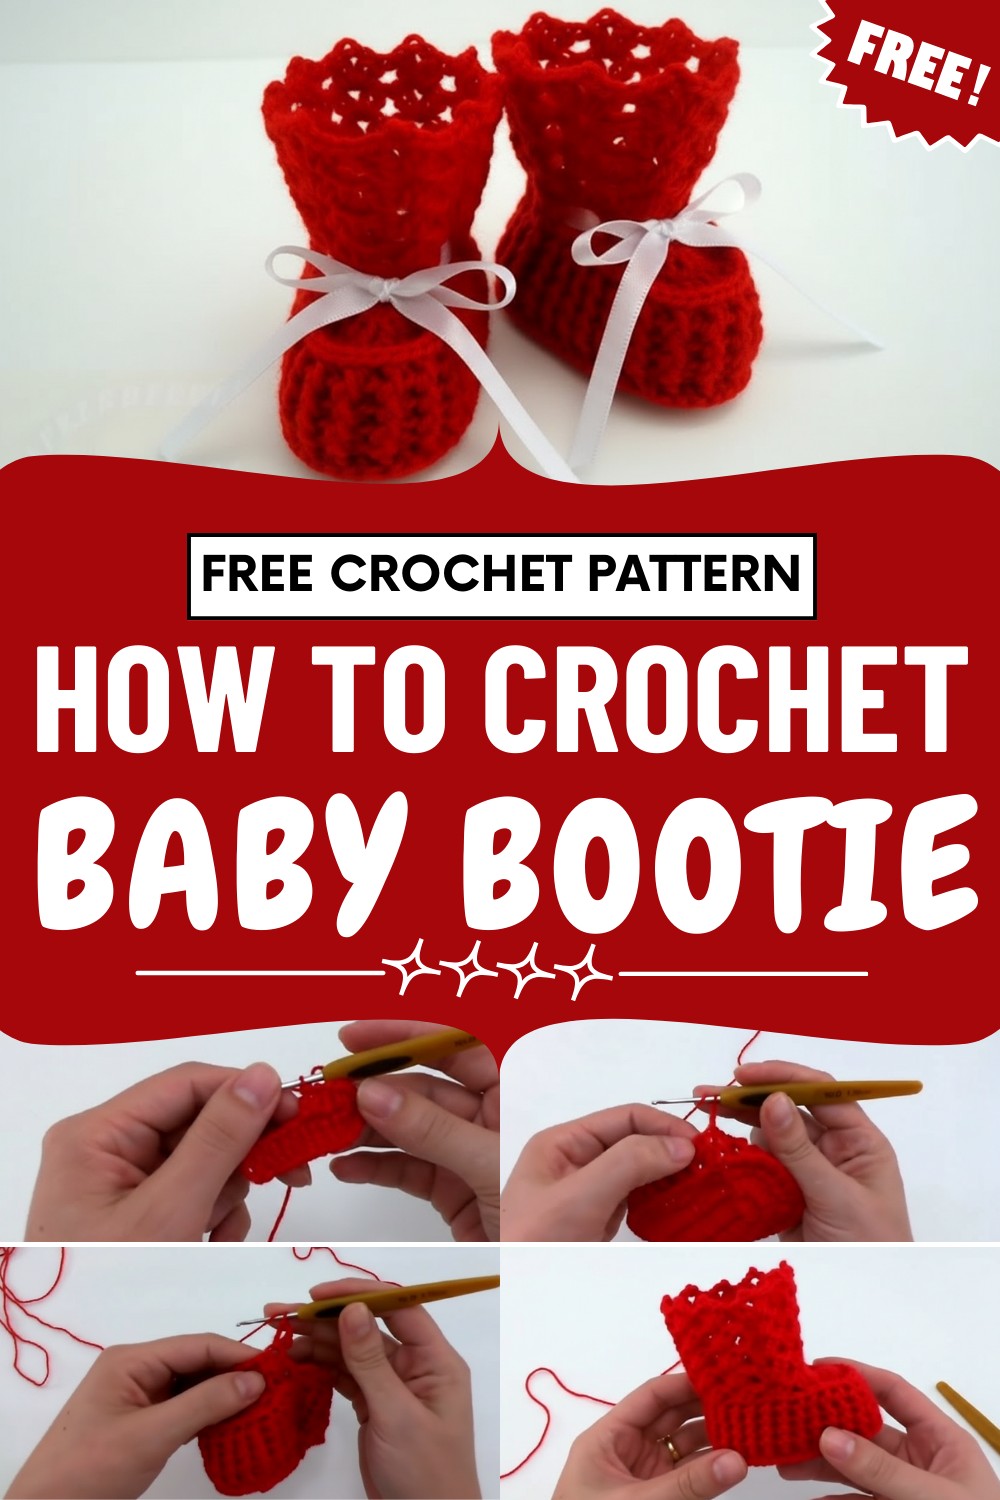
Natural fibers that breathe well, ensuring the baby stays comfortable in any weather. They work beautifully for special events like name days or family portraits, adding a timeless and elegant feel to the baby's look. This lovely task is a fantastic pick for making a snug and precious gift for a brand new family member.
Special Features
- Classic Boot Shape: The bootie features a structured sole, textured instep, and a pretty upper tube, all seamlessly crocheted together.
- Picot Edging: The top is finished with delicate picot stitches for a refined, decorative effect.
- Ribbon Tie: Threaded ribbon not only ensures a secure fit, but also adds a touch of elegance.
- Soft & Comfortable: Made from fine acrylic yarn for gentle softness on baby’s skin.
Level of Difficulty
Beginners to Intermediate: This is a great practice piece if you know basic stitches (chain, slip stitch, single crochet, double crochet, post stitches). Shaping and picot detail may be a fun challenge for an ambitious beginner or a quick, satisfying project for intermediate crocheters.
Tutor’s Suggestions & Uses
- Make these booties as a thoughtful handmade baby shower gift, or keep several pairs ready for whenever inspiration (or a new arrival) strikes.
- Use leftover yarn or experiment with different ribbon colors for various looks.
- For safety, ensure ribbon knots are secure and supervise babies to prevent untangling.
Materials Needed
- 1.75 mm crochet hook
- Fine 100% acrylic yarn (red or any preferred color)
- Two pieces of white ribbon, 35 cm each (or longer as desired)
- Scissors
- Yarn needle for finishing
Step-by-Step Pattern
1. Crocheting the Sole
- Chain 13.
- Row 1: Yarn over, skip first 3 chains, dc into 4th chain from hook. Dc in each remaining chain (11 dc).
- In the very last chain, make 3 dc to round the corner.
- Work 11 dc along the underside of the original chains, one in each (first dc goes in same space as the last).
- In the last stitch on this side, make 3 dc (to round corner).
- Join with slip stitch (sl st) in the third chain of beginning; you now have an oval sole.
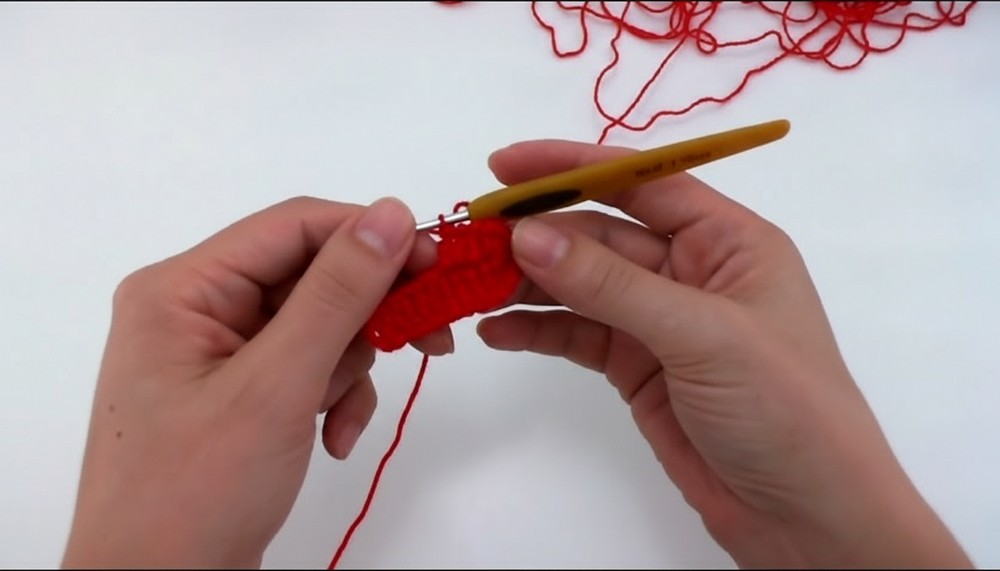
2. Building the Sole (2 More Rounds)
Round 2:
- Ch 3 (counts as 1 dc), dc in next 10 sts.
- In each of the next 3 stitches (the turn), work 3 dc in each (total of 9 dc).
- Dc in next 11 sts.
- In the next 3 stitches (other end), work 3 dc in each (9 dc again).
- Join with a sl st at top of chains.
Round 3:
- Ch 3, dc in next 10 sts.
- In each of the next 9 turn stitches, work 2 dc (for 18 dc in total around curve).
- Dc in next 11 sts.
- In the next 9 turn stitches, work 2 dc in each (total 18 dc).
- Join with a sl st in top of the beginning ch-3. The full oval sole is complete.
3. Raising the Sides
Transition Round:
- Ch 3. Work back post double crochet (BPdc) in each stitch around (to lift the sides).
- Join with sl st. (Begin to see the bootie "rise.")
4. Upper Portion – Creating Texture
Work Four Textured Rounds:
- Ch 3; front post double crochet (FPdc) in next st, BPdc in next. Alternate FPdc and BPdc around.
- Repeat previous round three more times. Always alternate for four total textured rounds.
- Join each round with sl st in top of starting ch-3.
5. Dividing for Instep & Tube
- Count your stitches (should be 58); divide into two sets of 29.
- Mark each half with a contrasting yarn/thread.
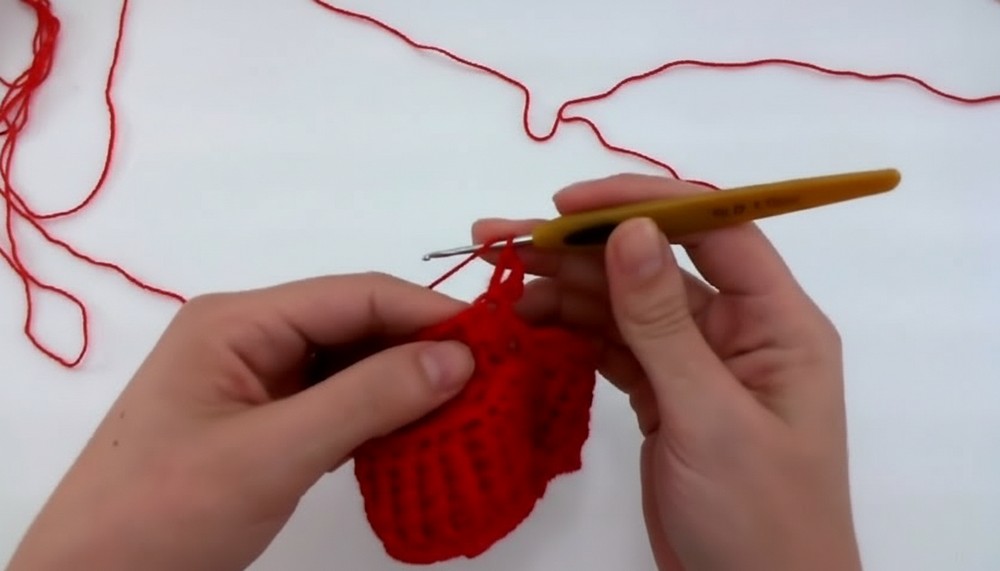
Instep Section
- Skip first 10 stitches from marker, attach new yarn to 11th (center front), and ch 3.
- Work 9 BPdc (back post) across for first row of instep. End by slip stitching into next side stitch inside the shoe.
- Turn, ch 3, work 9 dc, attach with sl st to opposite side inside the shoe.
- Repeat for two more rows. For the next two rows, increase to 10 sts (start with 2 dc in first stitch).
- After every row, attach edge with sl st to side of shoe.
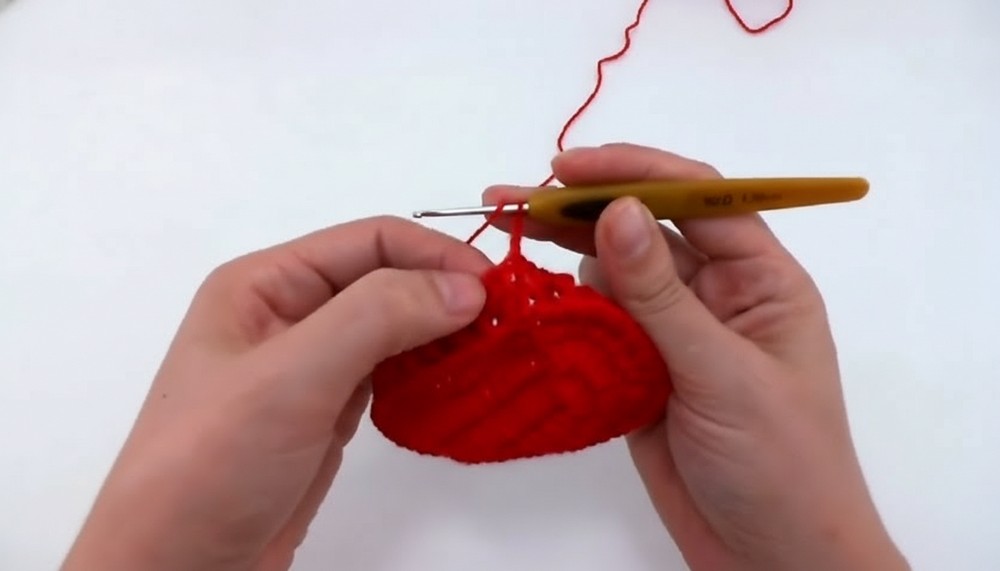
6. Crocheting the Tube (Ankle)
First Tube Round:
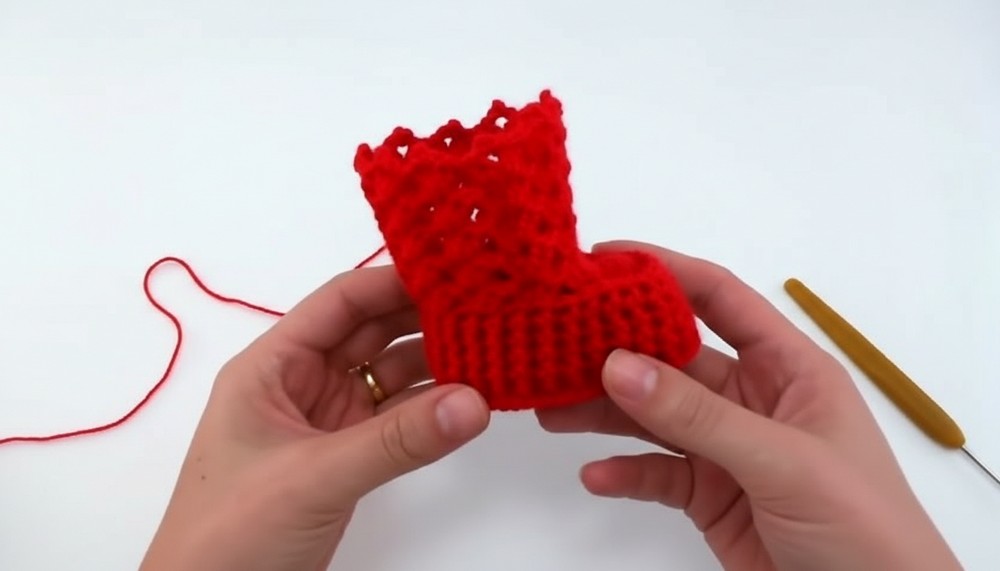
- Attach yarn to back at the side, ch 3, make V-stitch (2 dc, ch 2, 2 dc) in same stitch.
- Skip 4 stitches, V-stitch (2 dc, ch 2, 2 dc) in next space. Repeat for three V-stitch clusters.
Continue Tube:
- For next 4 rounds: Work V-stitch in each previous V-stitch ch-2 space (no chains between V-stitches).
- Always begin round by slip stitching to center of V, ch 3, and start V-stitch.
7. Edging with Picot
Final Round (Picot Edging):
- In each V-stitch, work: 2 dc, ch 3, sl st back to first ch (picot), 2 dc.
- At the end join with sl st.
8. Finishing & Ribbon
- Cut yarn and weave ends securely inside.
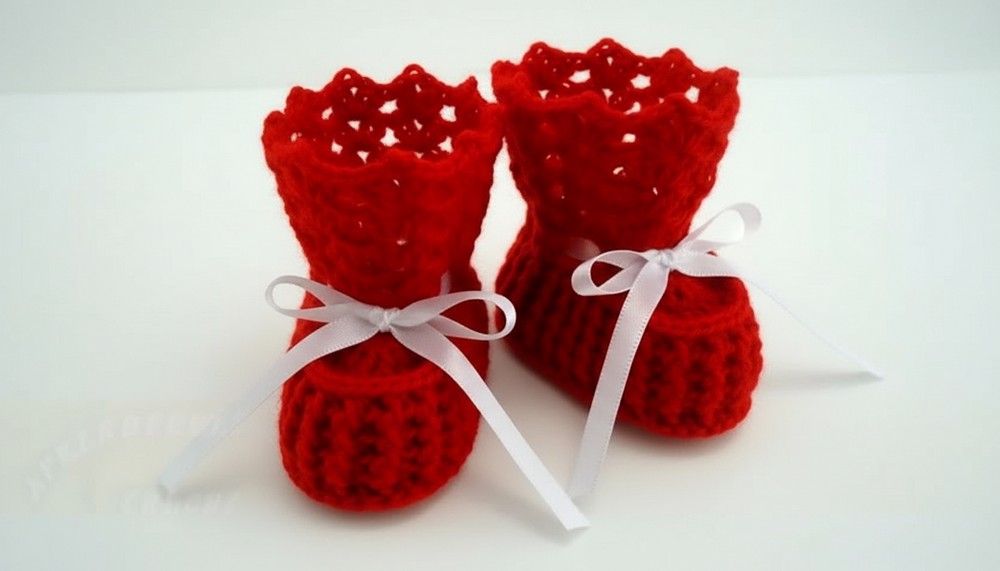
- Thread 35 cm ribbon through spaces between V-stitches around the ankle, and tie in bow or secure knot at front.
- Repeat all steps to make the second bootie.
Conclusion
Your beautiful crochet baby booties are finished! Soft, stylish, and practical, these little boots are sure to keep tiny toes warm and happy. Enjoy gifting them to new parents or dressing up your own baby in classic style.
Tip
For best results: Gently hand wash your finished booties and block to shape before gifting or wearing. This will help the stitches settle and the shape to look its very best!
Leave a Reply