
Refresh summer wardrobes with this Free Crochet Tank Top Pattern that's featuring breezy textures, stylish details, and a comfortable fit.
Effortless summer style meets comfort in a piece designed for versatility and charm. The Crochet Tank Top Pattern turns simple yarn into a lightweight garment that breathes, drapes beautifully, and moves naturally with the body. Ideal for warm weather, it works perfectly for casual strolls, beach outings, or layering under jackets and cardigans.
Chic Crochet Tank Top Pattern That Brings Style to Summer Outfits
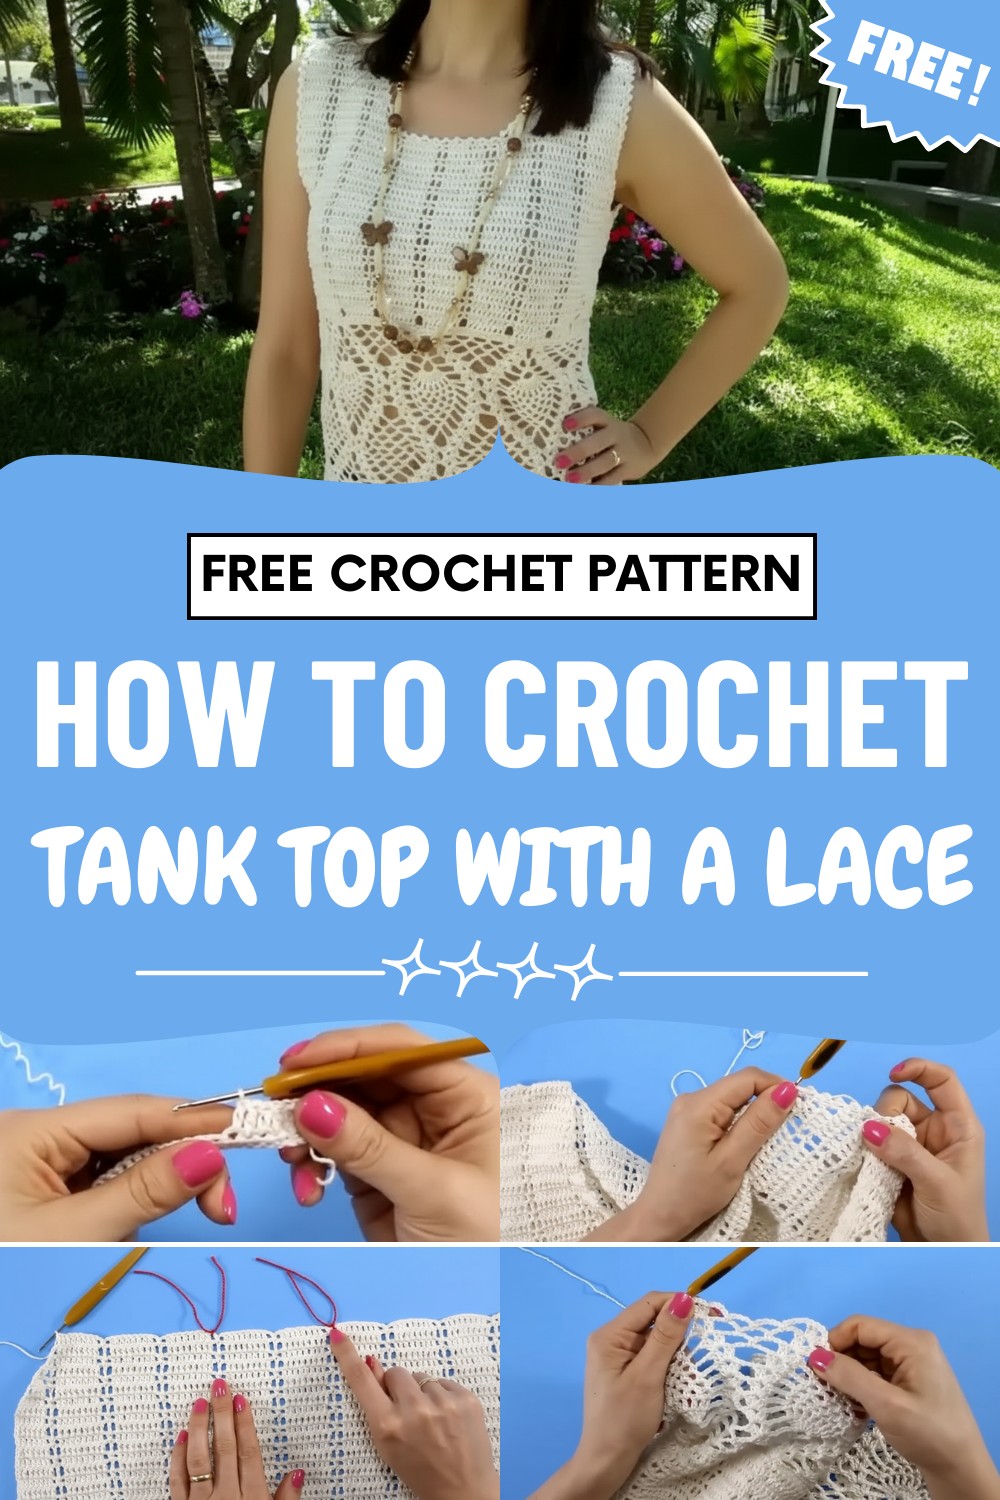
The pattern allows flexibility in sizing and stitch design, giving endless opportunities to experiment with colors, textures, and personal touches. Soft, durable yarn ensures the top feels gentle against the skin while holding its shape through wear and washing. Each row of repeating stitches delivers a rhythmic, satisfying experience, making the process enjoyable and engaging.
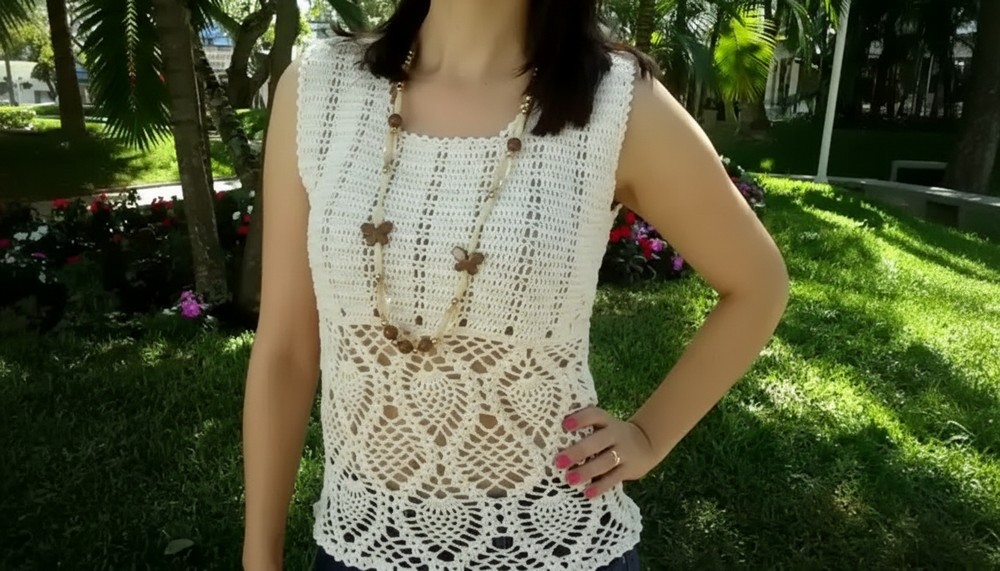
Beyond comfort, the finished tank top exudes style and individuality, blending elegance with everyday practicality. Its airy construction, paired with intricate stitch patterns, creates a piece that is both visually appealing and effortlessly wearable, making it a standout addition to any wardrobe.
Special Features
- Pineapple Lace Stitch: Gives a delicate, timeless appeal and beautiful drape.
- Custom Fit: Easily adjust to any bust size or preferred length.
- Versatile Style: Wear as a lightweight top, tunic, or even a beach cover-up.
- Seamless Transition: Work in two separate pieces (front and back) then join for a neat finish.
- Decorative Edging: Picot border adds an extra touch of elegance to sleeves and neckline.
Difficulty Level
Beginner-Intermediate:
If you know basic crochet stitches (chains, single crochet, double crochet), you'll enjoy this pattern. Shaping and lace repeats may pose a light challenge but are explained clearly.
Materials Needed
- Yarn: 2 skeins (500 m each) Anne 100% cotton yarn, color 8176 (off-white/cream)
- Hook: 1.75 mm (or size compatible with your chosen yarn)
- Tapestry needle for seaming and weaving in ends
- Scissors
- Measuring tape
- Stitch markers (optional, helpful for shaping)
Pattern: Step-by-Step Guide
1. Foundation and Sizing
- Measure your bust and subtract 7 cm to accommodate for stretching.
- Divide this number by 2 for front and back widths.
- Crochet a chain that measures half your adjusted bust size (e.g., for bust 88 cm: 88 - 7 = 81, rounded to 80; chain for 40 cm).
Tip: You can adjust sizing by choosing a thicker yarn or larger hook for a bigger fit, or a thinner yarn/hook for a smaller fit.
2. Begin the First Panel (Front or Back)
- Work 1 row of half double crochet (hdc) across the chain.
- Row Setup: Chain 3 (counts as first double crochet), turn.
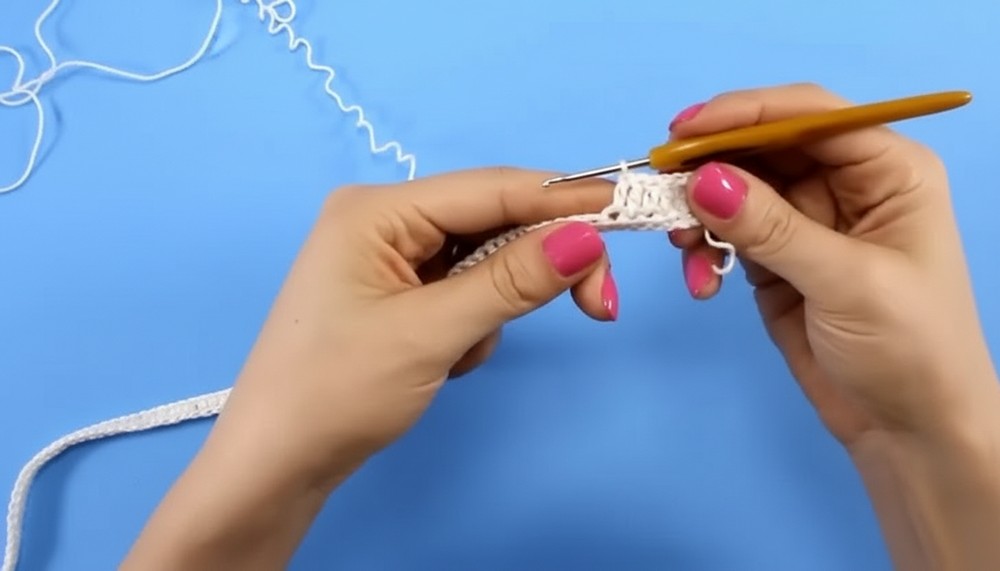
- Work groups of 8 double crochets (dc) separated by 3 chain stitches; skip 2 base stitches between groups.
- Repeat until end; row starts and ends with a group of 8 dc.
3. Work Lace Pattern Body
- Chain 3 to turn each row.
- For each row:
- Work 8 dc for the first group.
- In the space between groups: Work [chain 1, sc in space, chain 1], then next group of 8 dc.
- Alternate between working a high or low stitch in the space as indicated, following the established pattern.
- Continue this repeat for 14–15 rows (or until piece reaches from below bust to underarm).
4. Shaping the Armhole (Cava)
- Start with a decrease at both ends of each next row:
- Chain 3, skip first stitch, dc in next (end with leaving last 2 stitches unworked).
- Continue until only 2 dc remain at each armhole edge.
- After shaping, continue in pattern, leaving decreased stitches to create the curve of the armhole.
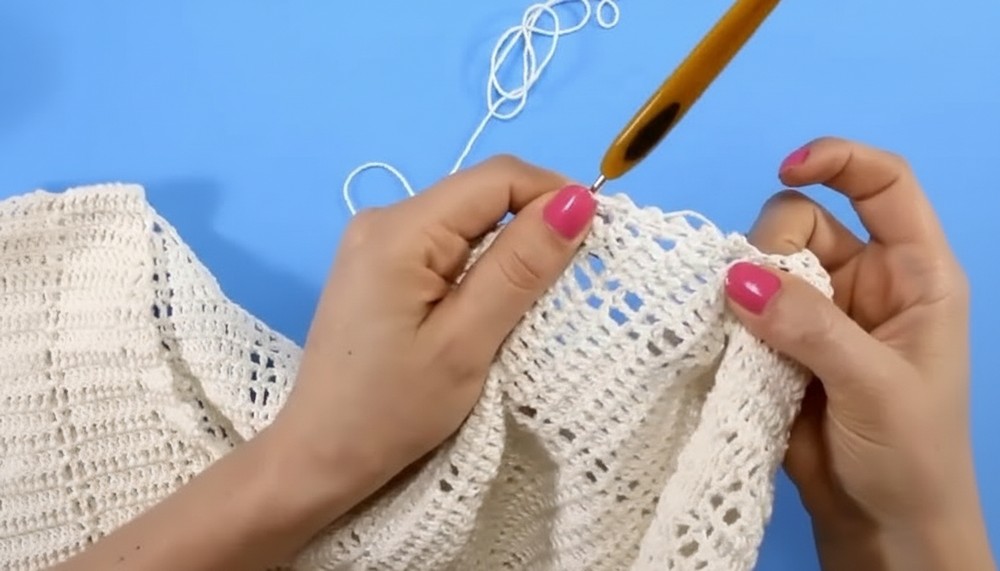
5. Neckline Shaping
- Mark the two central groups for neckline opening; these will not be worked.
- Begin decreases at neckline edge by leaving 2 stitches unworked on each decrease row.
- Work as established, decreasing 2 at neckline every other row until desired width/shape of neckline and strap.
- Continue each strap separately, decreasing as needed and working to armhole height.
6. Repeat for Back Panel
- Complete back panel to match front, but start neckline decreases later (usually when 5 rows remain).
- Back neckline is less deep: decrease over these last rows only.
- Finish both straps to match front.
7. Joining Panels
- Place panels right sides together.
- Join sides from hem up to armhole with a tapestry needle and mattress stitch.
- Join shoulder seams.
Tip: Make sure seams align precisely for a pro finish.
8. Edging and Finishing
- Neckline & Armhole Edges:
- Attach yarn, chain 2 (counts as single crochet), chain 3 (picot), slip stitch into first of these 3, single crochet to next row end.
- Continue around armhole and neckline for a neat picot edge.
- Weave in ends with tapestry needle, hiding threads inside seams.
- Block your blouse for even lace.
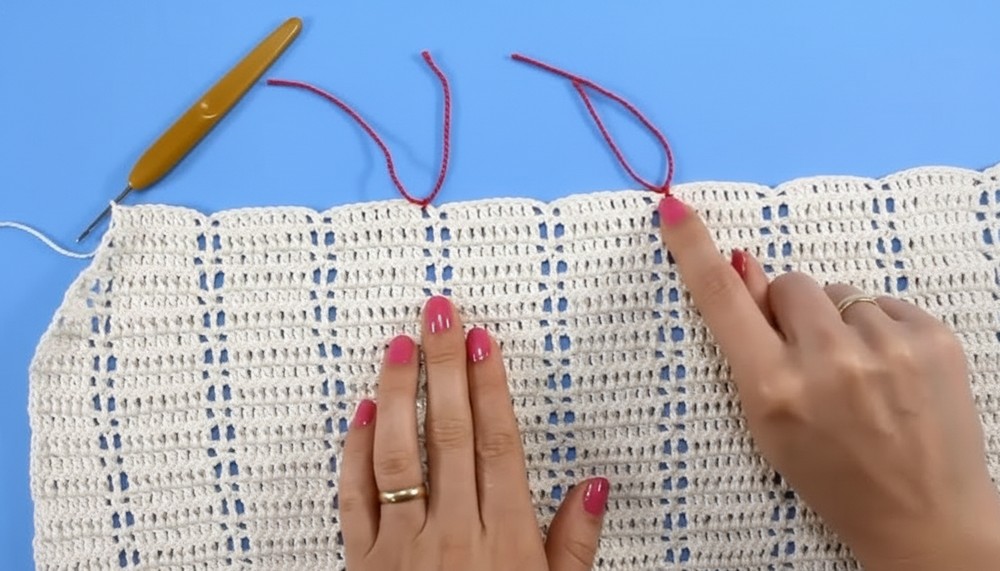
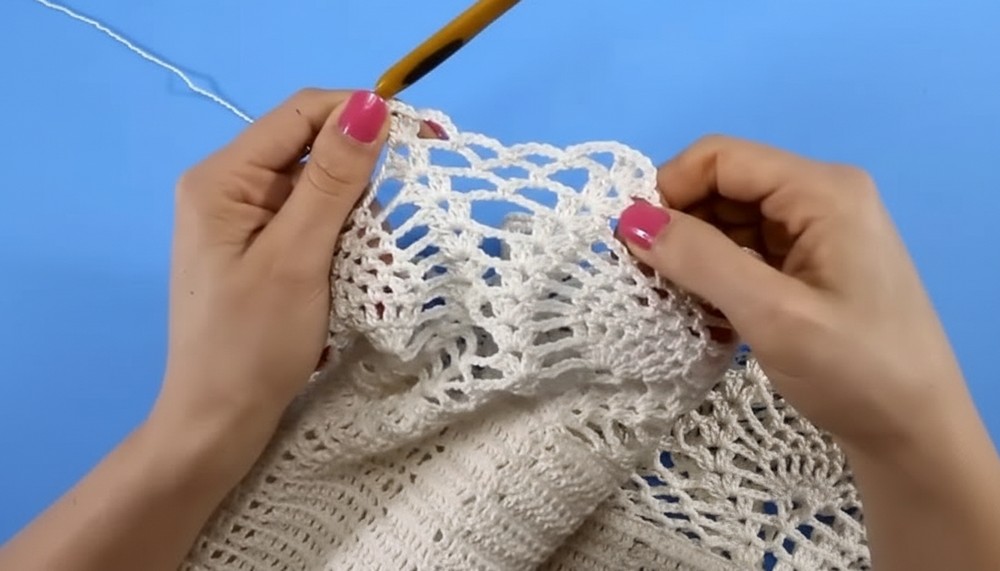
9. Pineapple Lace Hem (Fancy Stitch Hem)
- Attach yarn at hem, work in rounds:
- Motif Set-Up: "Double V" (2 dc, 2 ch, 2 dc) in same stitch, chain 3, repeat skipping 3 sts between V’s.
- Form mesh lace: Work networks of 5 ch, single crochet in third skipped stitch from base, per pineapple lace instructions.
- Continue in rounds, following the established pineapple and mesh pattern (approx. 15-row repeat per motif).
- For a longer blouse or dress, repeat the motif section until desired length; finish with 1 or 2 rows of V-stitch for stability.
Tutor’s Suggestions
- Measure Often: Try the top on as you go to ensure perfect fit.
- Customize Length: Continue lace motif hem for tunic or dress length.
- Try Different Colors: Solids or stripes both work beautifully!
Uses
- Stylish summer tank top
- Chic beach cover-up
- Layered over other tops or dresses
- Great handmade gift
Tip
For a ruffled or wider bottom, space your V-stitches closer together in the first round of the hem or use more mesh stitches in the net sections.
Conclusion
Congratulations—you’ve just completed a stunning pineapple lace crochet blouse! This flattering top is as fun to make as it is to wear. Play with color, length, or width to suit your style, and enjoy all the compliments you'll receive on your handmade creation!




Leave a Reply