
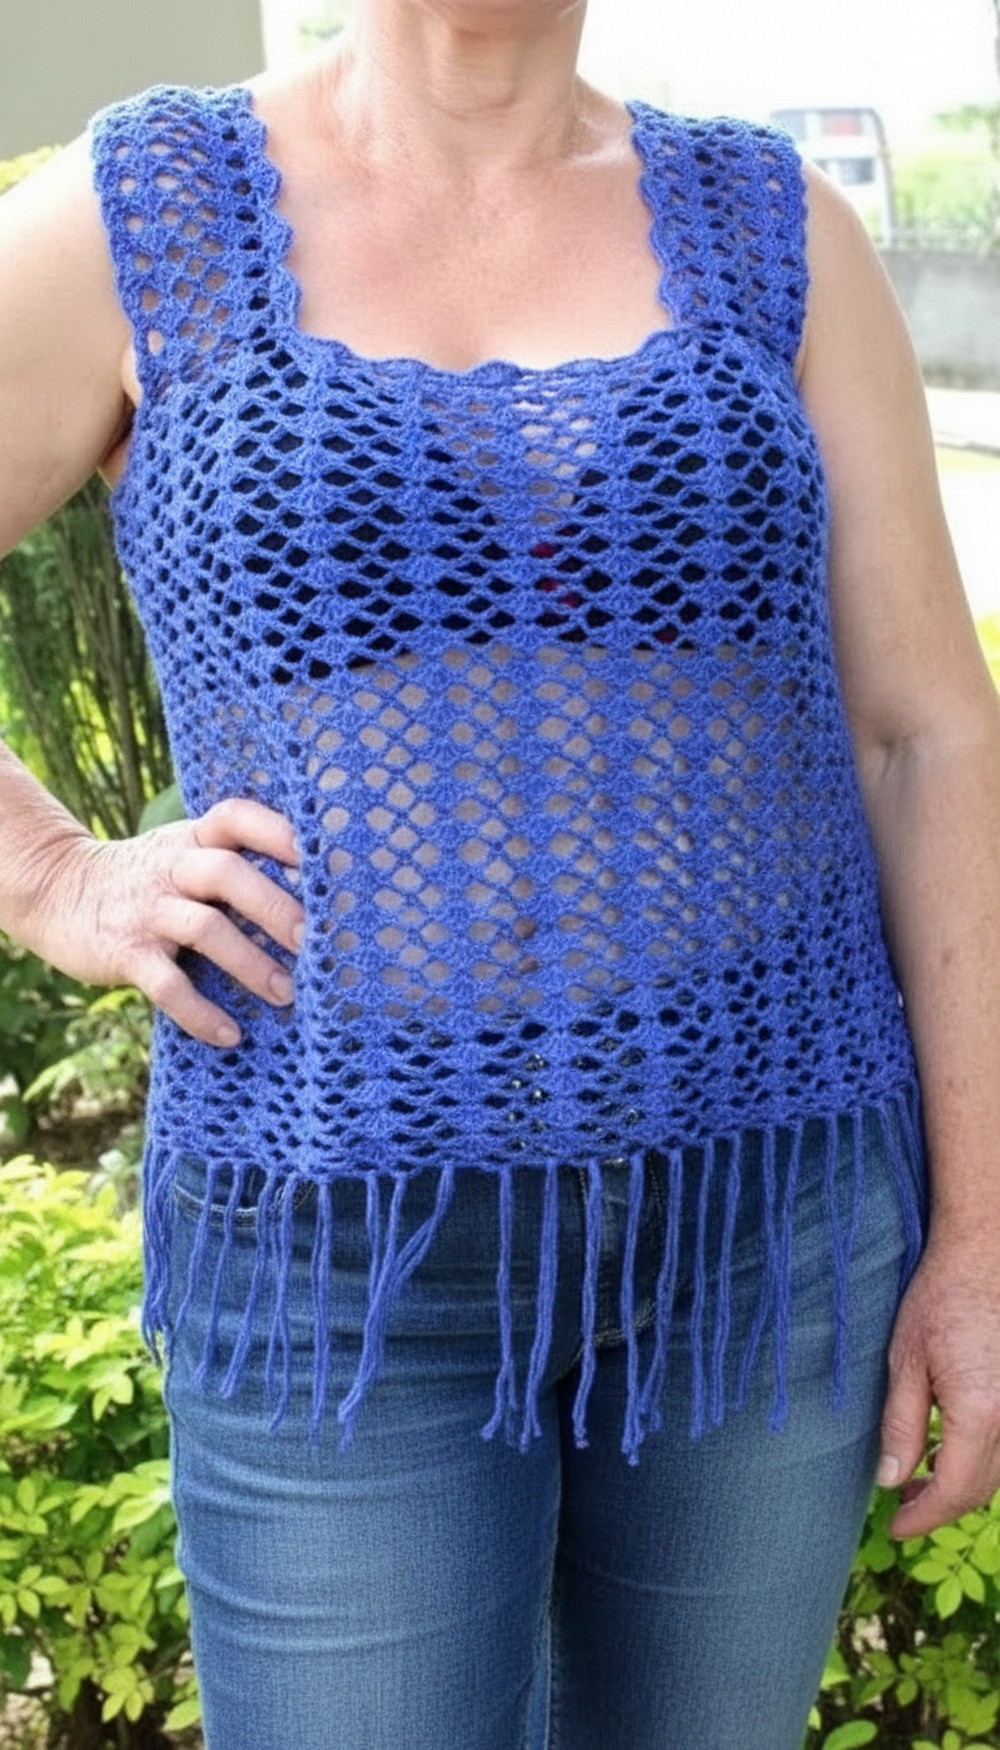
Sport breezy summer vibes with this Free Crochet Mesh Tank Top Pattern, featuring airy textures, stylish details, and lightweight comfort.
Ideal for those seeking stylish versatility and modern comfort, this airy garment effortlessly enhances any warm-weather wardrobe. Embracing a light, breathable fabric, the crochet mesh tank top pattern offers not only a breezy, openwork texture but also endless opportunities for personalization. Its delicate drape flatters every silhouette and can be customized with playful yarn choices, fringe, or creative colorwork.
Breezy Crochet Mesh Tank Top Pattern That Flows Perfectly in Summer
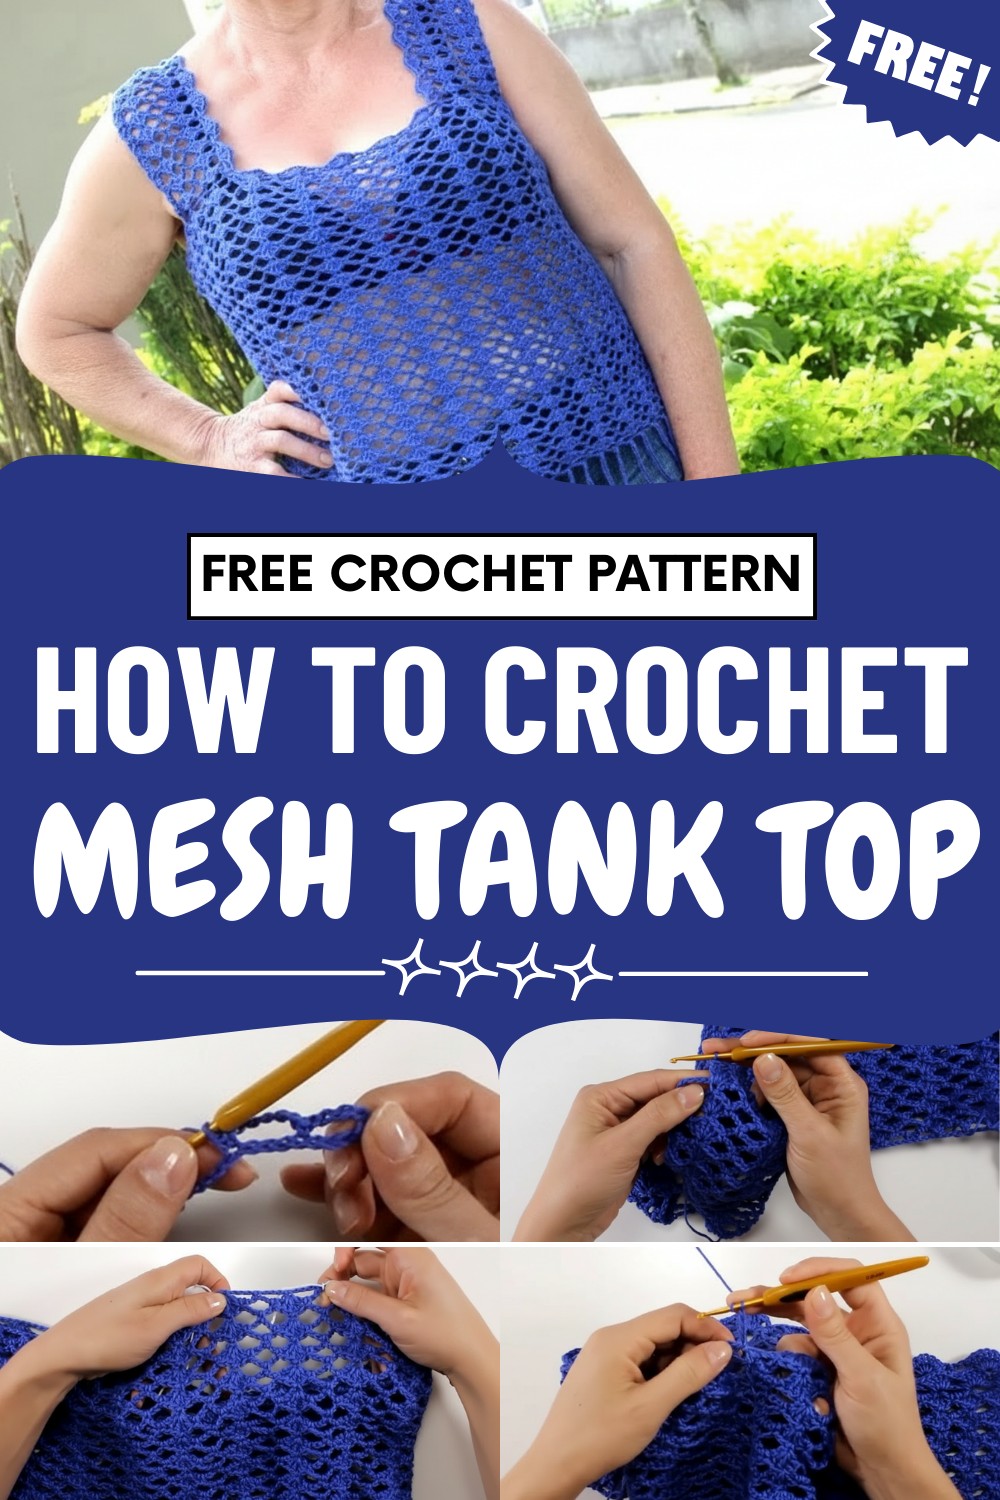
Perfect for sunny days, it transitions seamlessly from a laid-back beach cover-up to a sophisticated evening layering piece over dresses or camisoles. Quick to make and endlessly adaptable, this project is a favorite among crocheters who appreciate both aesthetic appeal and practical wearability.
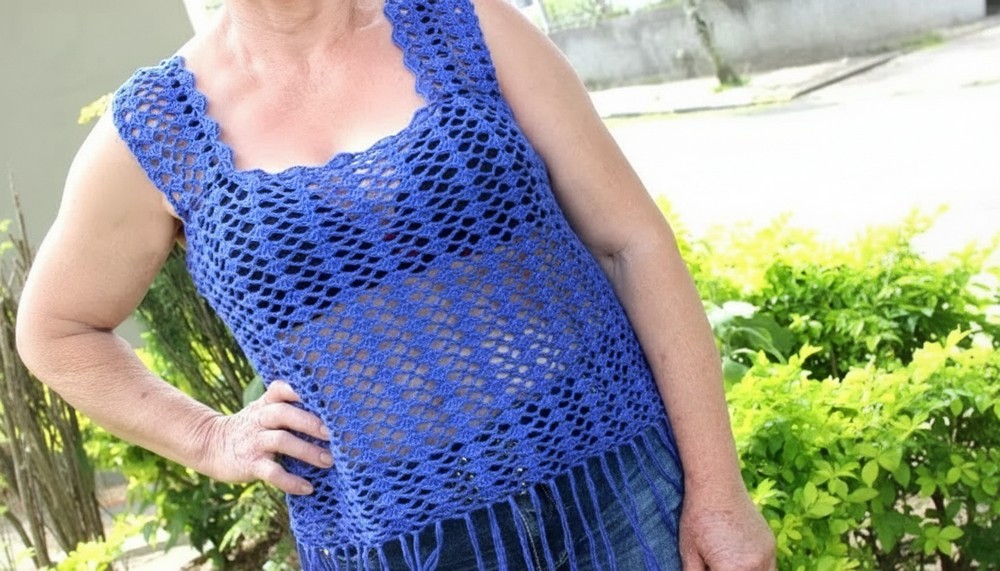
The mesh design ensures optimal airflow, keeping you cool and comfortable while inviting an artisan touch to casual or dressy ensembles. Combining elegance, versatility, and ease of construction, this pattern truly celebrates the timeless beauty of handmade fashion.
Special Features
- Contemporary lacy stitch for an airy, chic look
- Side seam construction for a neat finish
- Delicate bottom fringe for movement and fun
- Adjustable length and straps for a perfect fit
- Fully reversible; front and back are identical
- Multiple finishing edge options included
Level of Difficulty
Easy / Advanced Beginner
Familiarity with basic stitches (chain, single crochet, double crochet), pattern repetition, sewing panels, and adding fringe is recommended.
Materials
- 2 skeins Charm Yarn by Circulo (color 2352-Blue, 396m each, 100% cotton)
- 3.0 mm crochet hook
- Tapestry needle
- Scissors
- Stitch markers or contrasting thread (for marking handle placement)
- Measuring tape
Tutor’s Suggestions
- Check and match the number of rows on both panels for a perfectly symmetric finish.
- Customize the length by adjusting the number of rows.
- Add more rows to the handles if you want a lower neckline.
- If desired, try alternate bottom finishes (motifs, V-stitch, picots) instead of fringe.
Uses
- Summer tank or layering piece
- Handmade gift
- Everyday casual wear
Step-by-Step Pattern
1. Make Two Rectangles (Front & Back Panels)
- With 3.0mm hook and Charm Yarn, chain 111.
- Row 1 and onward: Begin the lacy pattern (fancy stitch 3—see tips/note below for general lacy stitch structure).
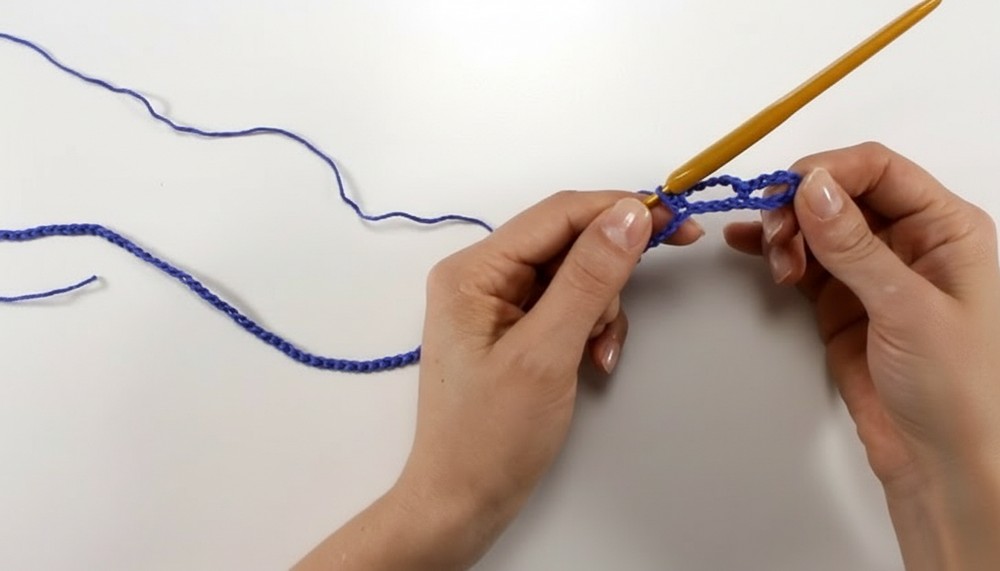
- Basic instruction: After chaining 111, work [5 chains, skip 3 chains, sc in next chain] repeating across row for a mesh/net effect.
- Continue in pattern until panel measures 35 cm high (or your desired length).
- Fasten off, leaving a long tail for seaming.
- Make a second rectangle in the exact same way, ensuring both panels have the same number of rows.
2. Join Panels (Side Seams)
- Place panels right sides together (wrong sides facing out).
- Use the long tail and tapestry needle to whipstitch or use mattress stitch up each side, aligning groups of 4-stitch clusters and chain spaces so rows match.
- Seam from bottom to top; fasten securely.
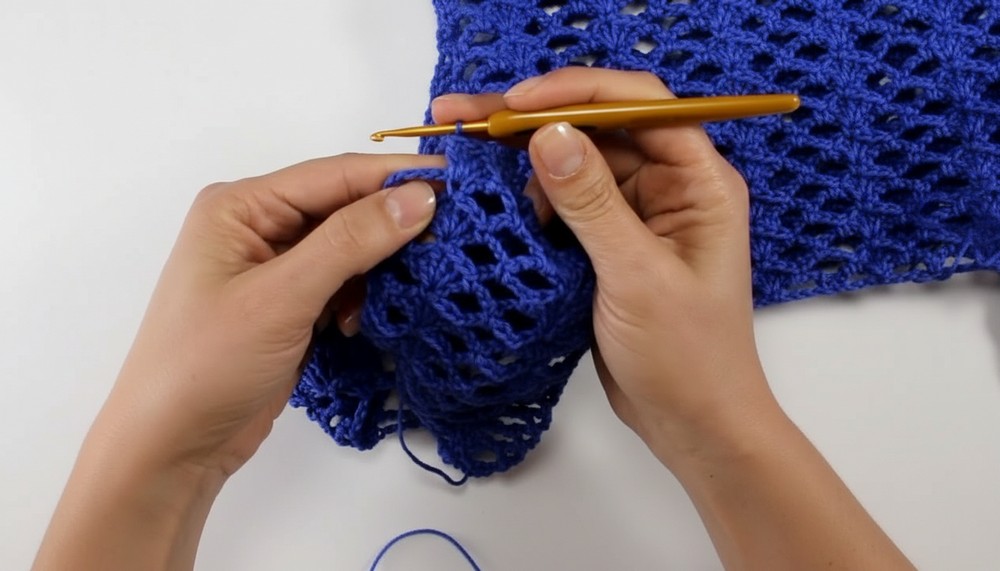
- Turn right side out.
3. Mark & Make Handles
- Mark where each strap joins:
- From the side seam, count two groups of 4 double crochet clusters.
- Place a marker in the single crochet just after the second group—this is your handle placement.
- Repeat on the other side for all four corners.
- Strap: Chain 21.
- Row 1: Skipping 8 chains, sc in the 9th.
- [Chain 5, skip 3, sc in next] repeating 3 more times.
- Continue in pattern (V-stitch or mesh stitch) for 9 rows.
- Row 10 (joining row):
- Join strap to marked spot on top edge with slip stitch as you work the final row, following the body’s stitch structure so the design aligns.
- Repeat for second strap.
- Join Strap Points:
- Seam the other ends of each strap in place on the back, using the same row-count/placement as the front for symmetry.
4. Seam Handles Together
- With wrong sides facing, sew the two ends of each handle together (if needed) for a tank-top/halter style.
- Use the tapestry needle for an invisible seam.
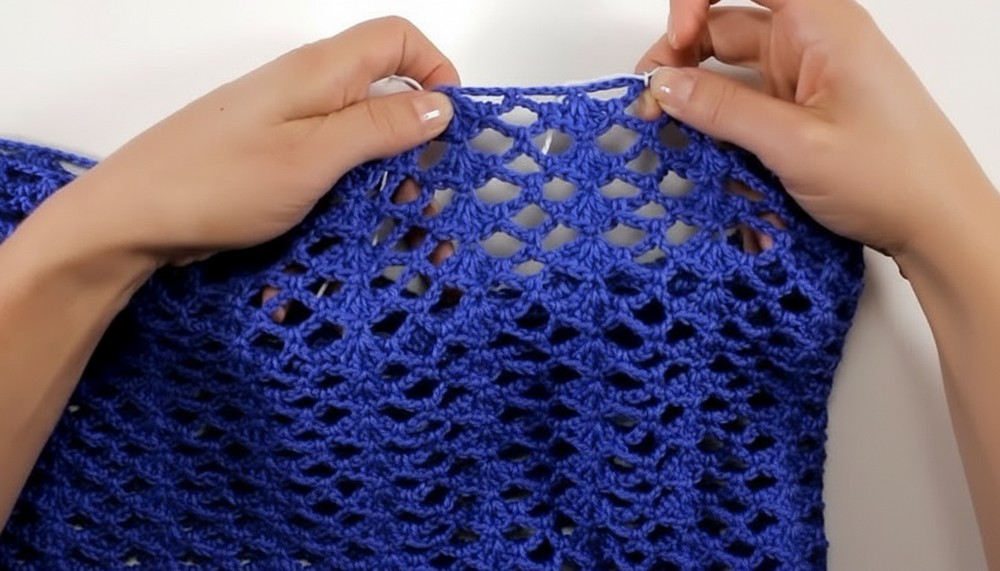
5. Neckline & Armhole Edging
- Join yarn at the neckline or armhole edge.
- For neckline:
- [2 ch, (3 dc, ch 1, 3 dc), 2 ch, sc in next space], repeat around, following mesh structure.
- Slip stitch to finish, weave in end.
- For armholes:
- [Sc, ch 3, dc in same space], repeat along edge, working into mesh spaces, not too tight to avoid puckering.
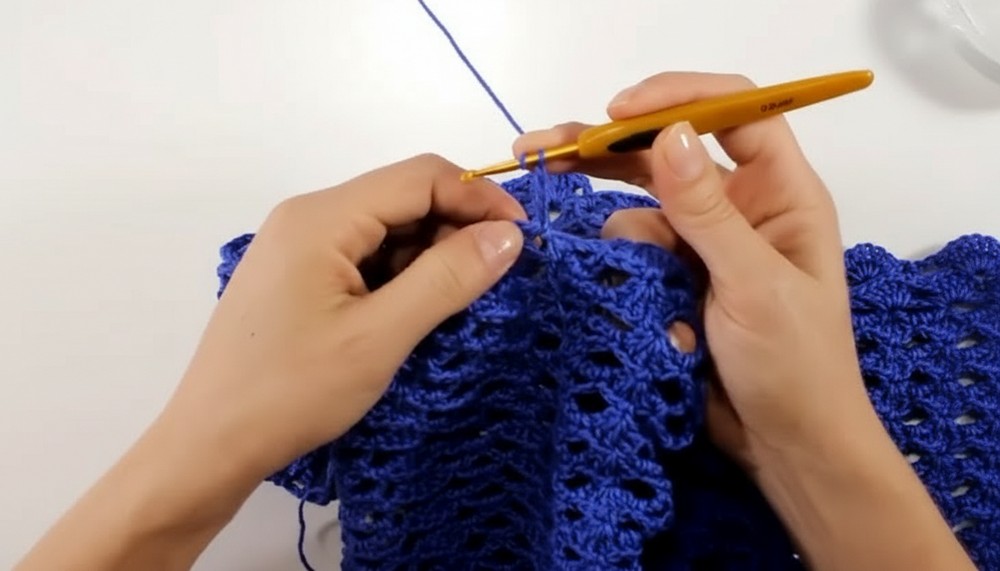
- [Sc, ch 3, dc in same space], repeat along edge, working into mesh spaces, not too tight to avoid puckering.
6. Fringe (Bottom Edge)
- Cut several pieces of yarn, each about 20 cm long.
- In each mesh/net space along the lower edge, fold 2 strands in half, pull loop through space, and pull tails through loop to secure.
- Repeat across hem for even, full fringe.
- Trim fringe to even length (about 10 cm finished, or as desired).
7. Finishing
- Weave in all ends using the tapestry needle, hiding them between stitches on the wrong side.
- Adjust fringe and edges for neatness.
Conclusion
You now have a playful, summery crochet tank top featuring trendy fringe and a flattering fit. Easily adapt this design to your style by changing the color, length, or bottom finish—this is a versatile pattern perfect for wardrobe experimentation.
Tip
For perfect symmetry, always count rows and stitch groups on both panels and handles! This ensures professional results and even seaming.




Leave a Reply