
Snuggle up in style with this crochet two-tone fall sweater pattern, perfect for chilly autumn nights and bringing fun seasonal vibes.
As fall evenings grow crisp, wrapping yourself in the warmth of a Crochet Two-Tone Fall Sweater feels like pure comfort. Its stylish design makes it a perfect addition to your seasonal wardrobe, seamlessly blending coziness with a dash of elegance. The two-tone aesthetic offers versatility, allowing you to pick colors that reflect your personal style or match the vibrant hues of fall. Whether you’re enjoying a brisk walk through the leaves or relaxing by the fire with a favorite hot drink, this sweater brings the embrace of handmade charm to your cozy moments.
Cozy Crochet Two-Tone Fall Sweater for a Stylish Look
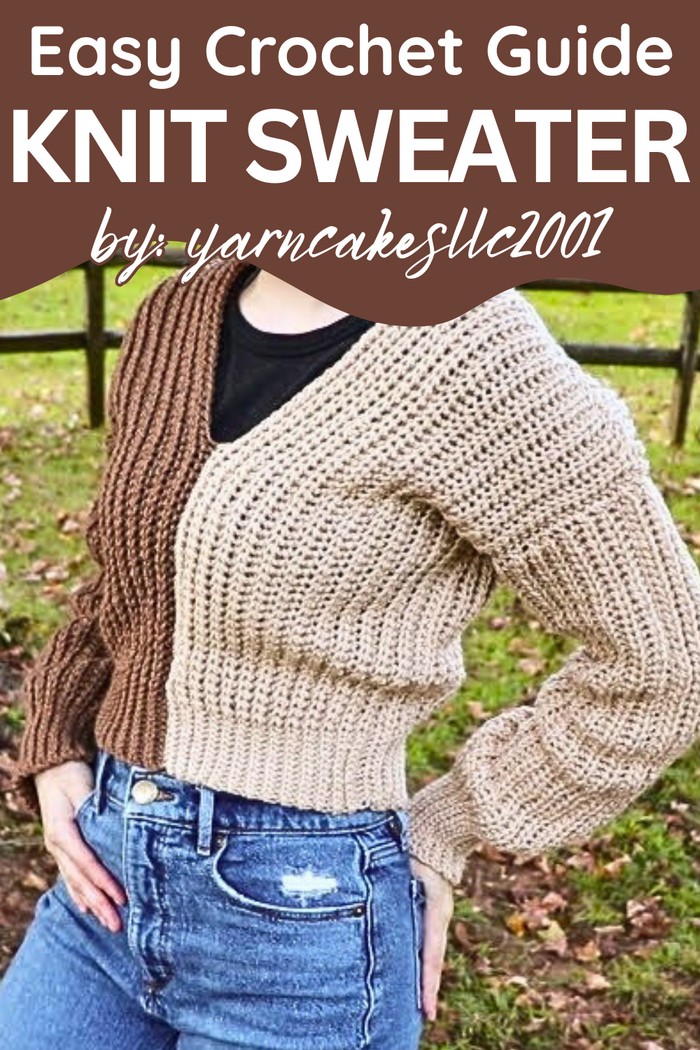
Its practicality shines whether it’s for layering on colder days or wearing solo when the weather is just right. Soft yet durable, the Crochet Two-Tone Fall Sweater holds up through seasons, offering warmth that lasts year after year. Ideal for gifting, it’s a thoughtful and unique piece that carries the sentiment of homemade care. From casual outings with friends to peaceful evenings indoors, this sweater combines fashionable appeal with functional benefits.
Designed to inspire creativity while offering comfort, the Crochet Two-Tone Fall Sweater proves that looking great and staying cozy can go hand in hand as the season changes. Perfect for crocheters and wearers alike!
Materials Required
- Yarn: Brown yarn (Cafe Latte) and beige yarn
- Crochet Hooks: 4.5 mm and 5.5 mm hooks
- Large Tapestry Needle
- Scissors
- Ruler for Measurements

Step 1: Creating the Body Panels
Starting the Chain
- Make a Slip Knot using the 4.5 mm hook.
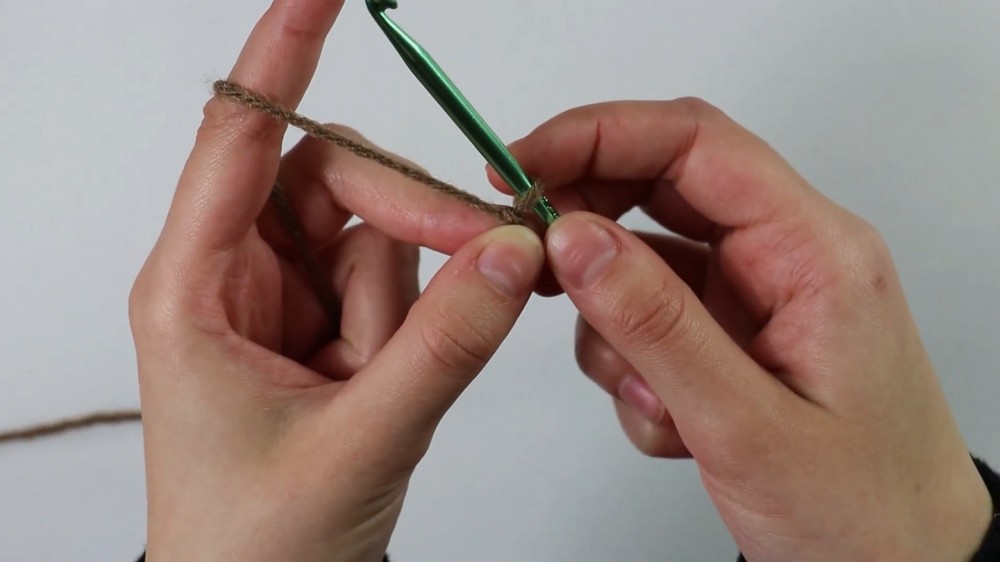
- Chain 12 stitches.
- Switch to the 5.5 mm hook and chain an additional 53 stitches (total of 65 chains).
Row 1
- Skip the first chain and insert the hook into the second chain.
- Work half double crochet slip stitches across until 12 chains are left.
- Switch back to the 4.5 mm hook and work slip stitches into the remaining 12 chains.
- Chain 1 and turn your work.
2
- Work 12 back bar slip stitches into the first 12 stitches using the 4.5 mm hook.
- Switch to the 5.5 mm hook.
- Work back bar half double crochet slip stitches across the remainder of the row.
- Chain 1 and turn your work.
3
- Continue working back bar half double crochet slip stitches until 12 stitches remain.
- Switch to the 4.5 mm hook and work back bar slip stitches into the remaining stitches.
- Chain 1 and turn your work.
Repeat and Complete
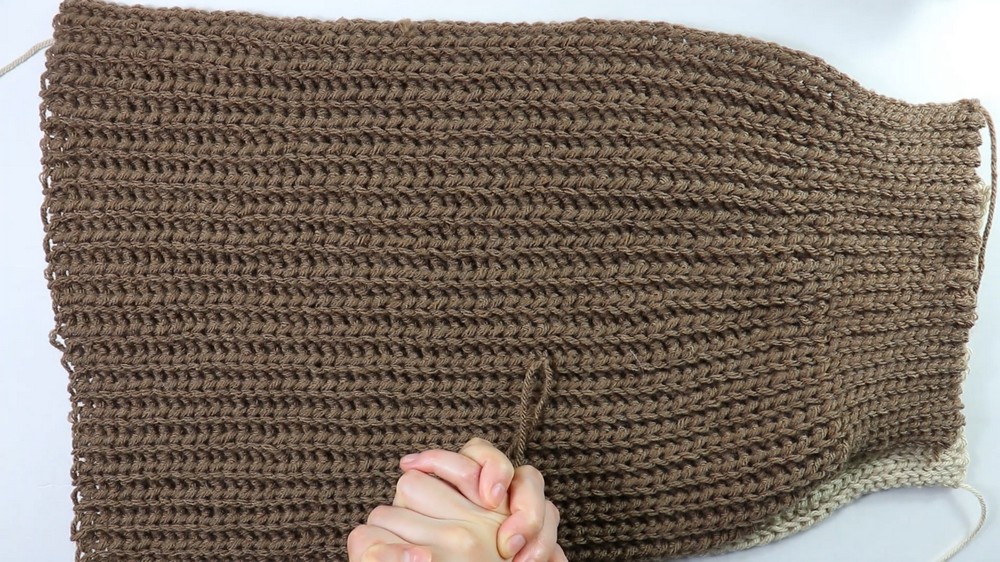
- Alternate Row 2 and Row 3 until you reach 26 rows in total for the panel.
- Repeat this process to make four panels (two brown, two beige).
2: Creating the Sleeves
Starting the Chain
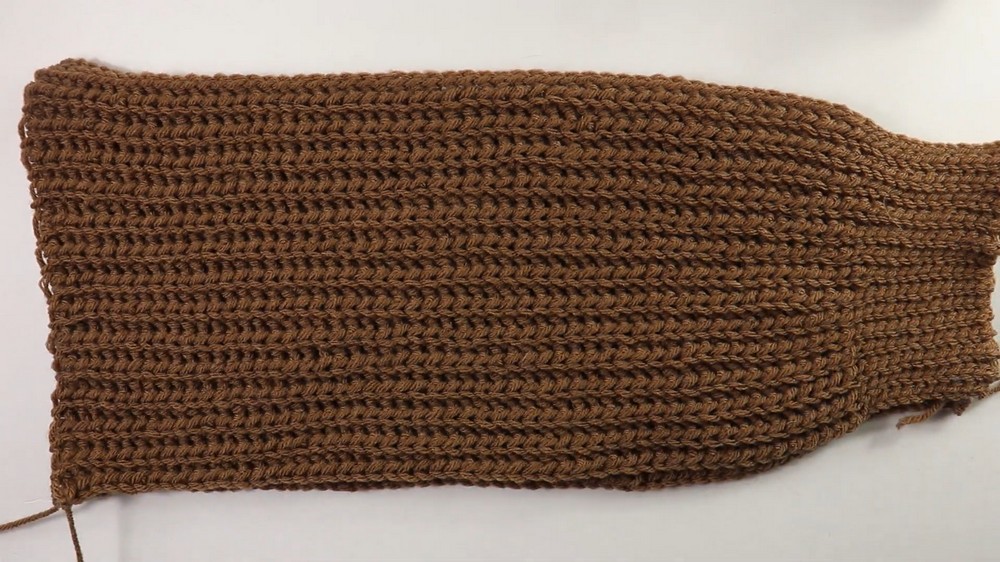
- With the 4.5 mm hook, chain 12 stitches.
- Switch to the 5.5 mm hook and chain an additional 55 stitches (total of 67 chains).
Rows for Sleeve
- Follow the same technique as the body panel, alternating Row 2 and Row 3, but continue until you complete 40 rows for each sleeve.
- Make one sleeve in brown and one in beige.
3: Assembly
Whip Stitching Panels
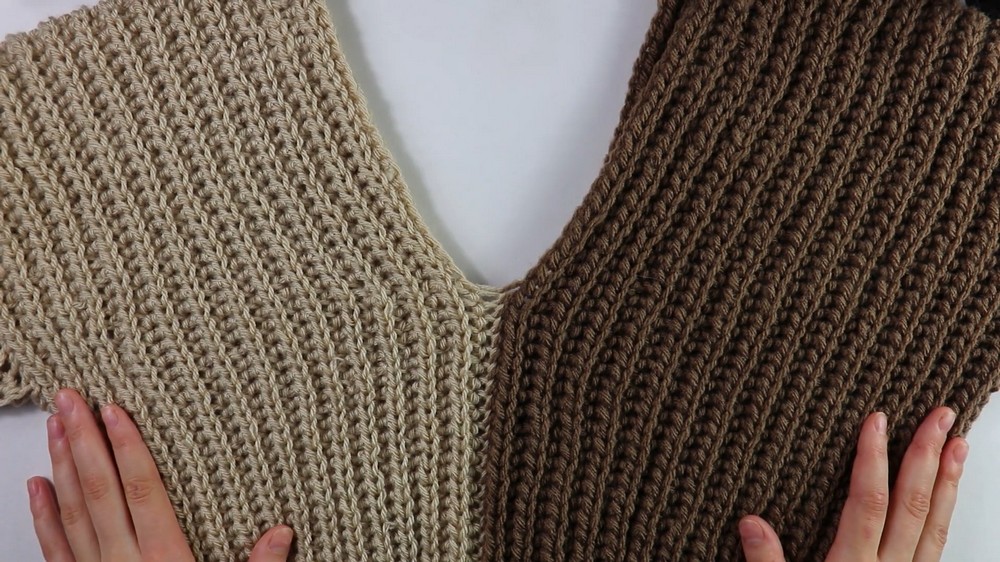
- Place two panels of different colors side by side.
- Begin whip stitching at the bottom corner, working up the side until 7.5 inches from the top remains.
- Repeat for the remaining two panels.
Side Seams for the Body
- Whip stitch up the sides of the body panels until 6.5 inches from the top remains (for sleeve openings).
Shoulder Seams
- Whip stitch across the top corners of the panels to create shoulder seams.
Sleeves
- Attach each sleeve to the armholes by whip stitching.
- Seam sleeves together lengthwise.
Final Touches
- Once assembly is complete, weave in all loose ends with the tapestry needle.
- Check your work for symmetry and fit.
Conclusion
This crocheted sweater pattern combines simple stitches and assembly techniques to produce a timeless design. Whether worn casually or dressed up, this comfy sweater is a versatile addition to any wardrobe. With sizes up to 3X-Large, it makes a perfect gift or personal project that balances style and functionality.




Leave a Reply